Late summer is a great time to plant a second round of vegetables to extend your harvest into the fall. But starting a fall garden is a little different than in the spring. Here, we share some of our best tips for planting a successful fall edition to this year’s vegetable garden.
Vegetables that work best for a fall garden tend to like longer, warmer days as seedlings but thrive in cooler, shorter days as they reach maturity. And in the Midwest, the ideal fall crop takes relatively fewer days to reach maturity, going from seed to harvest before freezing weather arrives.
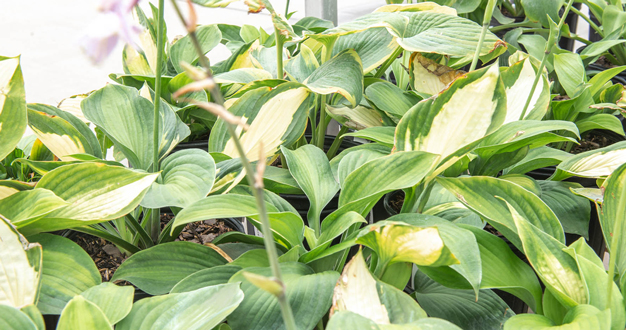
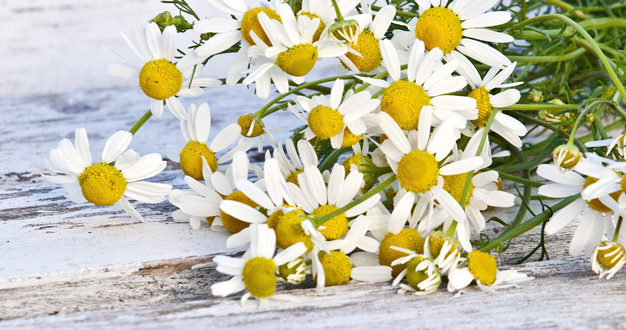
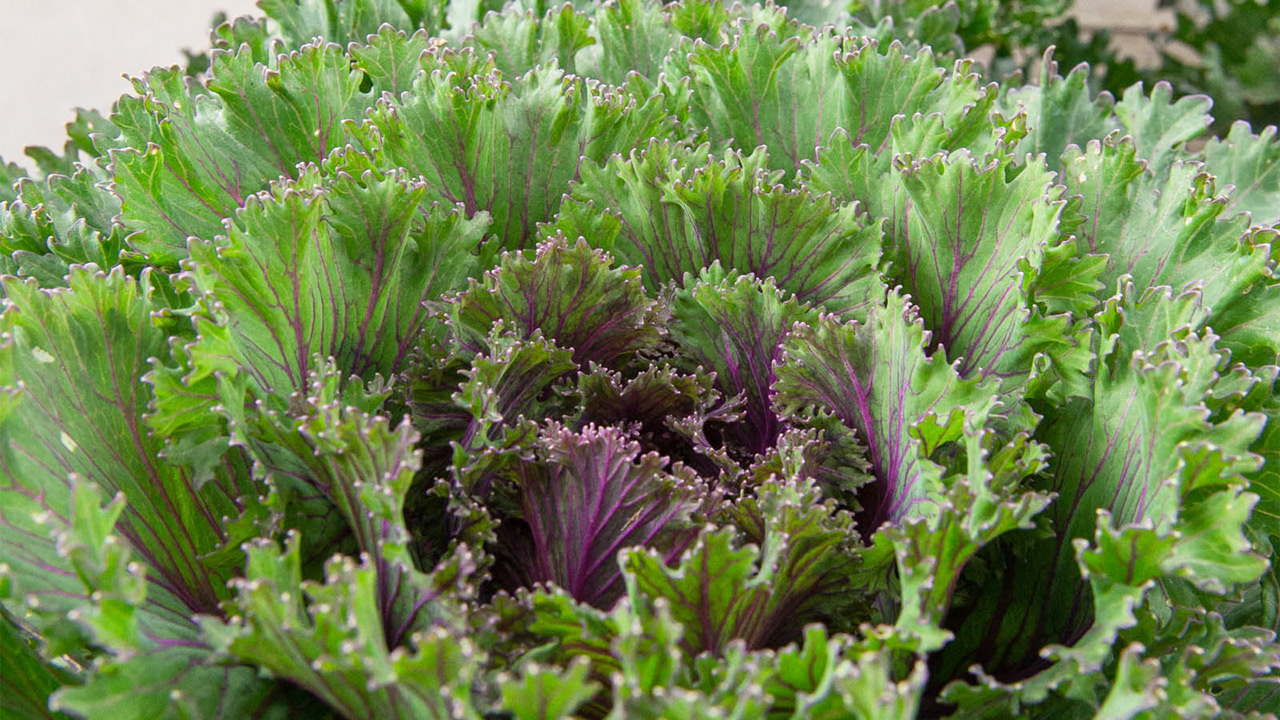
Cole crops – cabbage and its relatives – are perfect candidates. These include Brussels sprouts, cauliflower, broccoli, and kale. Root vegetables like radishes, carrots, and beets are also great choices, as well as lettuce and some of the faster growing herbs like basil, cilantro, and dill.
But, although these vegetables tolerate cool temperatures, some tender plants like basil and bush beans succumb immediately to the first hint at frost. Others – such as leaf lettuce, spinach, cilantro, and turnips – can tolerate a light frost or two. And more cold-tolerant crops like kale, cabbage, Brussels sprouts, and radishes can even withstand below-freezing temperatures for a time. These differences will play a factor in deciding your seed-starting dates.
To calculate when to plant seeds for a fall garden, you’ll want to factor in three basic numbers. First, count back the “days to maturity” – found on the seed packet – from the average first frost date of the season. In our area, that’s October 12. Then, add in a “fall factor” of about 10-14 days, which takes into consideration the plants’ slower growth during the shorter, cooler days of fall. And finally, allow yourself a little extra time to harvest before cold weather ends production. For tender crops like basil or bush beans, you might add another 10-14 days, but if the crop is quite cold-tolerant – like kale – you can shorten that harvest allowance or even eliminate it altogether.
So, in short:
Days to Maturity (found on the seed packet) + Fall Factor (10-14 days) + Harvest Period (0-14 days) = The number of days to count back from the average first frost date (October 12).
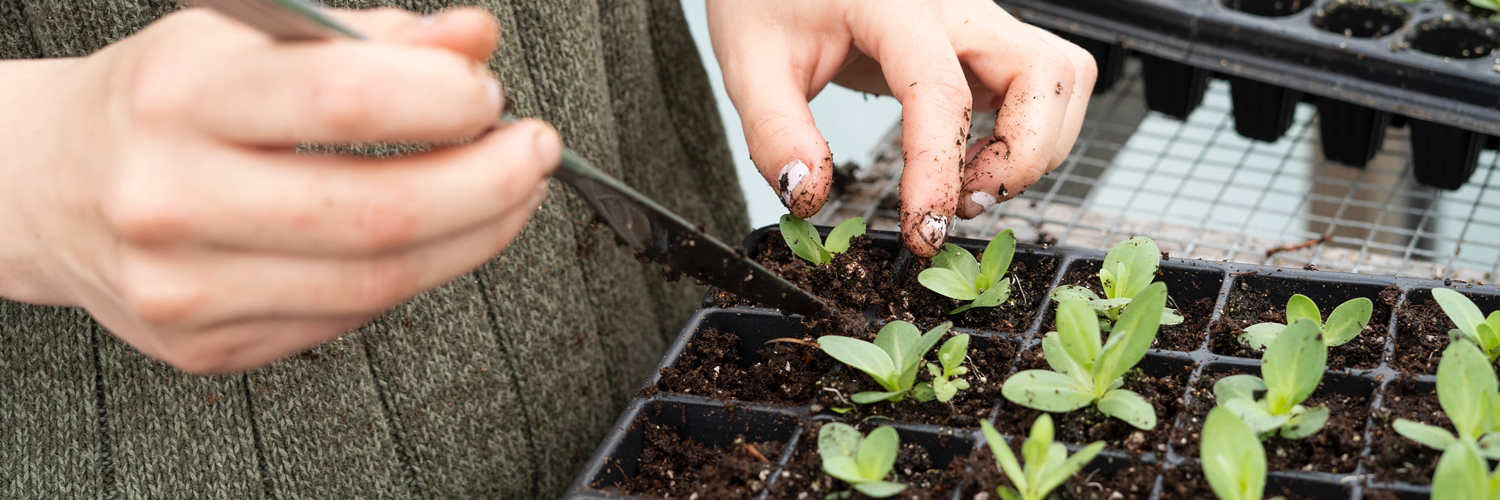
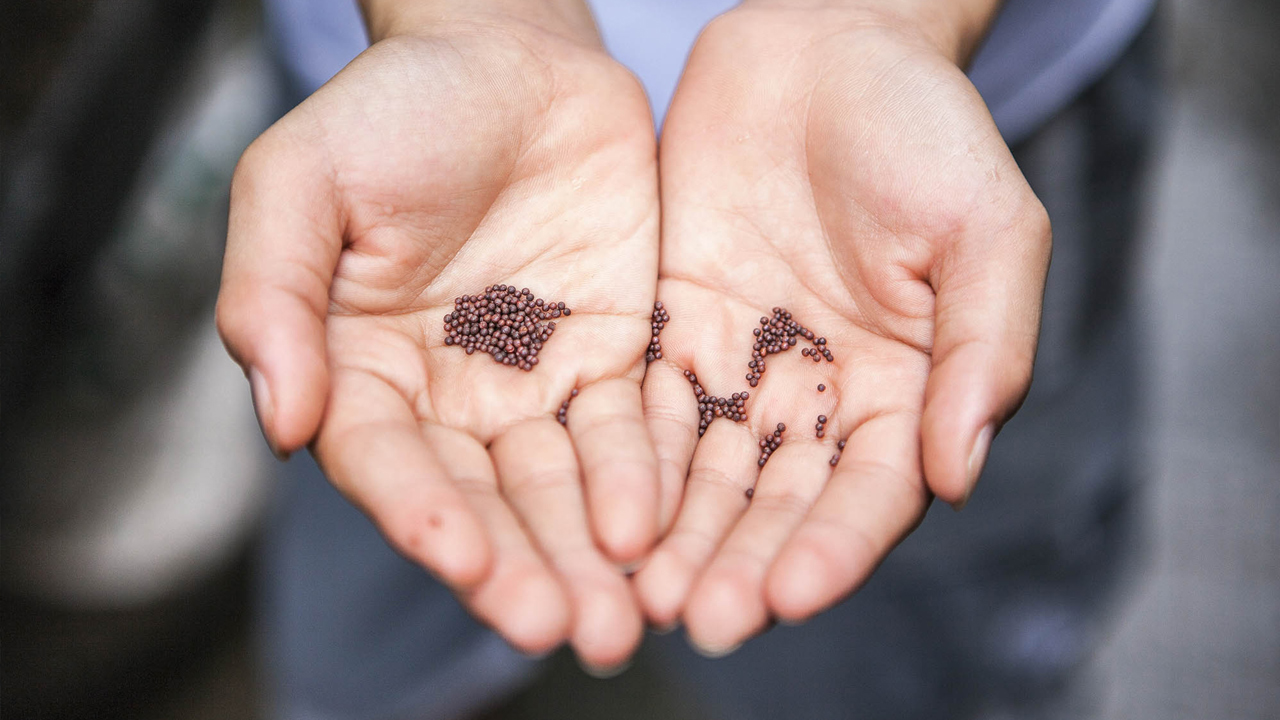
Seeds need warm soil for germination, but when the soil is too hot, it can reduce the germination rate. To counter this, you can start your fall garden seeds in trays and cups kept indoors or in a shaded area outside. Once the new seedlings have gained some strength, they can be transplanted into the garden. This is a good approach for cole crops and head lettuces.
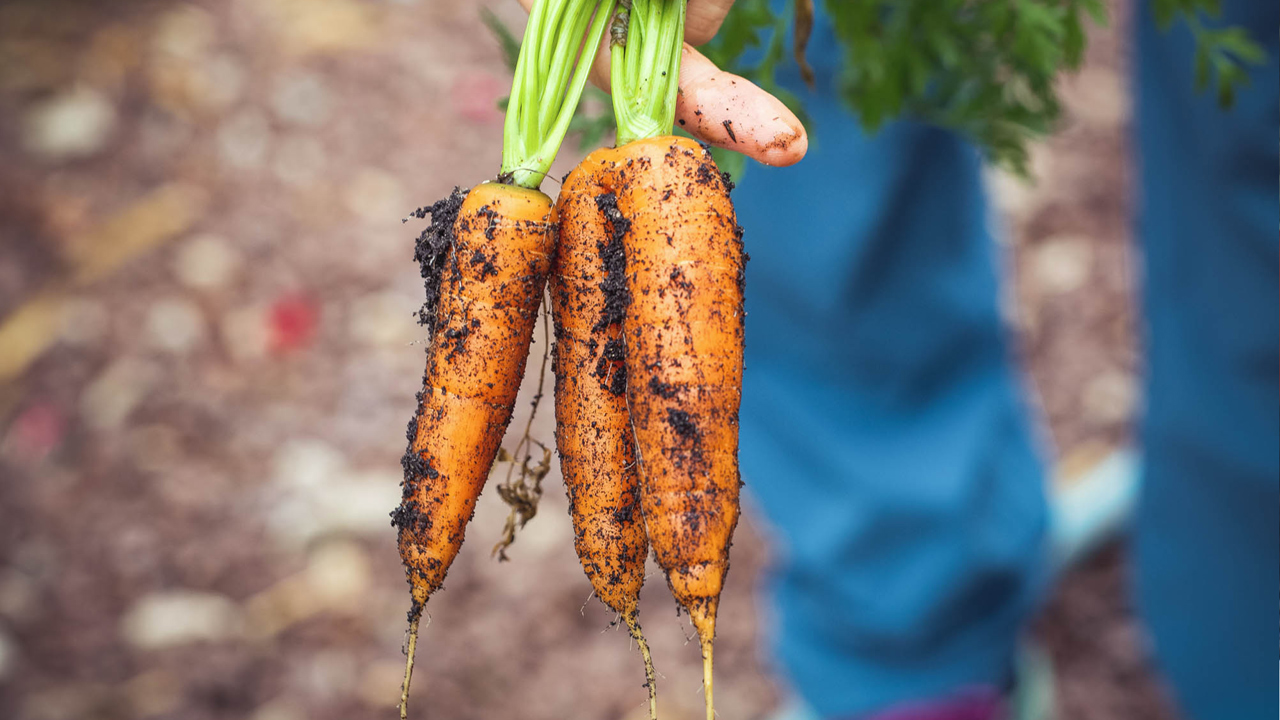
For vegetables that either don’t mind very warm soil or don’t transplant very successfully, their seeds can be sown directly in the garden. These include carrots, beets, leaf lettuces, and radishes.
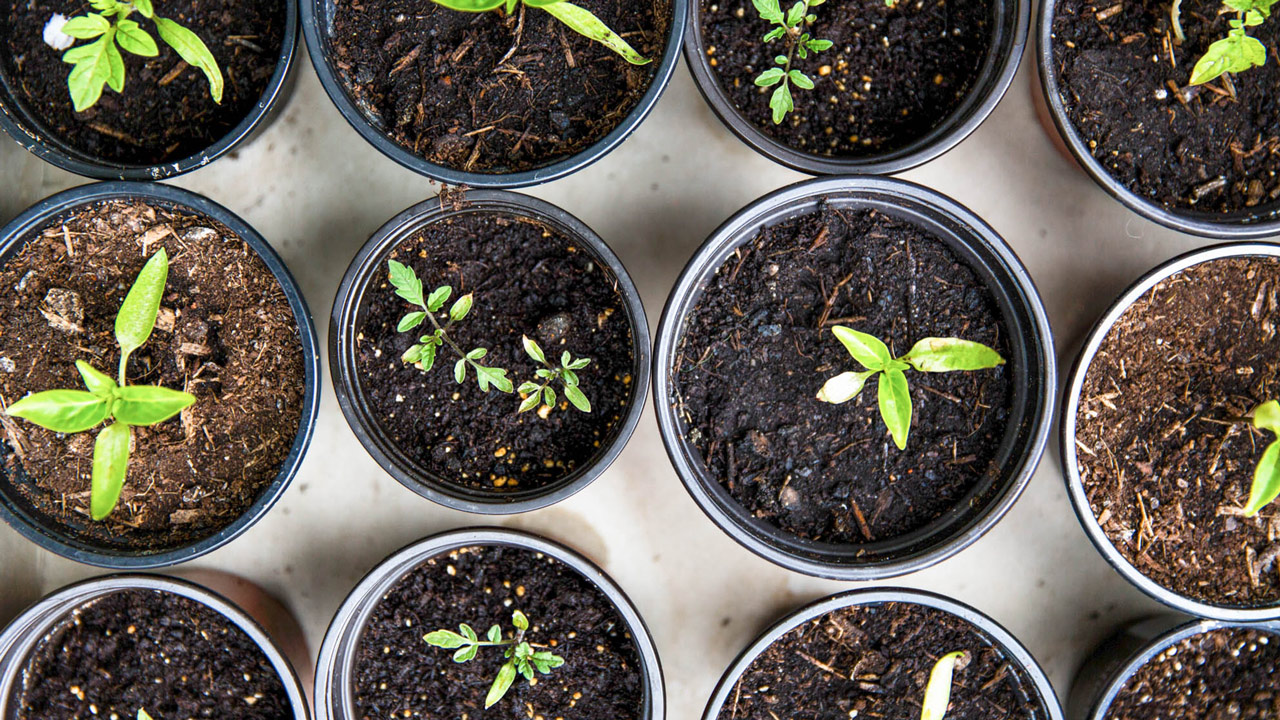
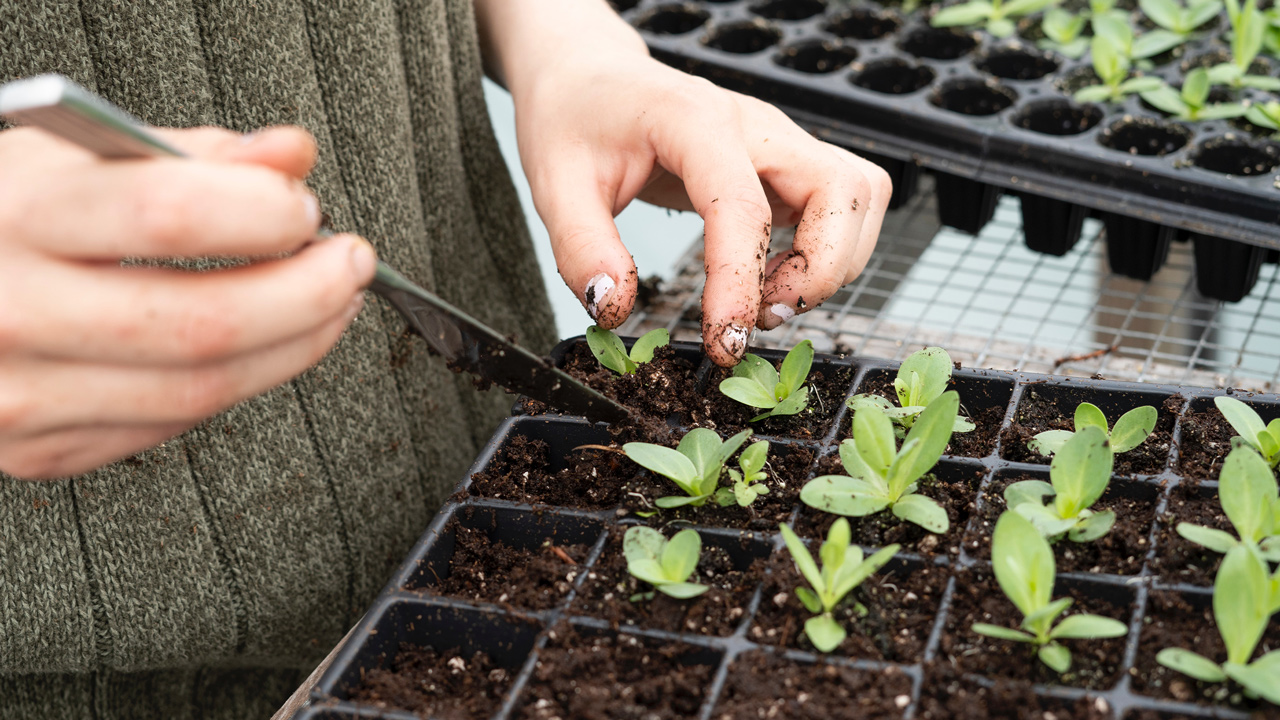
When starting seeds indoors, the main things to remember are: 1) use small containers to start, 2) keep the soil moisture consistent and with good drainage, and 3) repot the seedlings into larger containers to let them grow a little more before planting them in the garden. Here, we offer more tips as we summarize the method used by our friends at The Big Garden.

For many of our favorite vegetables, there’s still plenty of time left in the growing season to enjoy another delicious crop. This year, we hope you’ll give a fall garden a try and continue to enjoy fresh, homegrown vegetables for the next several months. And if questions pop up or you need suggestions, let us know. We’re here at the store or just a phone call away.