It’s summer, and our houseplants are celebrating the abundant light with new foliage, new blooms, and expanding root systems too. If repotting a few houseplants is in your plans, this seasonal growth spurt makes now a great time to do it. We place plants in new pots all the time, and here, we share some of our best tips for making your next repotting project a success.

For most tropical houseplants, it’s time to repot when roots begin peeking out of the drain holes at the bottom of the container. Or you may notice that when you water, most of the water pours out of the drain holes immediately without stopping to soak in. Both clues indicate that the plant’s roots have filled the pot and have nowhere else to grow. In response, your plant has probably stopped growing above the container too. To see what’s going on under the soil, carefully remove the plant from its pot and take a look. If the roots are densely packed and traveling in tight circles, then it’s time to repot. Another reason to repot may be to refresh older soil that’s been drained of its nutrients by years of plant growth. Or it may just be because you want to – you’ve found a beautiful new container that your plant would look amazing in.
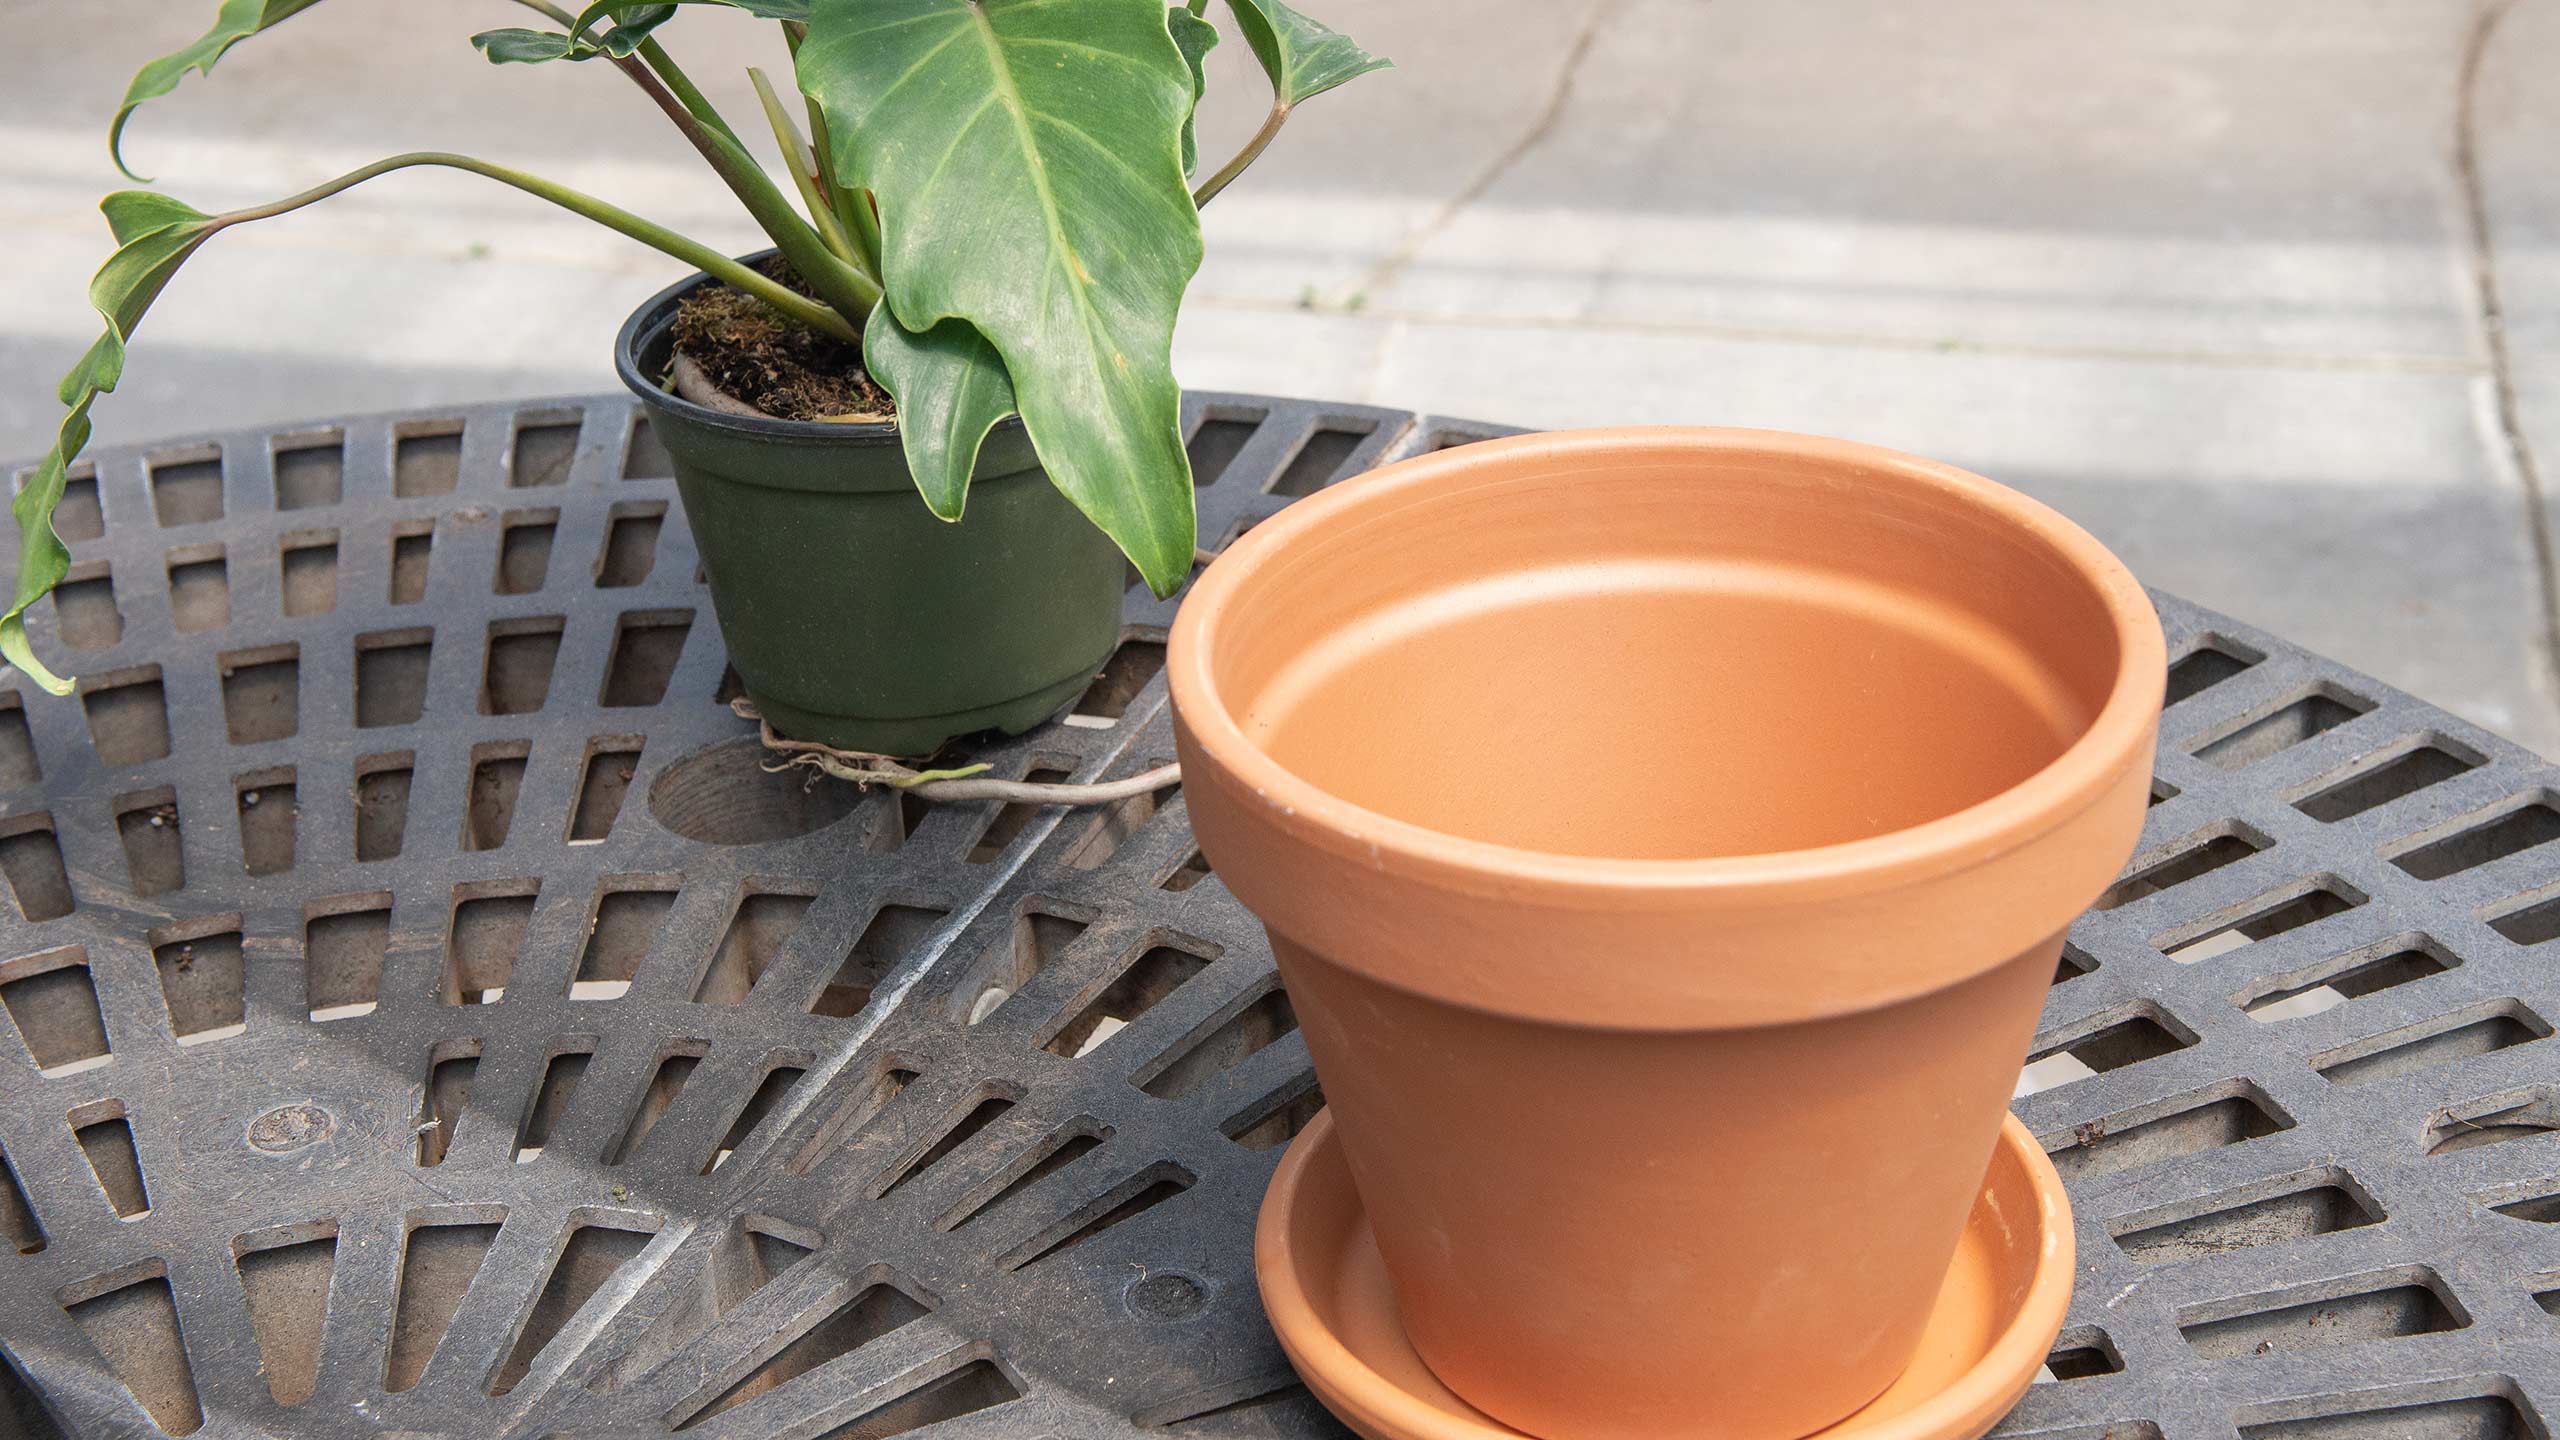
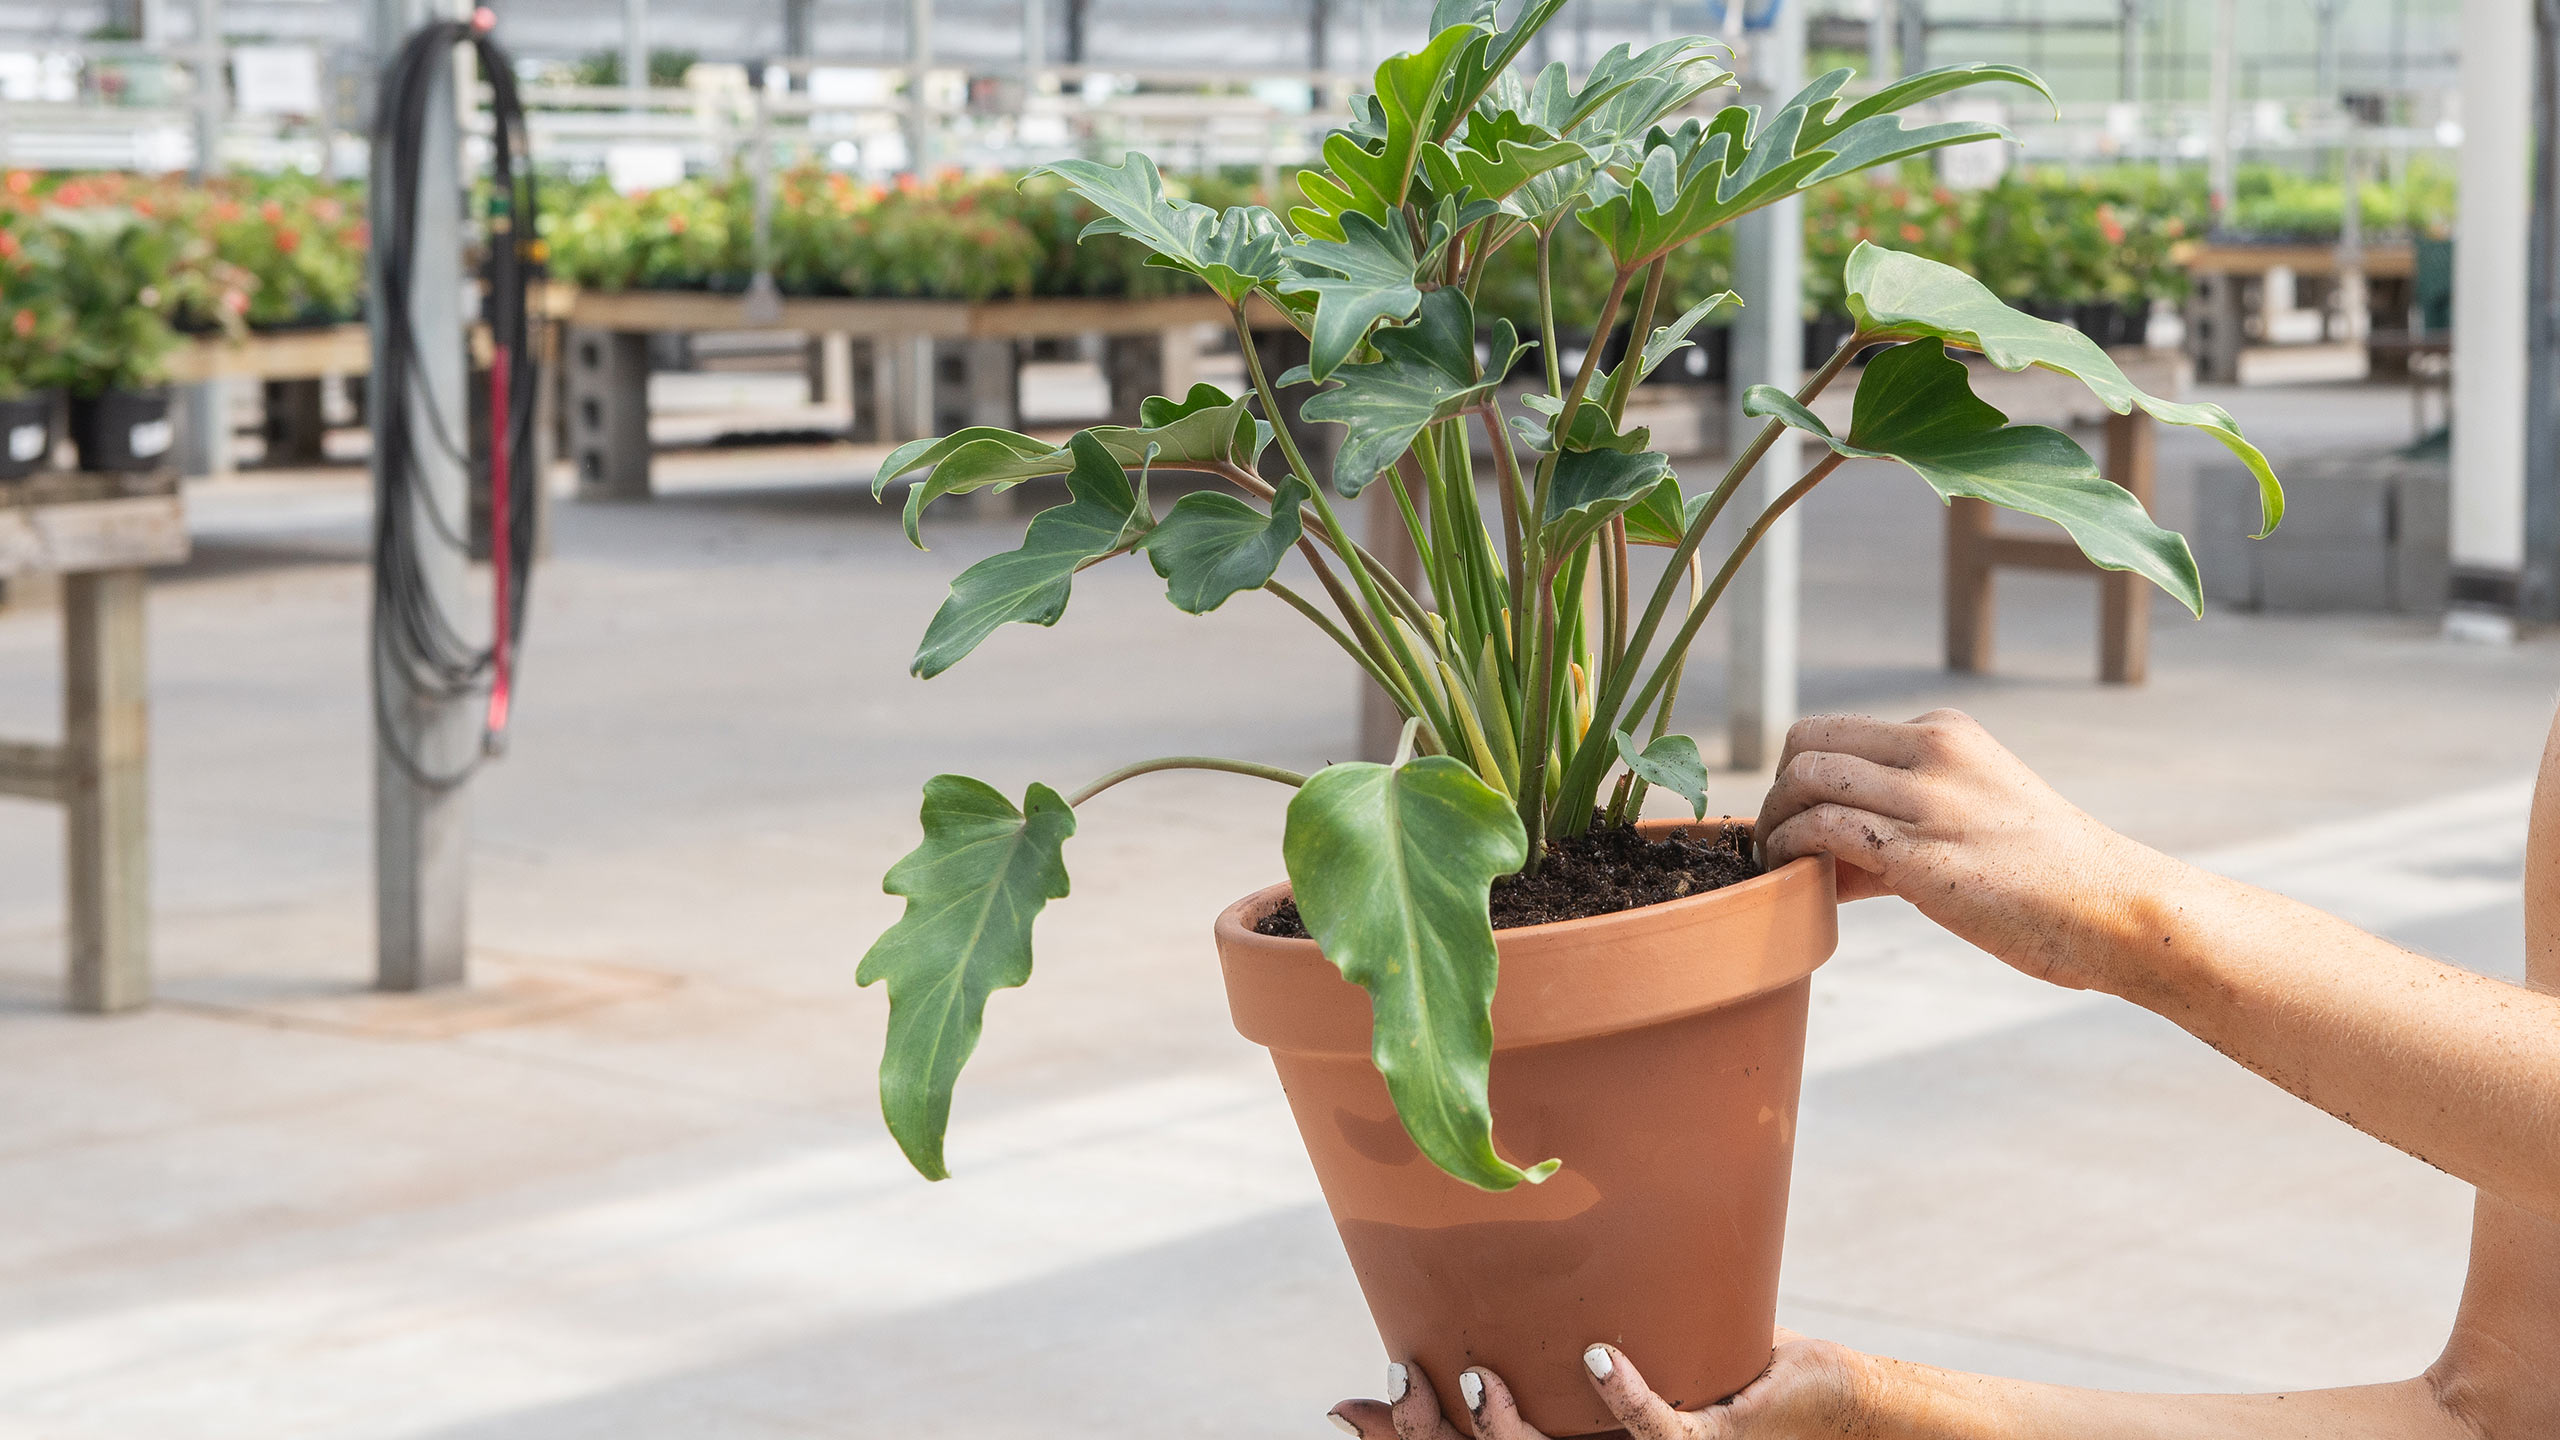
For most repotting projects, you’ll want to select a new container that’s just one to two inches larger in diameter than the old one. Why not go bigger? Up-planting into a much larger container means there will be too much additional damp soil around the root system, which can slow new growth for your plant and cause issues like root rot. When selecting the potting soil, try to use the same type of soil your plant is already used to – which for most tropical houseplants will be a good-quality, general-purpose, professional potting mix. Cacti and succulents, orchids, and African violets have their preferred specialty soils too. But, as tropical plant buyer Jasmine Osten points out, our own watering “personality” can be an important factor in selecting a potting mix too. If you tend to over-water, consider adding amendments – such as orchid bark potting mix, perlite, or gravel – to improve the drainage capabilities of the potting mix. You can also choose a container made of unglazed terra cotta which absorbs some of the water from the soil and allows it to evaporate. If you tend to under-water – as Jasmine does – you might add a little extra peat to the soil mixture to help it hold moisture a little longer.
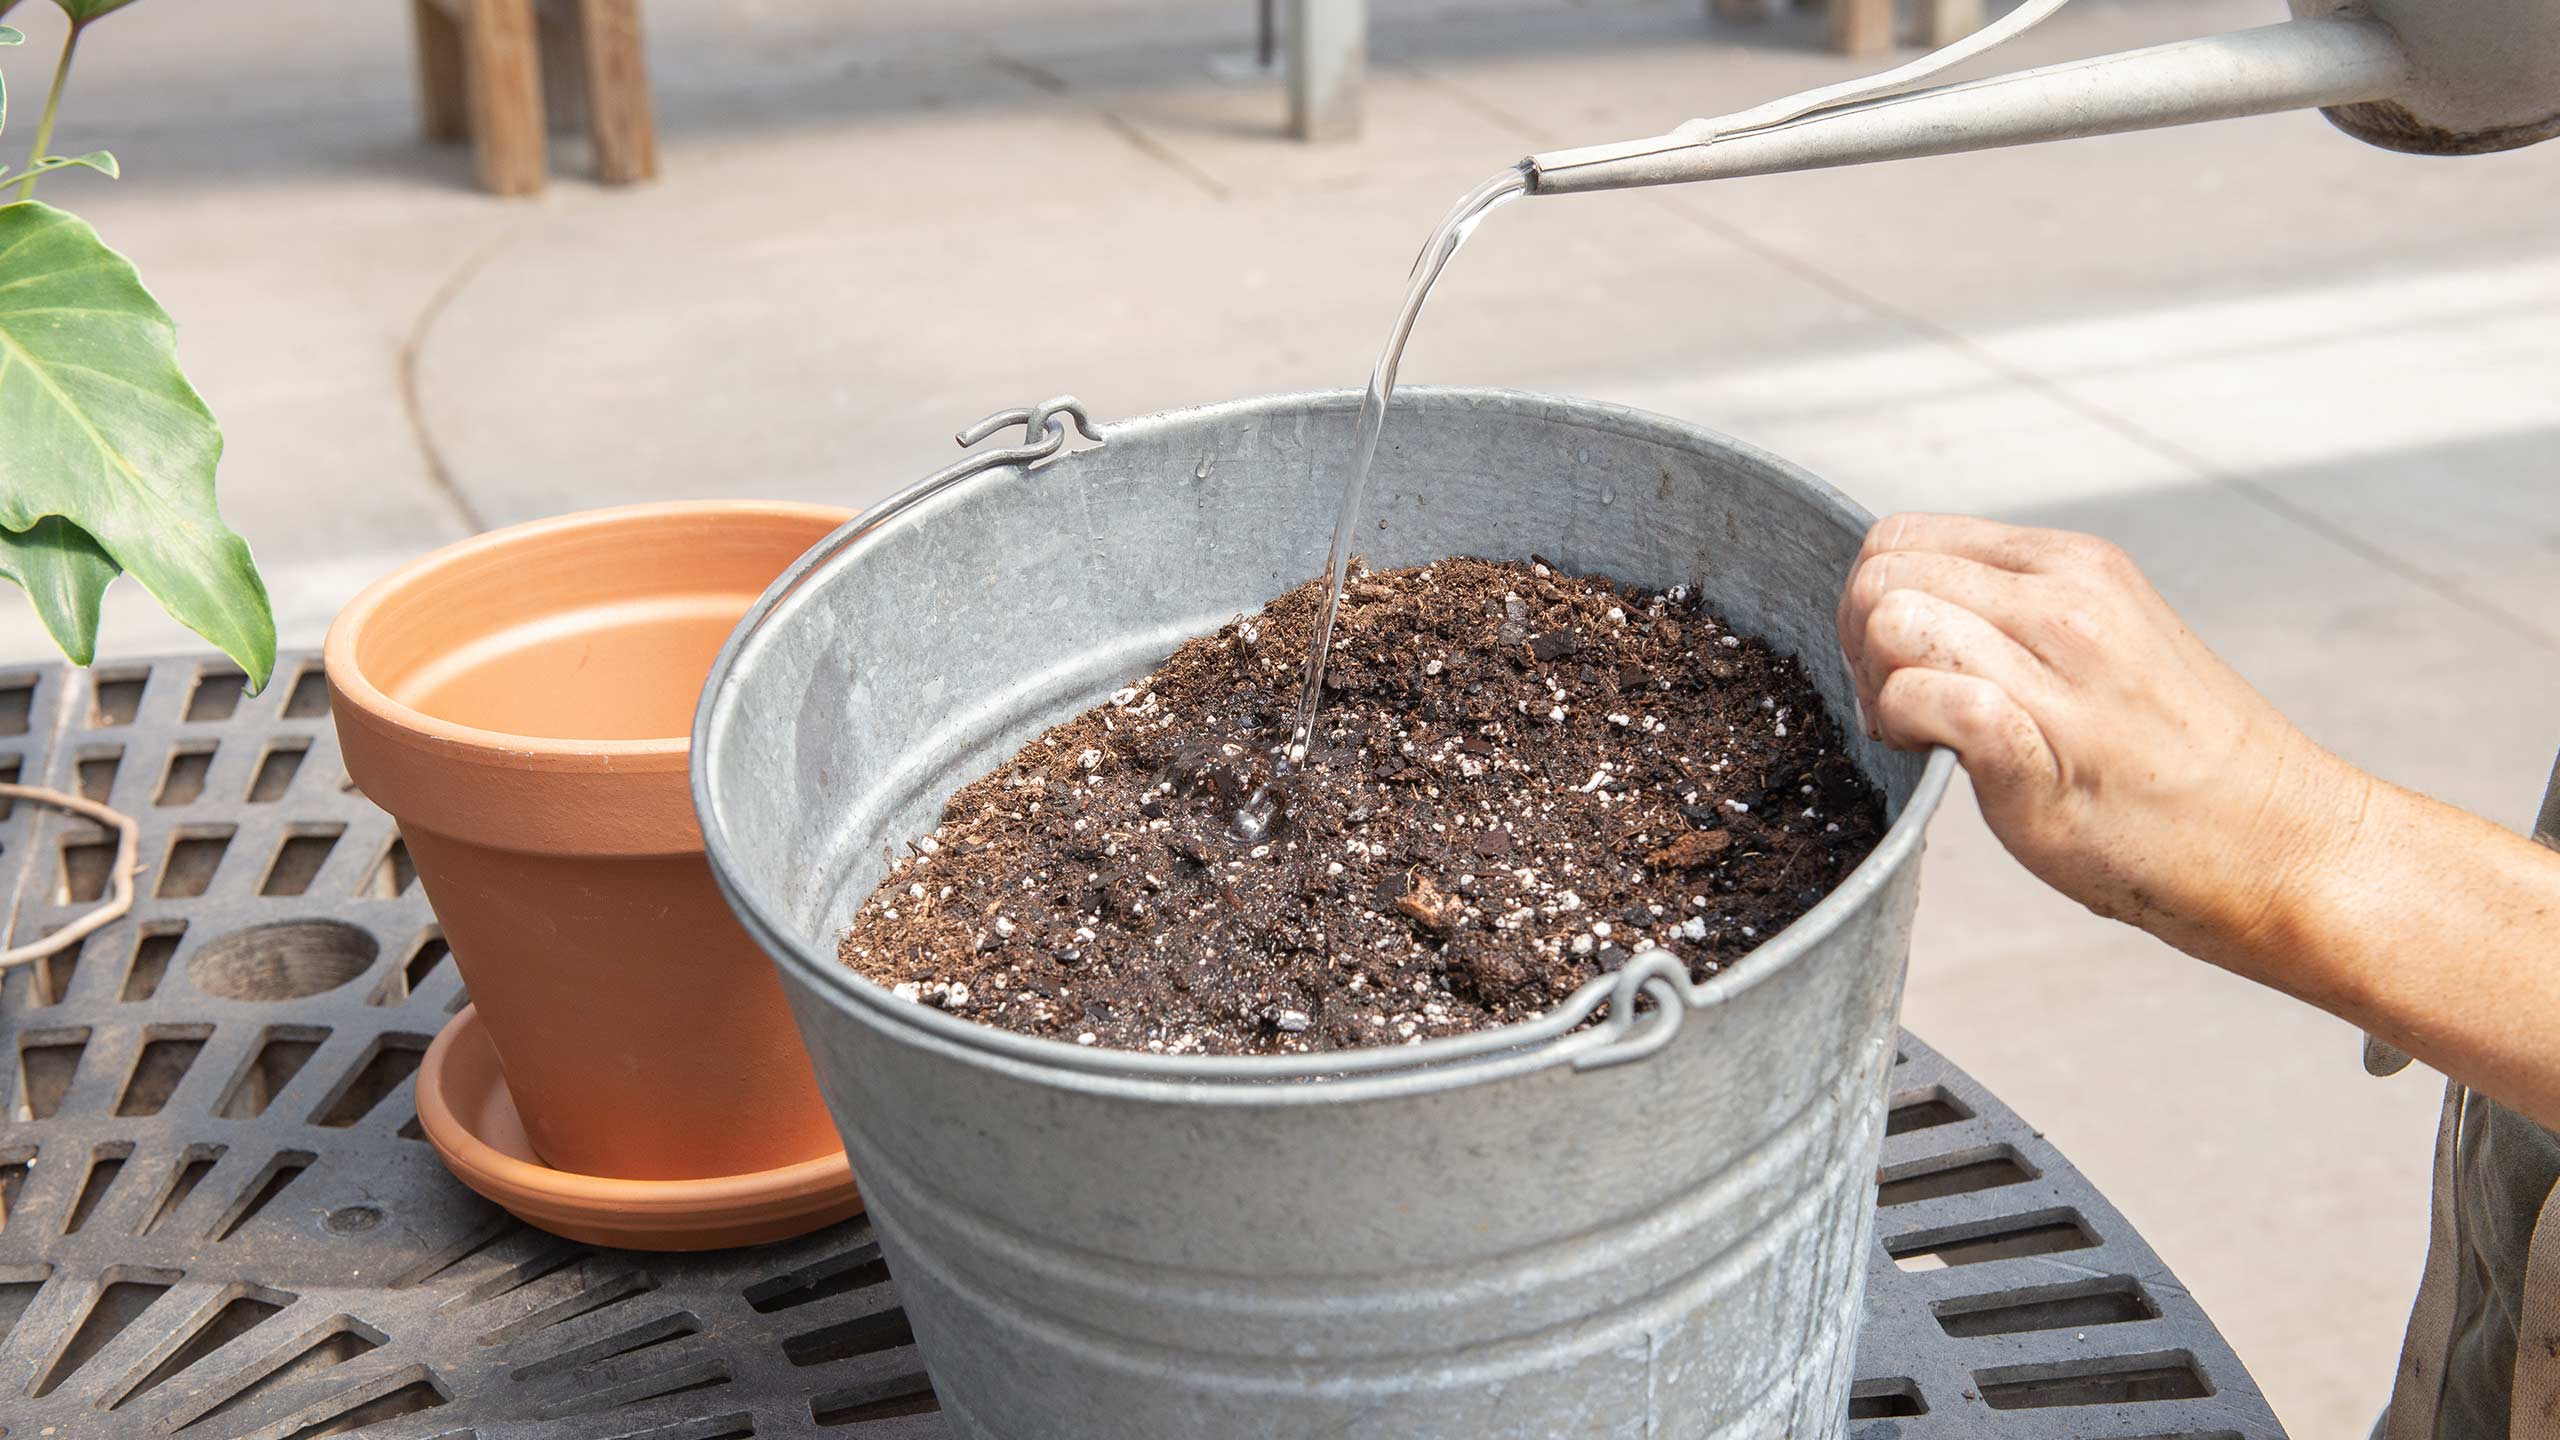
For most tropical houseplants, if the soil is dry and due for its next watering, go ahead and water it thoroughly and let it drain completely before you begin to repot. If the soil is already wet, you can skip this step. Jasmine also recommends that if your new potting mix is very dry, lightly wet it too so that it’s just damp. (If the soil is fresh though, just the moisture it contains is often enough.) Too much extra water during the repotting process can add additional problems for a plant already going through the stress of repotting.
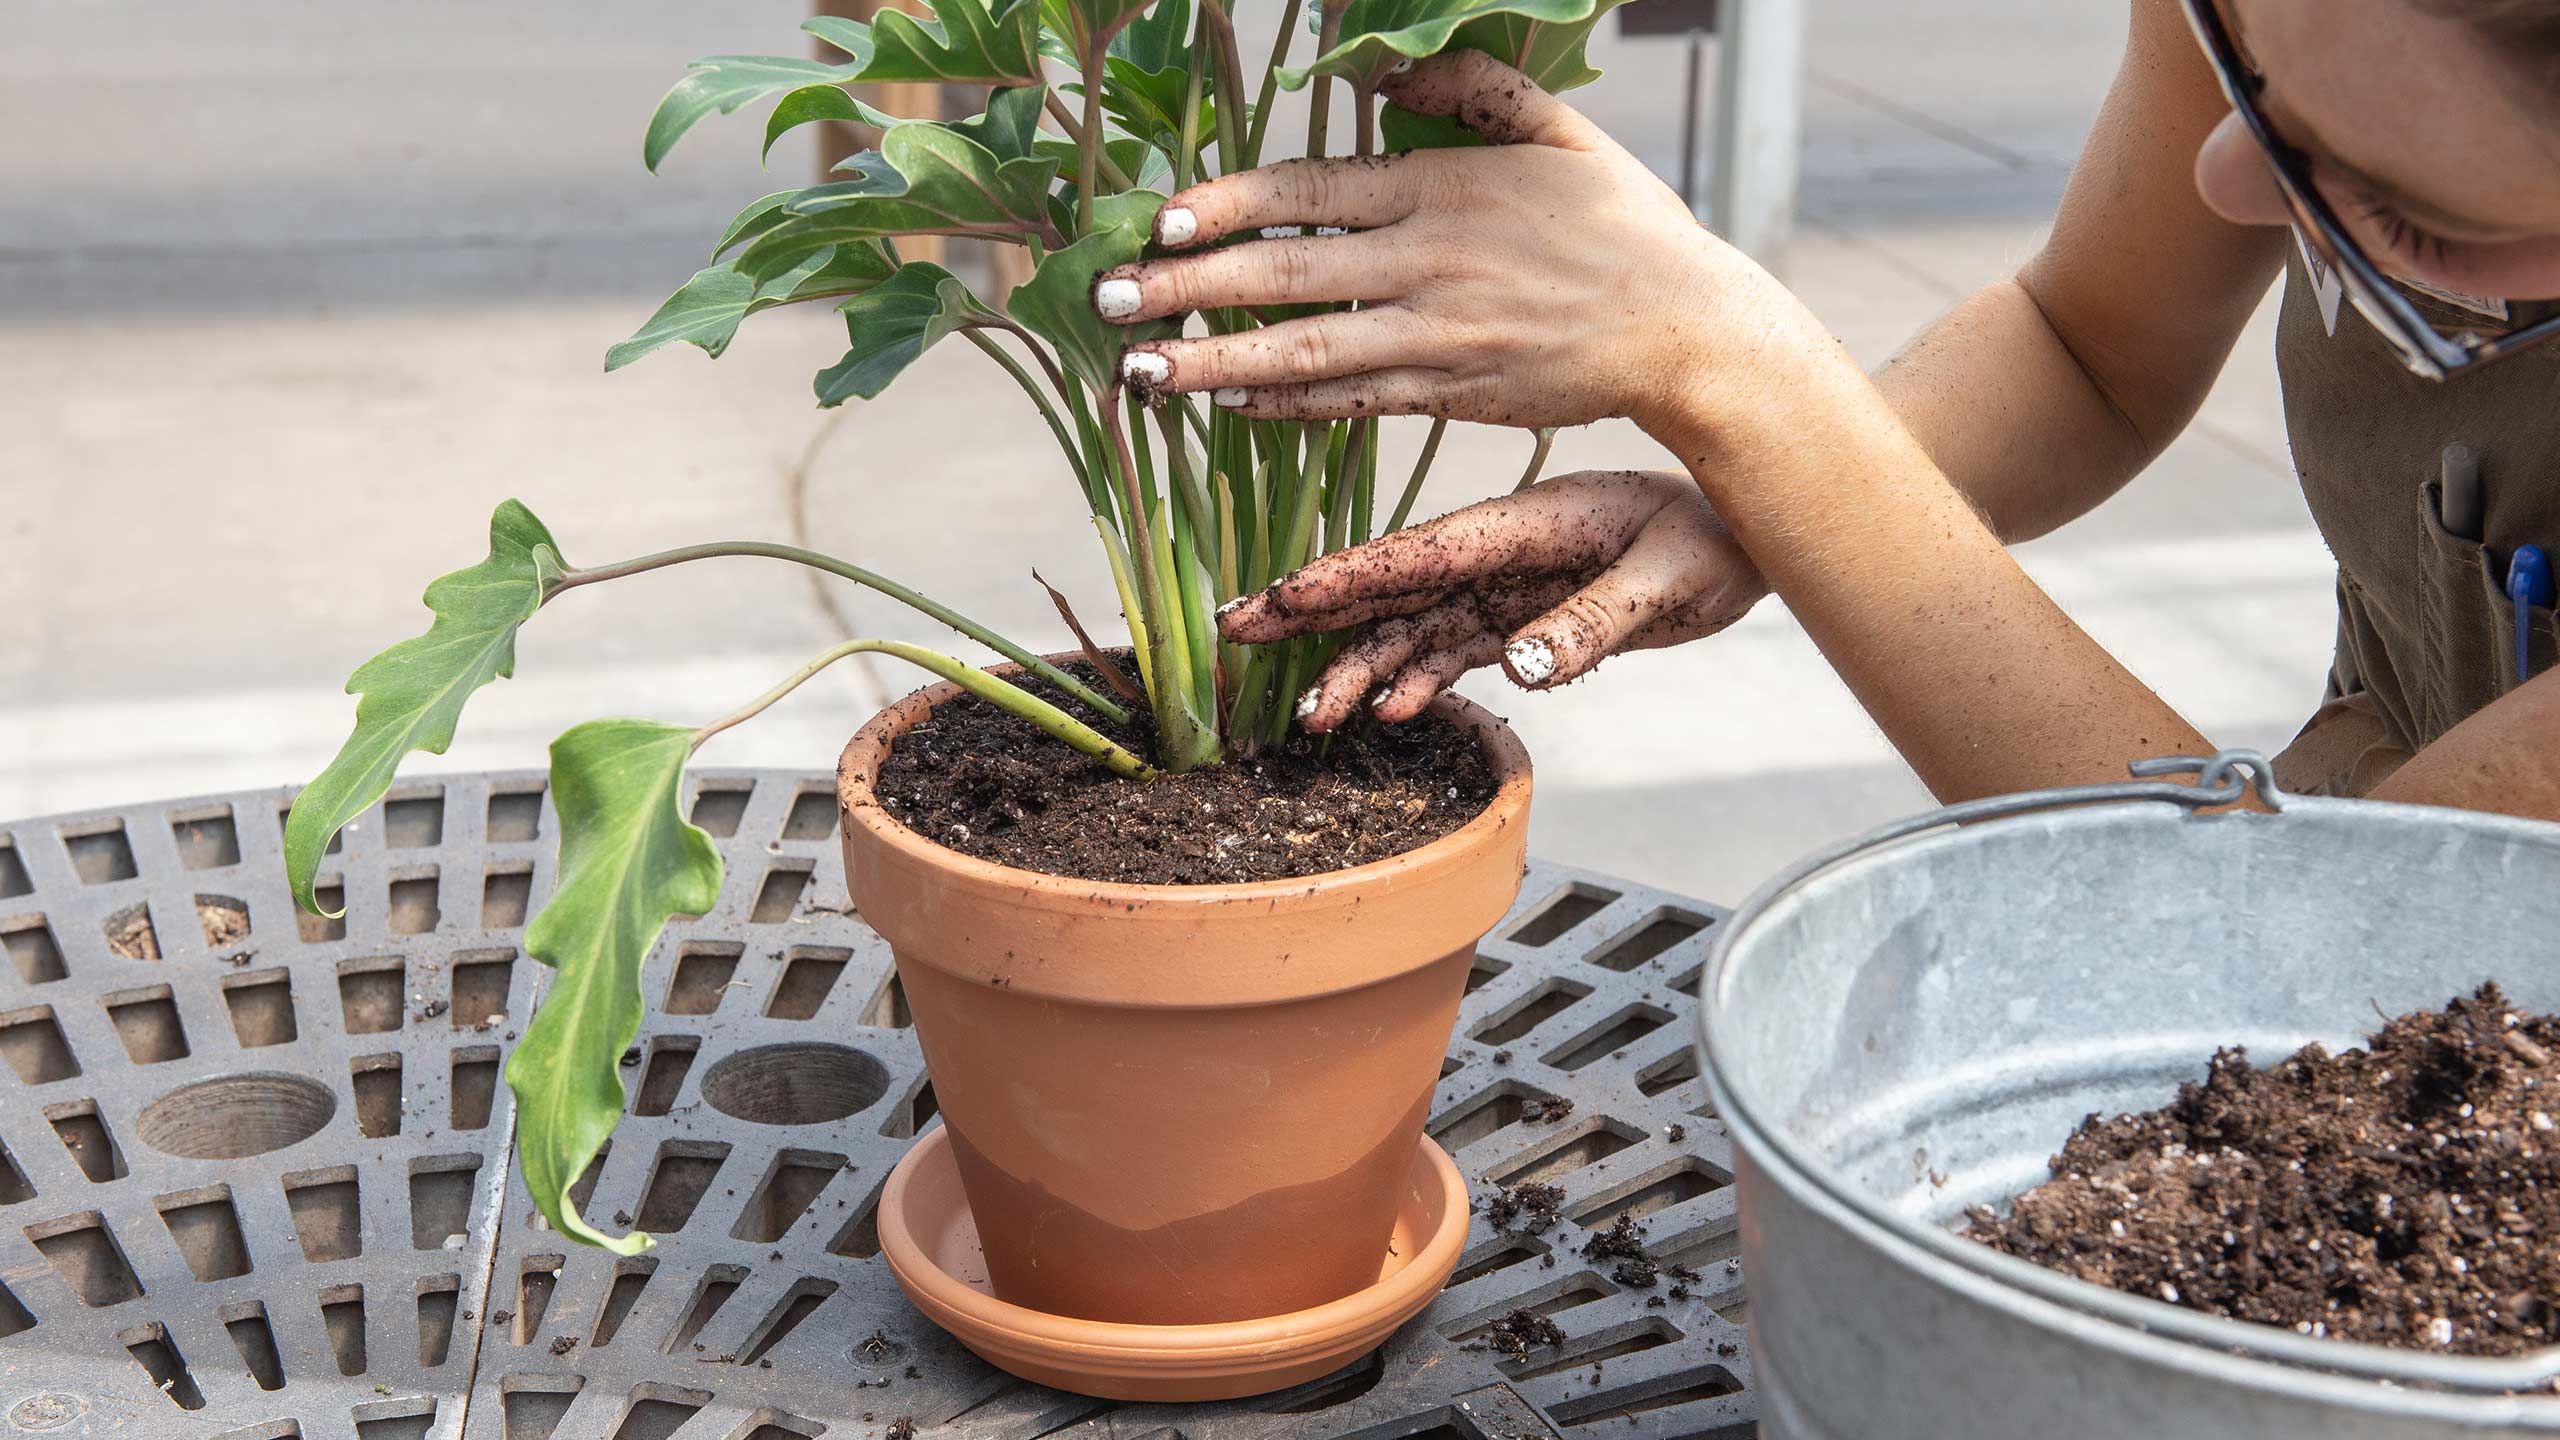
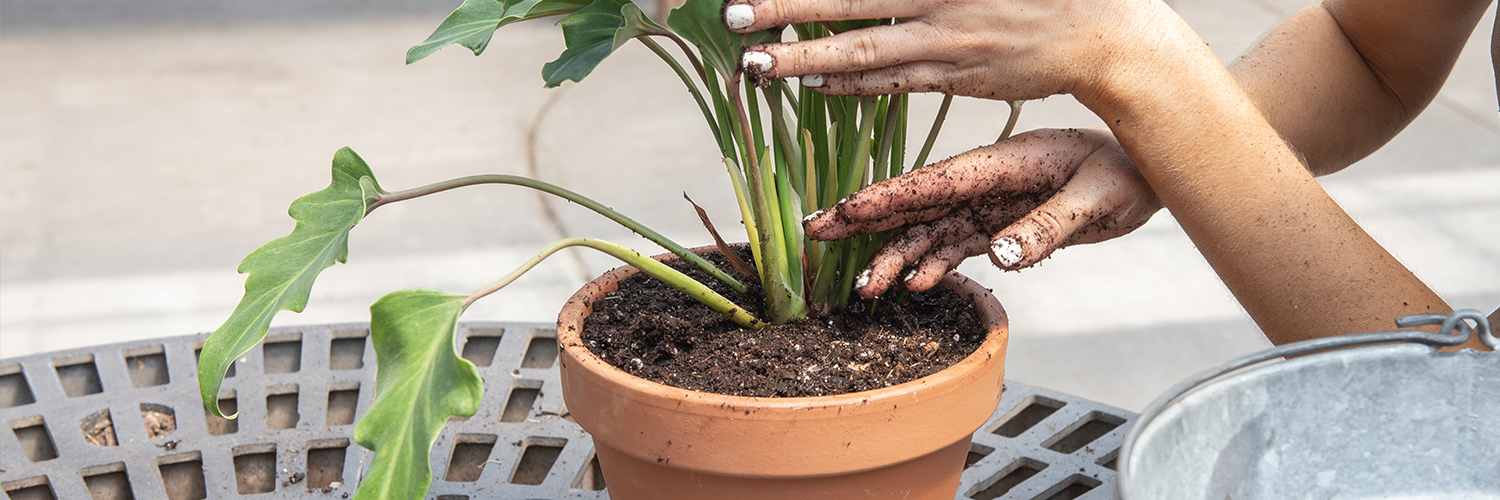
After preparing the pot and plant, the next step is to remove the plant from its old container and inspect the root ball. If the roots are tightly packed, use your fingers to gently loosen them and straighten out any circling roots – in other words, help the plant “spread its toes” a bit. It’s a good idea to trim away dead or unhealthy roots at this time too.
When that’s done, set the plant in the new pot to test the fit – then add new, moistened soil to the bottom so that the existing soil level around the plant sits about an inch below the rim of the container. When the final position seems right, set the plant in again and fill in with soil all around the root ball, gently jiggling the pot to help the soil settle into all the little air pockets. (When Greenhouse team member Penny Bay repots a plant, she uses a thin dowel to poke around in the soil which helps fill in any empty spaces.) Keep adding new soil until the new soil level is even with the old one – adding too much soil around the stem can cause stem rot and lead to the collapse of your plant.
If the new potting mix is already slightly moist, then soaking the root system when you’re done isn’t necessary. In fact, if the soil is already wet, watering at the end just for the sake of it can cause stress on the plant. We recommend letting most newly-transplanted houseplants – especially cacti and succulents – go a few days without additional water so their new roots can breathe and begin growing into their new space. For moisture-loving plants – like maidenhair fern, for instance – you’ll need to water sooner. The best bet is to stick to the level of soil moisture and the watering schedule your plant is used to.
If your plant is rootbound and you want it to continue growing bigger, then repotting in a bigger pot is the best choice for you and your plant. But, if you like the size your plant is now – or you like the pot it’s already in – then you might try root-pruning instead. Pruning the root ball may sound risky, but it’s not – especially during the active growing season when your plant is producing new roots quickly. (Root trimming is actually an important step when repotting orchids – it promotes new growth and blooms.) To prune the roots, remove your rootbound plant from its pot. Then use a clean, sharp pair of garden scissors or pruners to remove no more than a third of the root mass, starting at the bottom and sides. From here, you can proceed just like any repotting project – gently loosen the remaining roots, set the plant back in the container, and fill in with new soil as needed.
If you have questions about when or how to repot any of your houseplants – including specialty plants like cacti, succulents, orchids, and bonsai – just ask. We’re happy to show you how and share some of our own secrets to repotting success. And for more tips to care for your houseplants, join us at our next seminar, Houseplants 101.