Sometimes what our houseplants need for a boost of new growth is the chance to be repotted in a new container with a fresh batch of potting soil. Here, we cover all the basics with our best tips to help you successfully repot your houseplants and keep your collection thriving.
Unless you’re repotting simply for aesthetic reasons – maybe you have a favorite pot you’d like to use – typically the only real need for repotting is when the plant has become potbound, meaning the roots are so dense that they’re running out of space and soil. Many houseplants can go years without repotting, while others may need to be repotted annually.
Signs that your houseplant is potbound include:
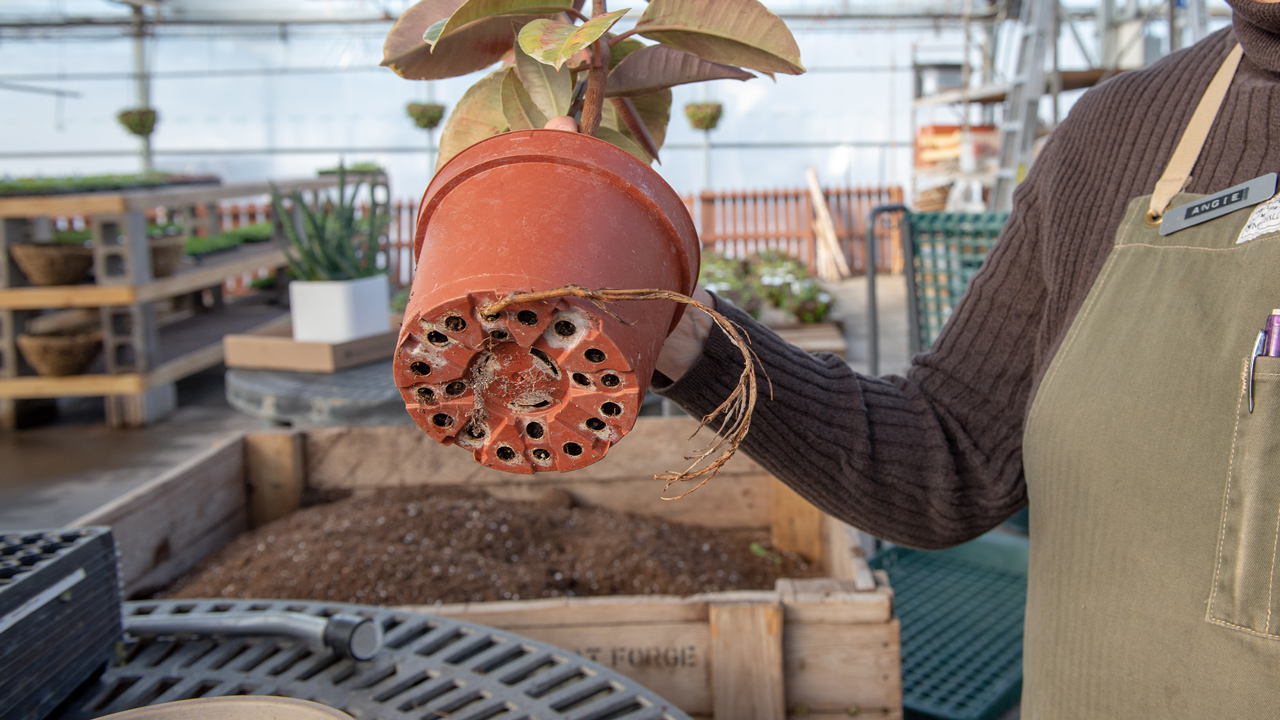
If you think your plant might be potbound, remove it from the container and take a look at the roots. If the roots are so dense that they’re growing in tight circles or growing out the bottom of the pot, it’s time to repot into a slightly larger container.
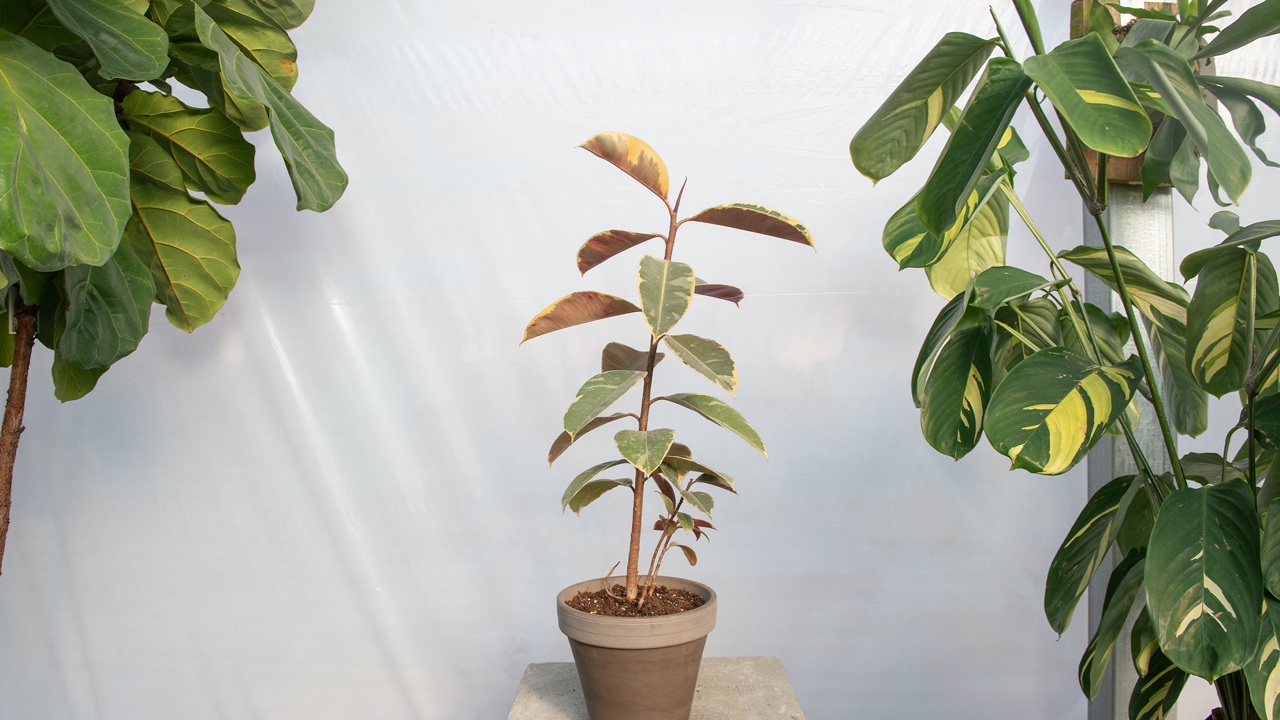
The best time to repot your houseplant is when it’s entering its most active season of growth – for most houseplants, that’s spring. Don’t be alarmed if you notice some leaf-drop or paused growth following repotting. The process of repotting causes some level of damage to the roots, so in response, the plant self-regulates the amount of aboveground growth it has to support. This adjustment period usually takes a couple months – but it may take a little longer outside of the growing season.
Drain Holes
When choosing your container, we highly recommend that you choose one with a drain hole, so your roots aren’t stuck sitting in excess water. This causes the roots to run out of oxygen and leads to root rot – probably the most common cause of houseplant fatalities. If your favorite pot doesn’t have a drain hole, you can always keep the plant in its original plastic grow-pot and stage it in the decorative pot, removing it each time you water. Plants can be grown in pots without drain holes too, but it’s trickier to get the balance of water just right to avoid having excess water in the bottom of the soil.
Material
Indoor pottery comes in a wide variety of materials – ceramic, terra cotta, wood, porcelain, glazed clay, fiberclay, cement, plastic – and the one you choose will depend largely on your own personal style. But there are some practical considerations too. If you have a tall floor plant, consider using a heavy material that won’t be prone to tipping – like terra cotta, glazed clay, or cement. For a lightweight option, you might choose fiberclay or plastic. If you tend to overwater your plants, terra cotta is a good choice because its breathability can help the soil dry a little faster. Or if you underwater, you might choose a nonporous container like glazed clay or plastic to hold in the moisture.
Size + Shape
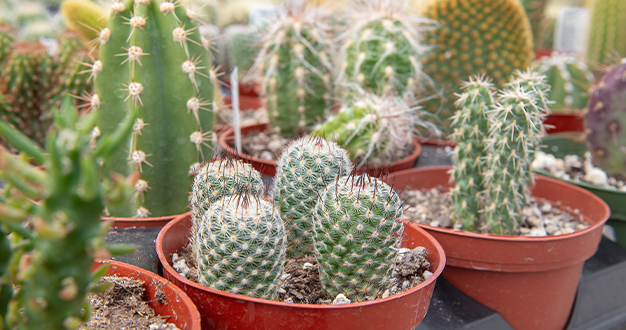
Another important consideration is the size of the container, which should be in proportion to the size of the plant and its root-ball. If your plant needs a larger container, be sure to only move up 1” or one size of pot. A lot of excess soil around the root-ball will hold extra water that’s not needed by the roots – ultimately leading to root rot. For small cacti, which need very little moisture, look for the smallest container that will accommodate the roots.
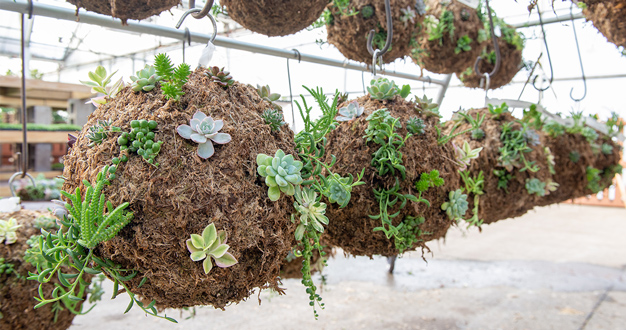
Typically, the shape of the container is an aesthetic choice, but there may be other considerations as well. For example, if you have a tall plant, you’ll want to avoid choosing a container that’s narrow at the base and more likely to tip. And some pots are designed to be shallow – these are perfect for cacti, succulents, pothos, pilea, peperomia, and other plants with a shallow root system.
For most foliage houseplants, the key to a good potting soil is that it’s light and fluffy – with peat moss to retain moisture and pores that allow for good water drainage and air movement to and from the roots. Our favorite go-to potting mix is Fafard Professional Potting Mix.
Cacti and succulents are a little different though. These plants are drought-specialists so they prefer fast-draining components like crushed rock, pumice, and perlite. Around here, we like Crump Greenhouse Cacti and Succulent Mix and Black Gold Cactus Mix – and we often use a 50/50 blend of the two.
Prep Work
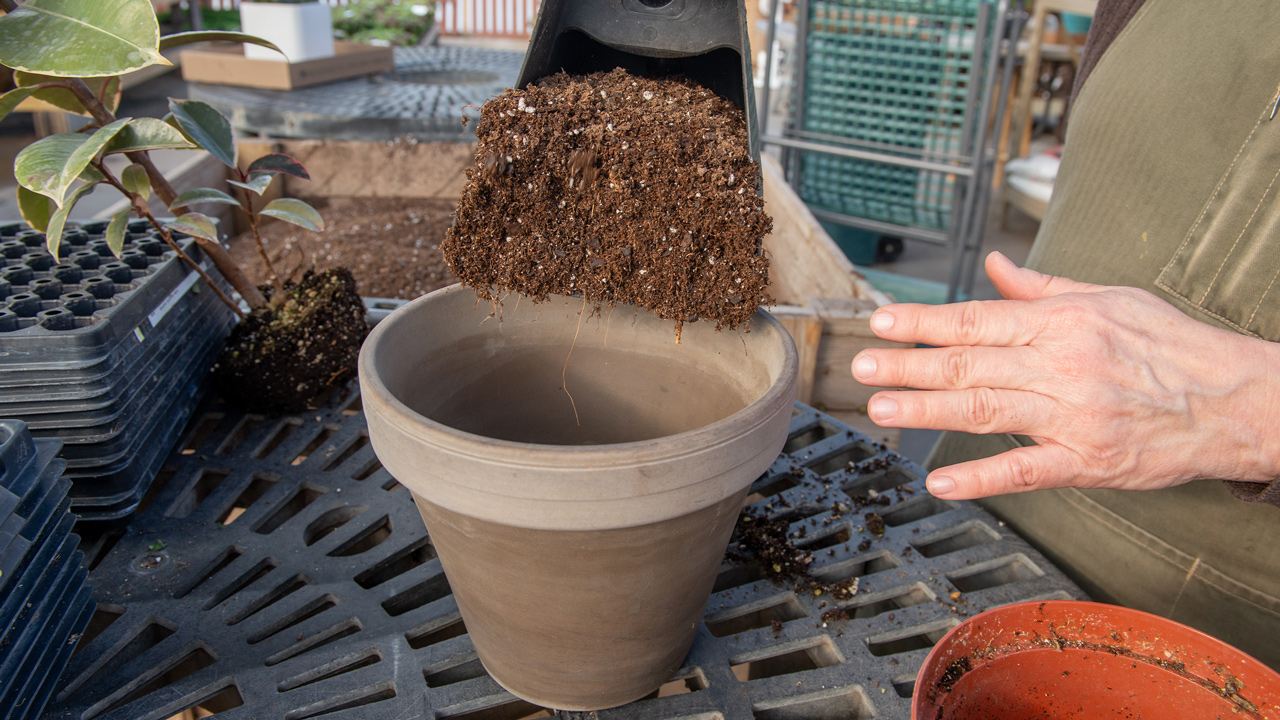
Before you get started, be sure to gather all the tools and supplies you’ll need and prepare your workspace, potting mix, container, and plant. If you’re using fresh potting mix, you can use it straight from the bag. Otherwise, if your potting mix has dried out at all, lightly moisten it throughout before you get started. If you’re using a used pot, be sure to clean it thoroughly and soak it in water with a capful of bleach to remove any potential plant pathogens from past houseplants.
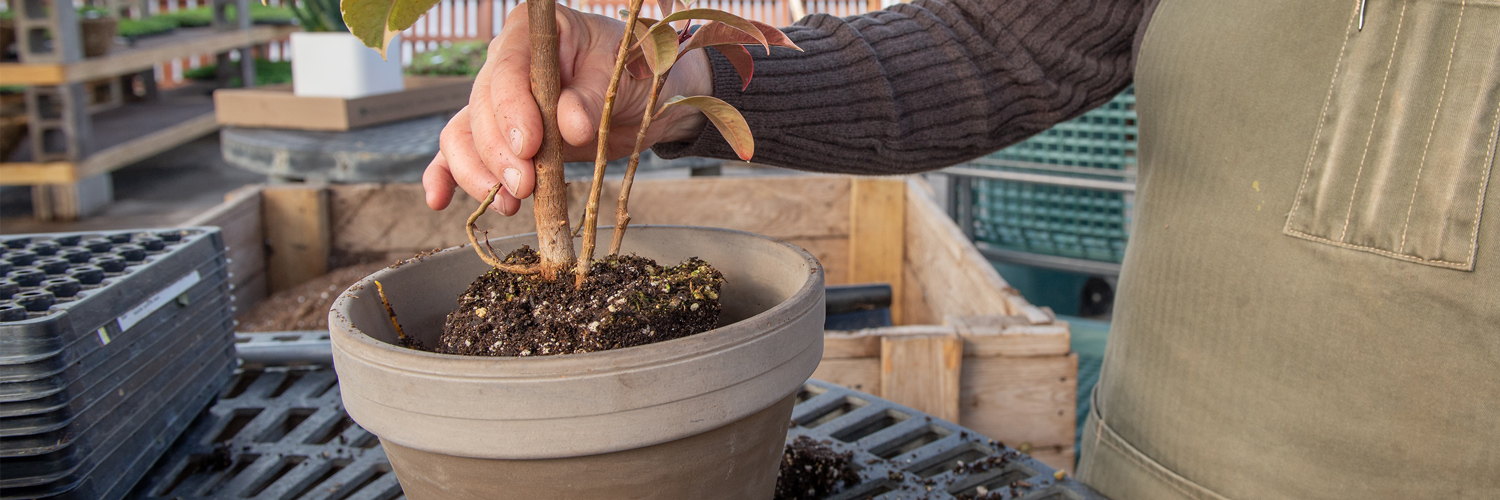
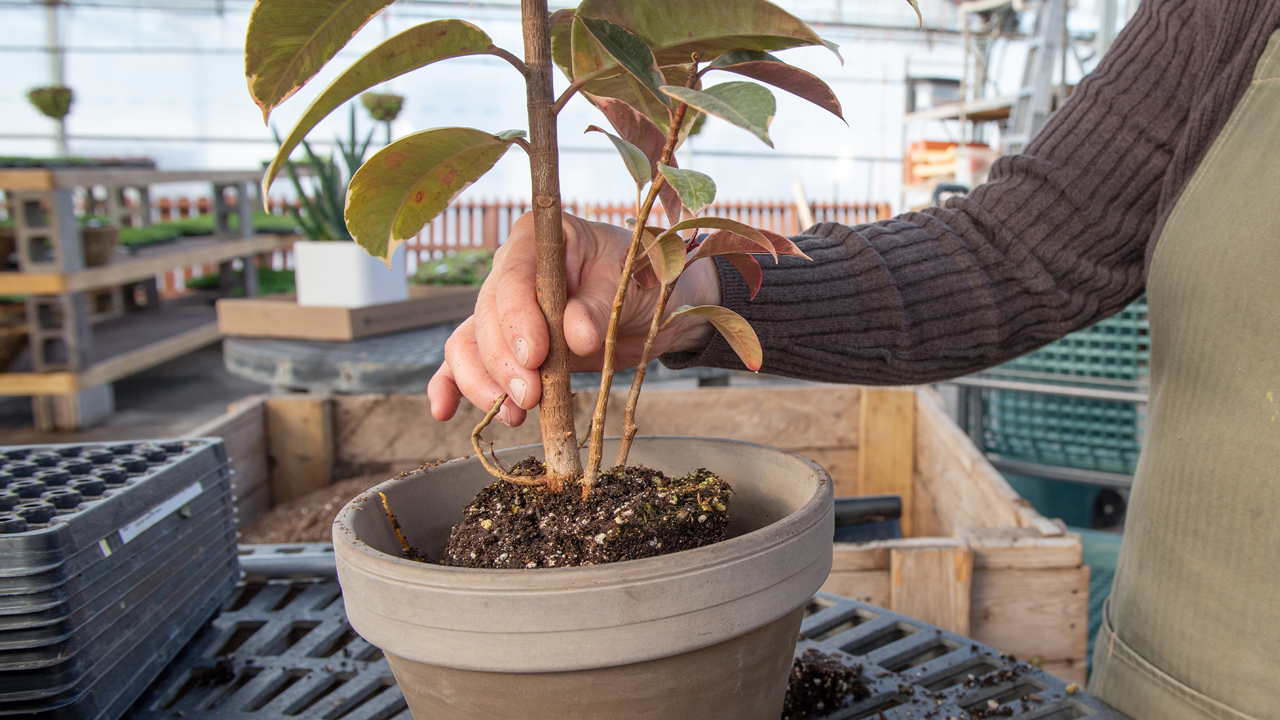
If you’re repotting a foliage houseplant, we recommend watering it the night before and again before repotting. Then remove the plant from its pot and tease out some of the matted roots. Be sure to prune out any dead, diseased, or circling roots. If you want to limit the size of the plant, you can prune more of the roots as well – a good rule of thumb is to remove no more than a third of the smallest roots.
Planting
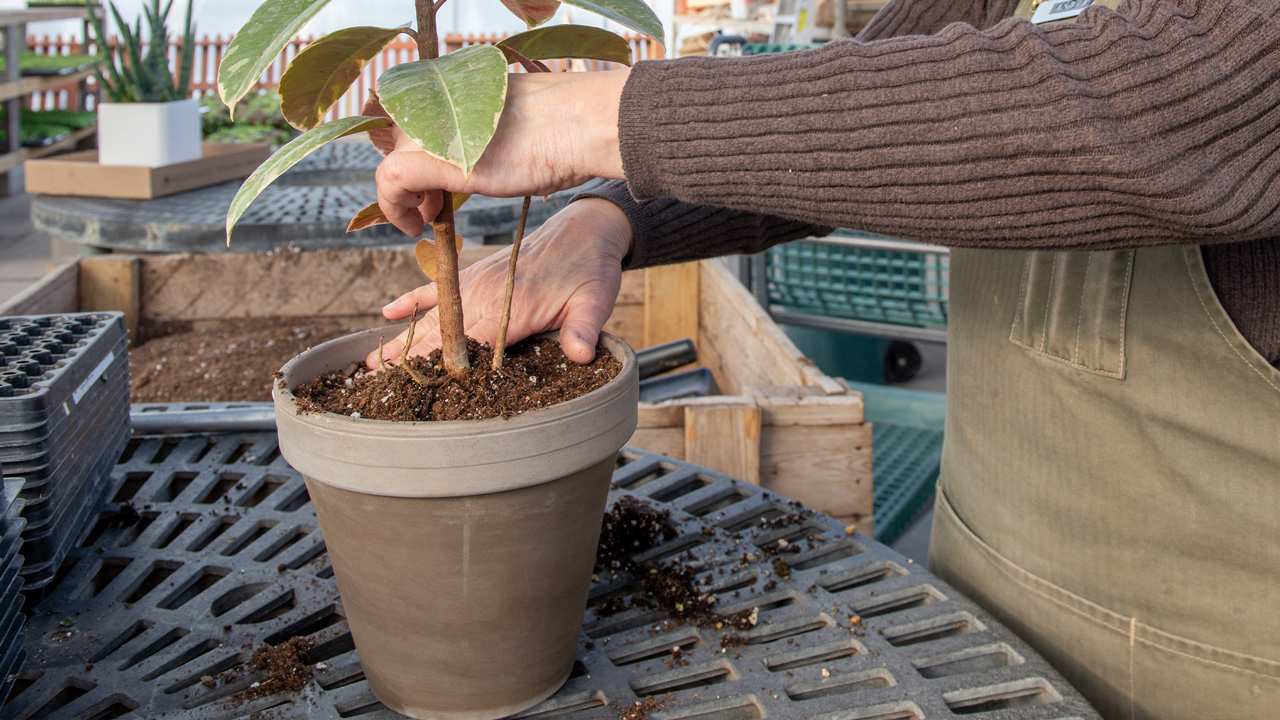
To repot your plant, start with a layer of potting mix in the container, and place the root-ball on top. Gradually fill in more potting mix, gently firming it down and making sure that the final soil level stays at the same original level. After you’ve finished planting, water the plant and place it in a low-light space for about a week before moving it back to its home.
As always, if you have any questions about your houseplant collection and how to care for it, give us a call or stop in the store. We’re happy to share what’s worked well for us or help you find what you need for your next repotting project.