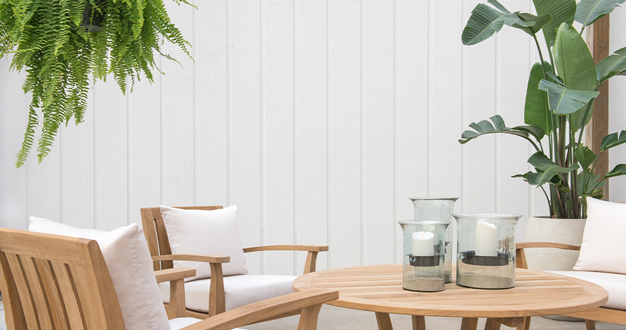
It’s planting time, and for many of us, that includes container arrangements filled with colorful foliage and flowers. Our Container Design team works to create thousands of beautiful planters for our customers every year. With that kind of experience, we’ve collected a long list of proven methods and strategies we rely on to make sure each one of our planters looks amazing and thrives all season long. Here we share a few of our best tips and tricks for building success in your own container designs.
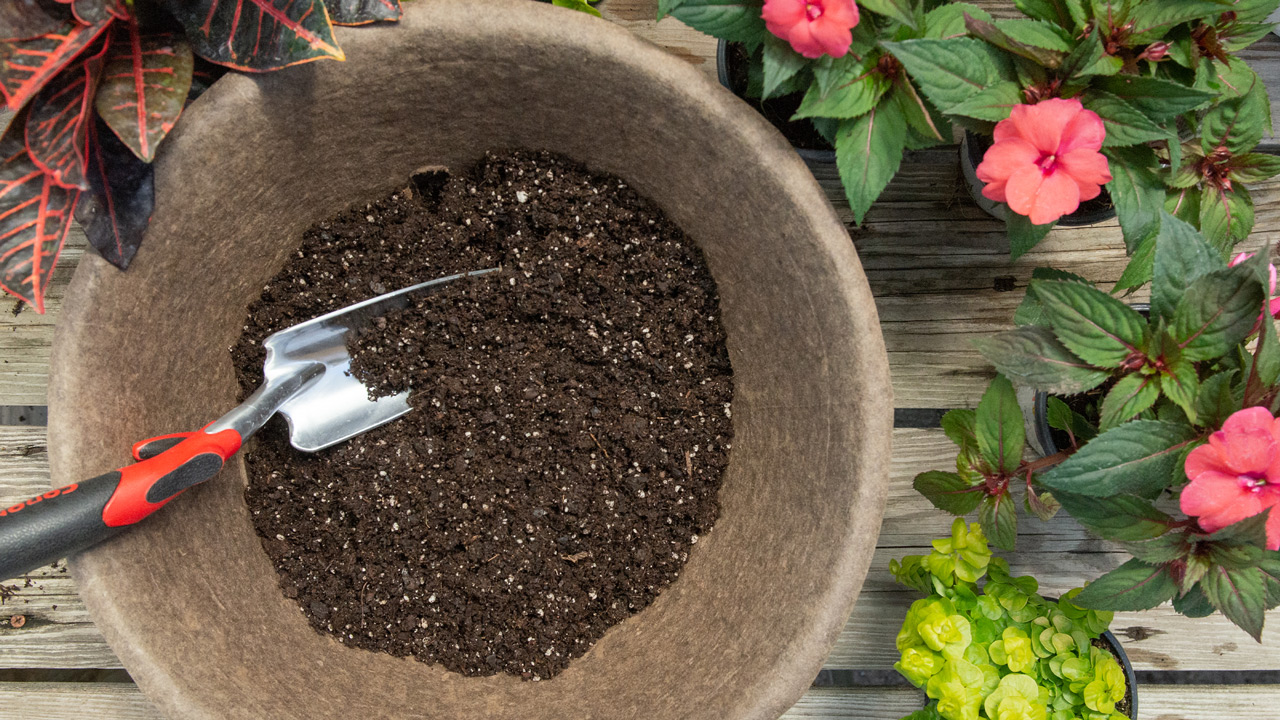
What’s our number one, indispensable tip for successful container planting? Fill your pots with a professional, peat-based, soil-less potting mix – not garden soil or top soil. Even with a good drain hole, containers inhibit excess water from draining away from the roots, which can be detrimental to most plants. With its blend of natural peat moss, aged bark, perlite, and other ingredients, a good soil-less potting mix is specifically formulated to keep just the right amount of moisture around the roots and let the extra drain away quickly. If you’ve used garden soil in containers in the past and had limited success, switch to a potting mix – we like Fafard Professional Potting Mix. You’ll notice the difference right away.
Designer’s Trick: Filling a large outdoor pot with potting mix can be pricey – and unnecessary too. We recommend using a smaller fiber pot that can be staged inside your decorative pottery. In our Garden Store, you’ll find a variety of shapes and sizes to match your containers. Or to take up extra space in the bottom of your containers, you can also try adding undyed mulch, Styrofoam peanuts, or upside-down empty grow-pots before adding your potting mix. But avoid filling more than one-third of the pot with your space-saving alternative – you still need plenty of room for roots to grow – and be sure to leave the drain hole uncovered.
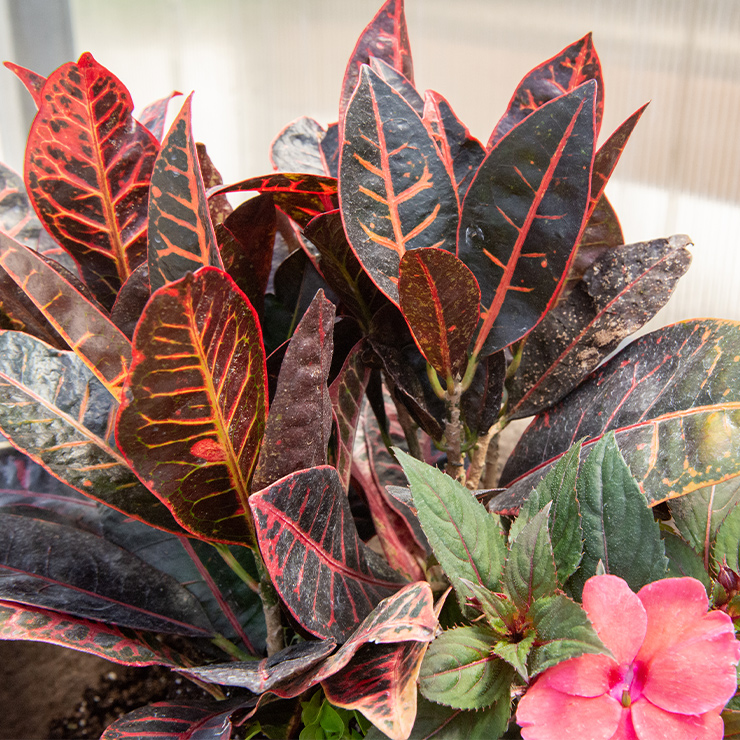
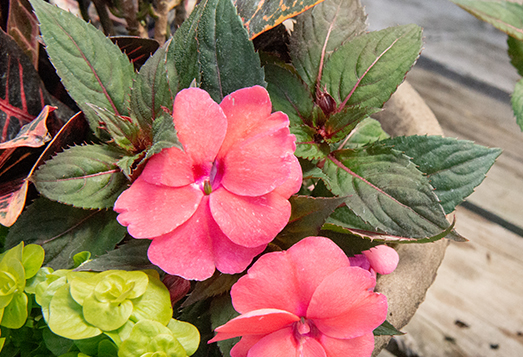
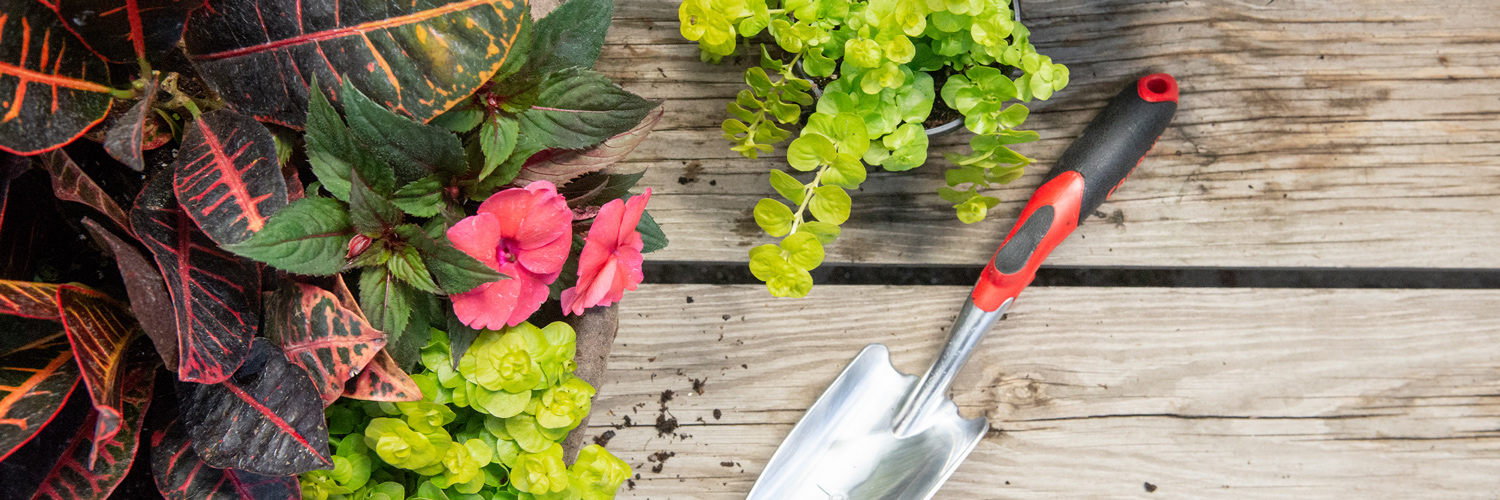
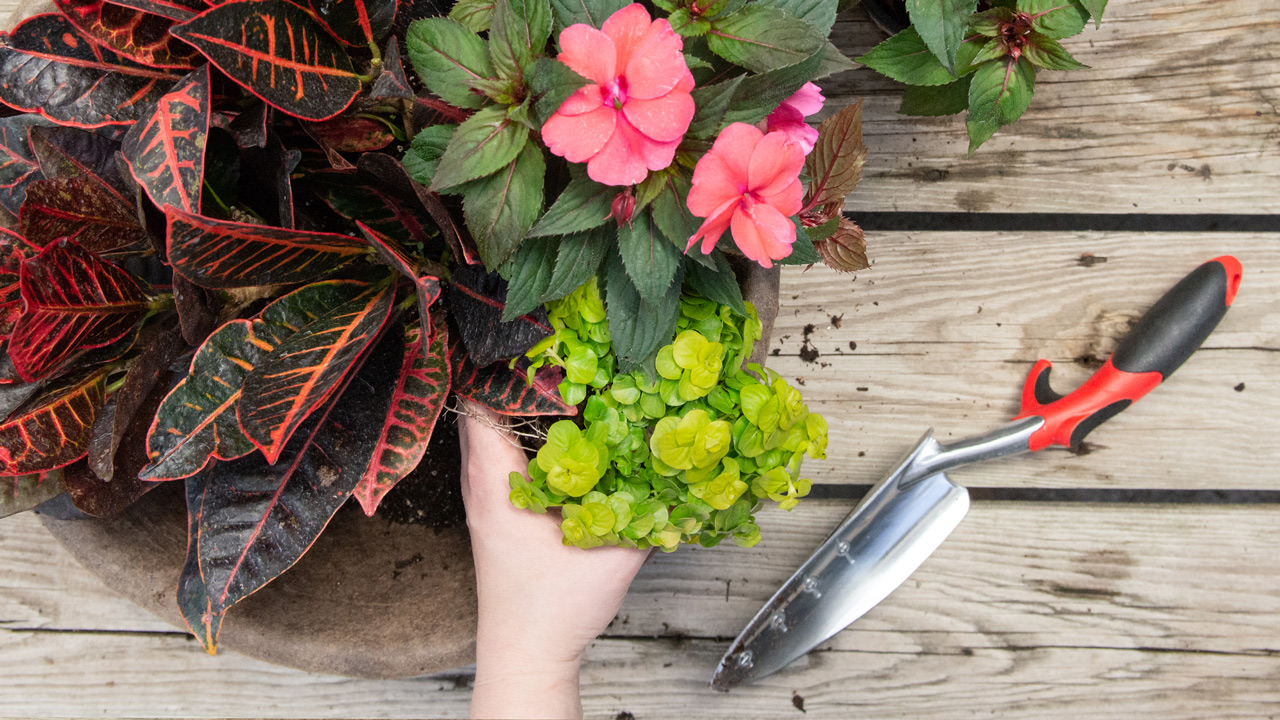
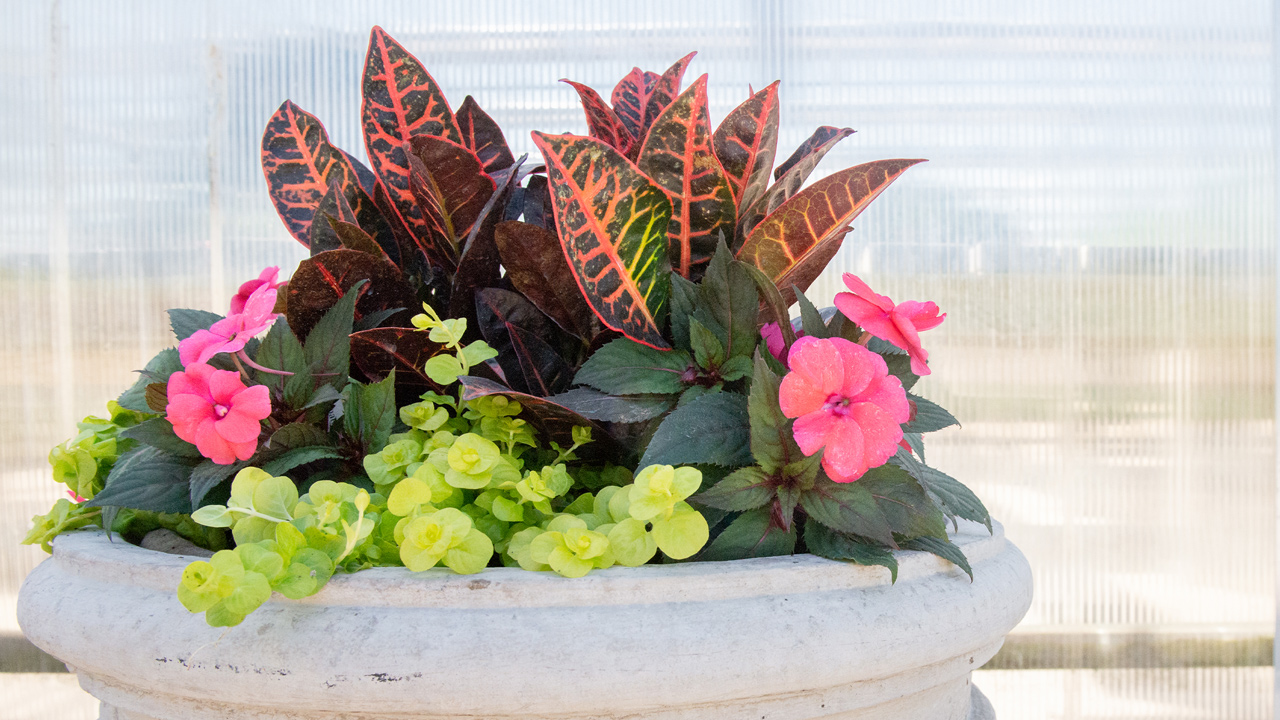
Beautiful planters can contain an almost limitless combination of colorful annuals and tropical foliage plants. But you may notice that the most amazing designs tend to have something in common – the plants fill space in three layers above the pot. These three layers often include a tall foliage tropical in the center, a group of mid-height supporting plants – like begonias, geraniums, or impatiens – surrounding that, plus a few trailing plants to tumble over the side. Choosing plants in each category gets you to that professionally designed look friends gush over. Just be sure that all the plants agree on how much sun they like.
Designer’s Trick: Keep it simple. For a planter that really stands out – especially from a distance – choose just three to four different varieties of plants for each container. For example, a ravenea palm surrounded with bright pink begonias and trailing sweet potato vine makes a big visual statement with its three large blocks of color. And with just three plant “personalities” to please, it’s easier to find the right combination of light and water to keep the entire arrangement happy throughout the season.
How many plants should go in one planter? It’s a question we hear a lot. The ideal number balances both the plants’ need for space to grow and our own desire for an arrangement that looks nice and full as soon as it’s planted. For three of the most popular container diameters, we recommend the following recipes:
12” pot – 1 small center plant + 2-3 six-packs of annuals
15” pot – 1 center plant + 3-4 supporting plants + 3-4 trailing
18” pot – 1 center plant + 6-8 supporting plants + 6-8 trailing
Designer’s Trick: If your arrangement is in a fiber slip-pot, you may wonder what to do if it doesn’t fit into your decorative container quite right. If the slip-pot is too small and sits low inside the decorative pot, you can create a stable base for the slip-pot to sit on. We like to stack upside-down empty grow-pots, landscape bricks, or foam floral-design blocks in the bottom of the decorative container. If needed, you can hide gaps between a slip-pot and its decorative container with beautiful Spanish moss, which adds another layer of texture and gives the arrangement a finished look. And if the slip-pot is too big – meaning it sticks out above the rim of the decorative pot – just add additional ivy or other trailing plants to disguise the edge of the slip-pot.
Wind is an ever-present challenge for Midwest container gardeners, especially when a summer storm blows through – tall foliage plants and tall, slender pots are most vulnerable. If your decorative pot is tall and narrow, consider placing something heavy – landscape rock, brick, or a cinder block – in the bottom before placing your fiber slip-pot or filling the rest of the container with potting mix. Just be sure to avoid blocking the drain hole.
If the pot itself is stable, but it’s the tall plant inside that wants to tip – like a leafy palm – support the plant with a stake that’s long enough to reach deep into the soil but also reach at least half the height of the plant. Loosely secure the plant to the stake with a soft tie material and pack the soil around the root ball – a little more than you would normally – to create a stable base.
Designer’s Trick: To keep the staking operation out of view, choose green stakes and ties for foliage plants and wooden stakes and jute twine for a hibiscus or lantana on an exposed, standard stem.
Our Container Design team loves to create beautiful containers, and we love to share that passion with you. The next time you have a pot to fill, stop by the Greenhouse and talk with our team. We’re always here to offer advice and help you find the right plants and supplies to make your vision a reality.