Bottle gardens have been around for a long time, but their popularity is back as plant parents look for new ways to engage with even the smallest plants in their collections. All you need to create your own is a glass bottle, a few planting supplies, and a little ingenuity. Here, we offer an easy step-by-step guide to get started.
The bottle you use can be large or small, wide-mouthed or narrow, open to the air or enclosed completely. Which one you choose depends on your style, the types of plants you love, and sometimes, the styles of glass containers you may already have at home.
Deep, narrow-mouthed bottles are suited for foliage collections that appreciate humidity and consistent soil moisture. Shallow, wide-mouthed containers support drier environments and offer the best option for a terrarium full of cacti or succulents.
Whichever container you choose, make sure it’s clean and dry before getting started.
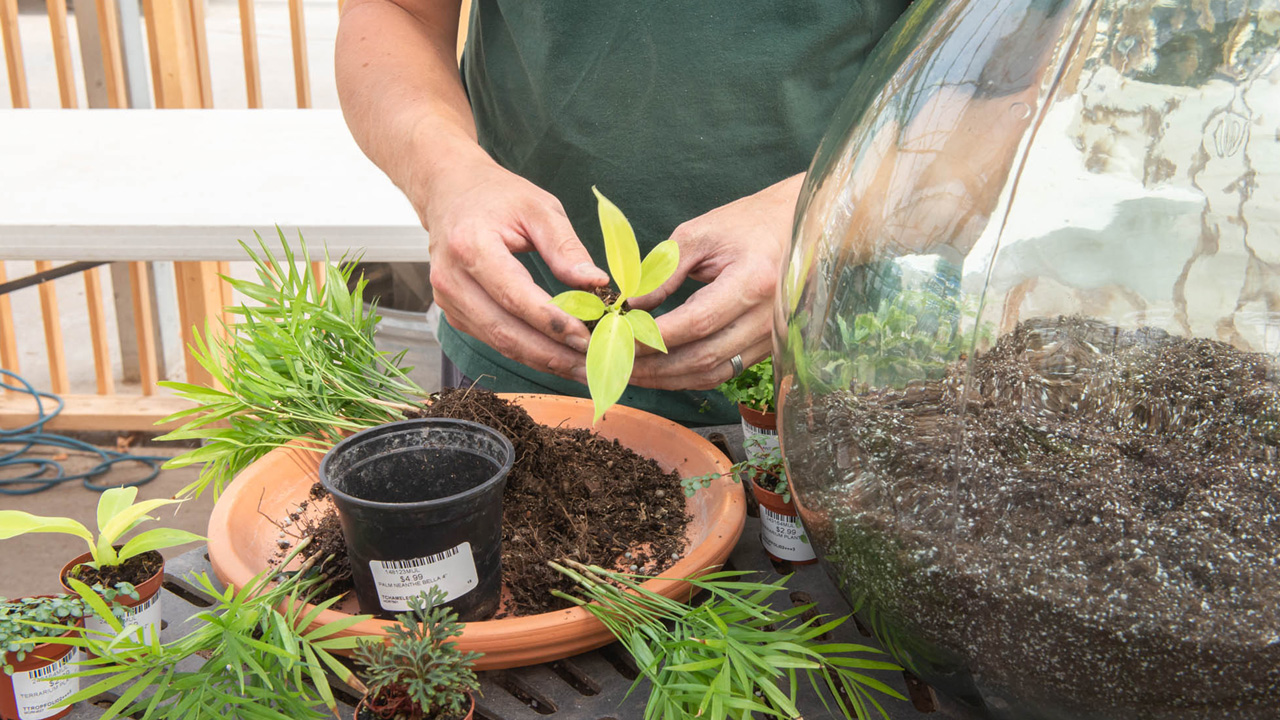
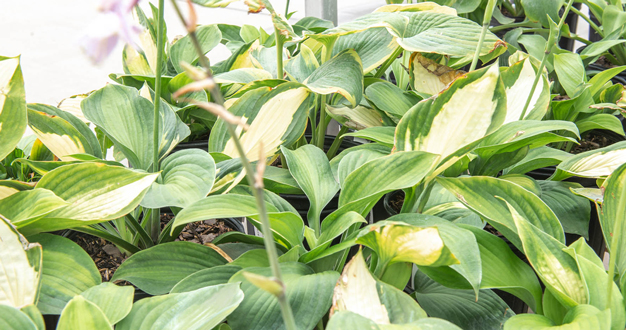
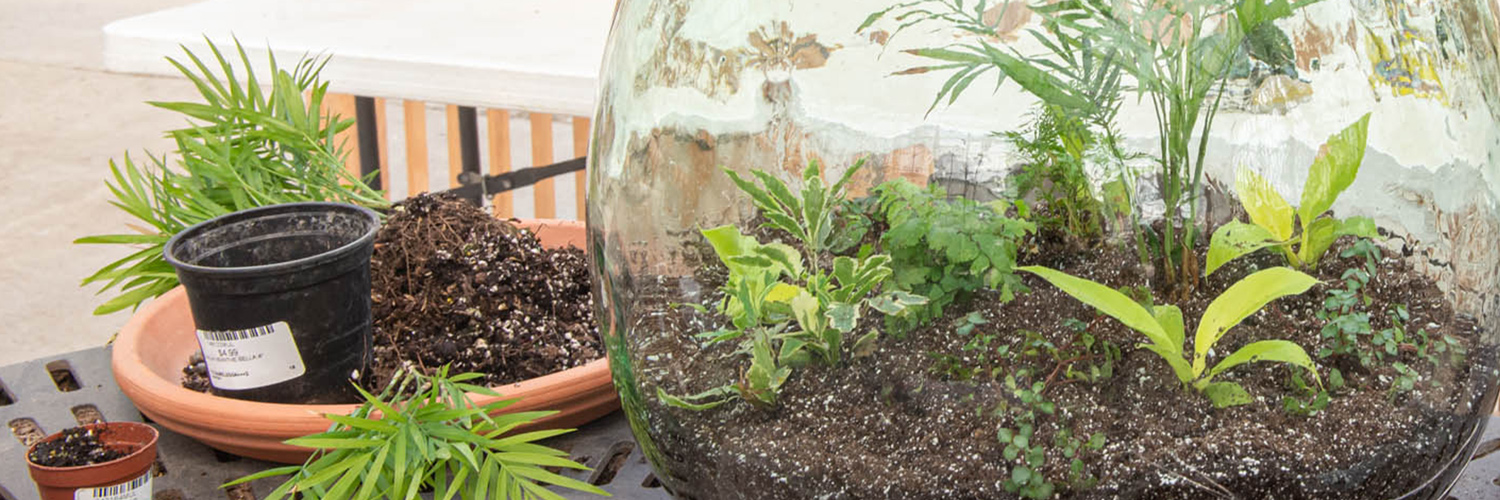
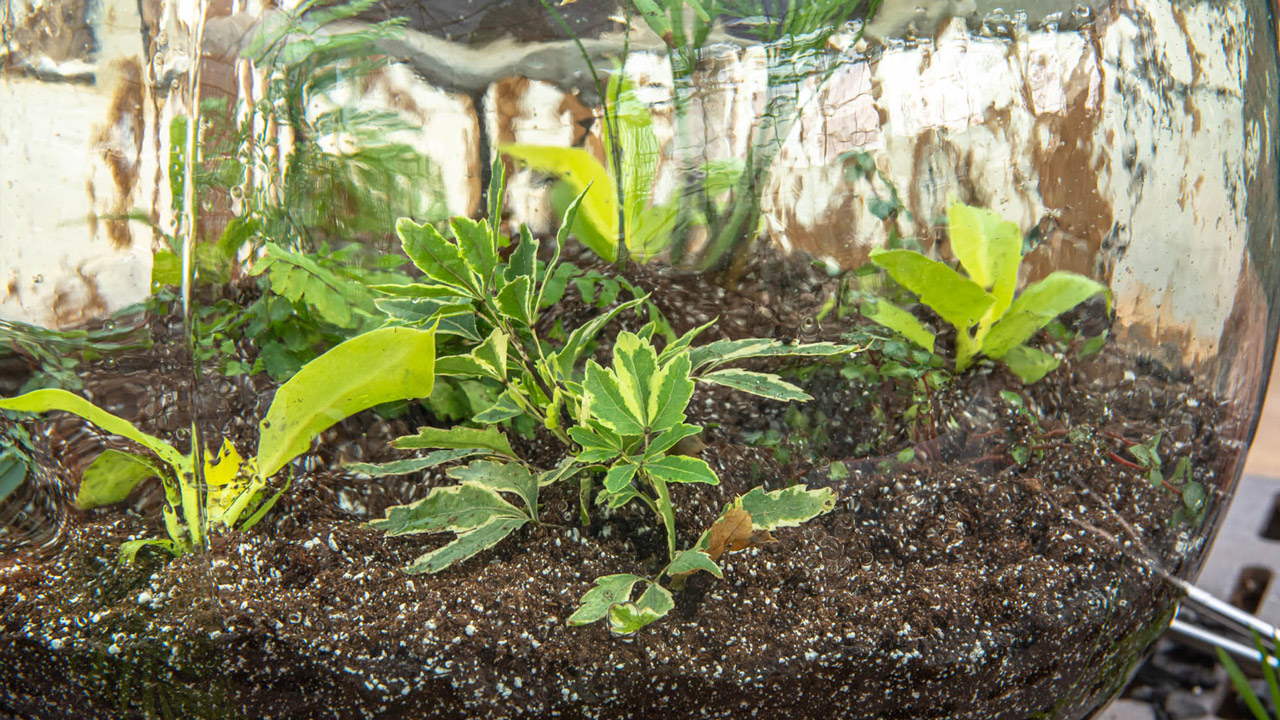
All kinds of plants thrive in bottle gardens – as long as they’re small enough to fit inside. In our collection, you’ll find tiny versions of many houseplant favorites, including ferns, palms, pilea, peperomia, ivy, tradescantia, begonia, and philodendron. For arid gardens, there’s also a myriad of tiny succulents and baby cactus to choose from too. Just be sure that all of the plants that you choose for your bottle garden enjoy the same level of humidity, soil composition, and soil moisture.
As for how many plants to include in your bottle garden, that’ll depend on how large the bottle is and how full you would like it to be. A simple design with just two or three plants can be fun to design – but then again, a bottle filled with a jungle-like collection of foliage might be more exciting to you.
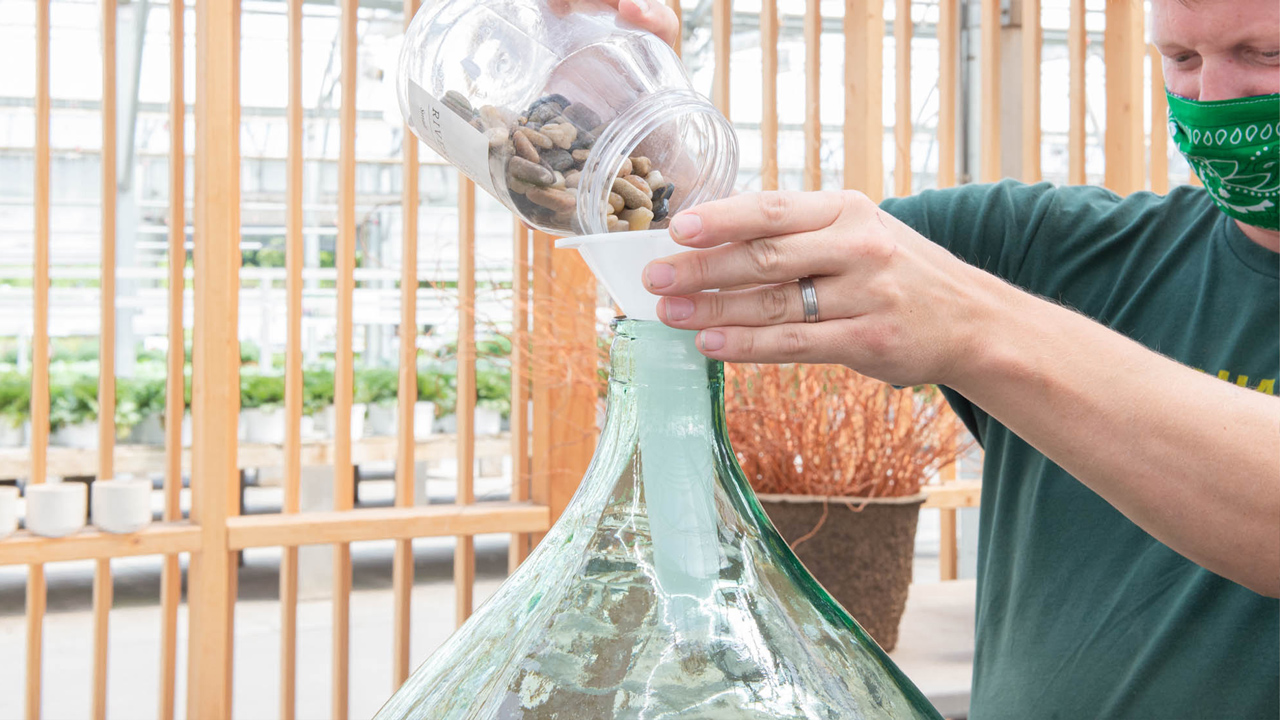
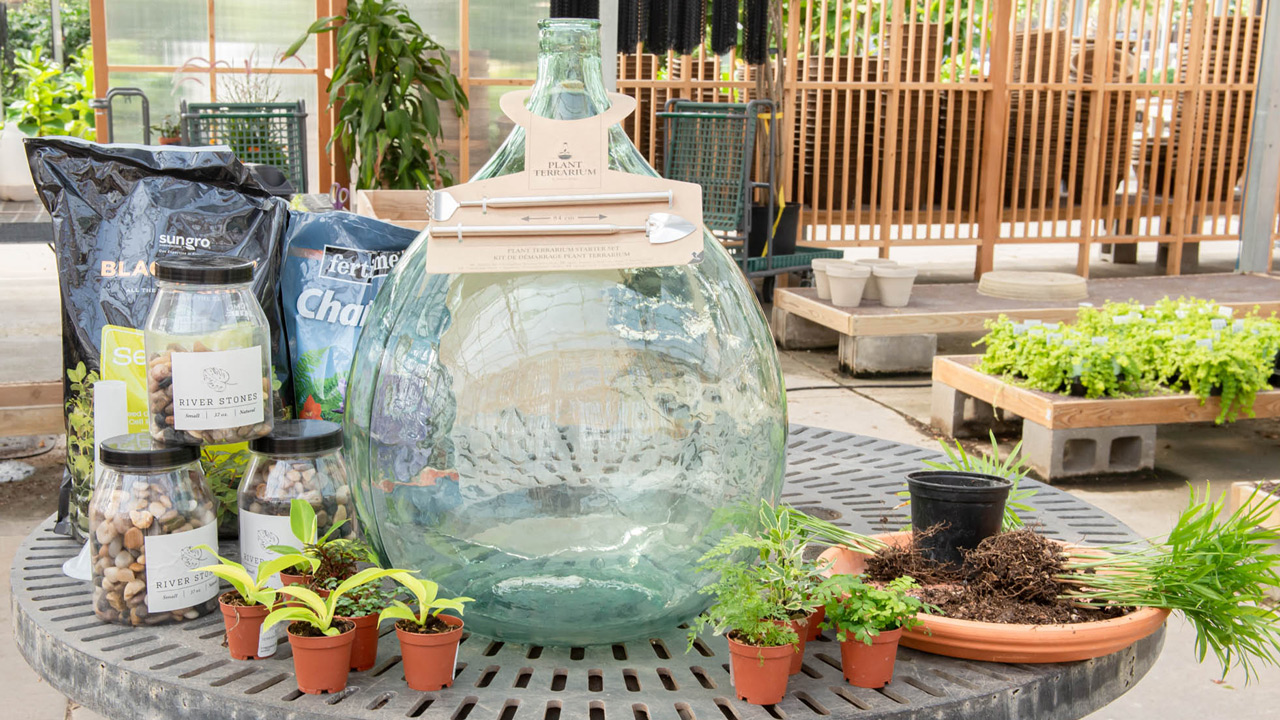
Before the plants go in, prepare for their success by building a healthy substrate for them to grow in. To start, use a funnel to guide in a layer of small rock, pebbles, or sand to the depth of about 2 inches. This bottom layer gives excess water a place to collect away from the plants’ roots.
Next, cover the rock with a layer of activated charcoal. This will help keep the environment clean and reduce natural odors that may come up. Again, a funnel is helpful if the mouth of your bottle is too narrow to reach inside.
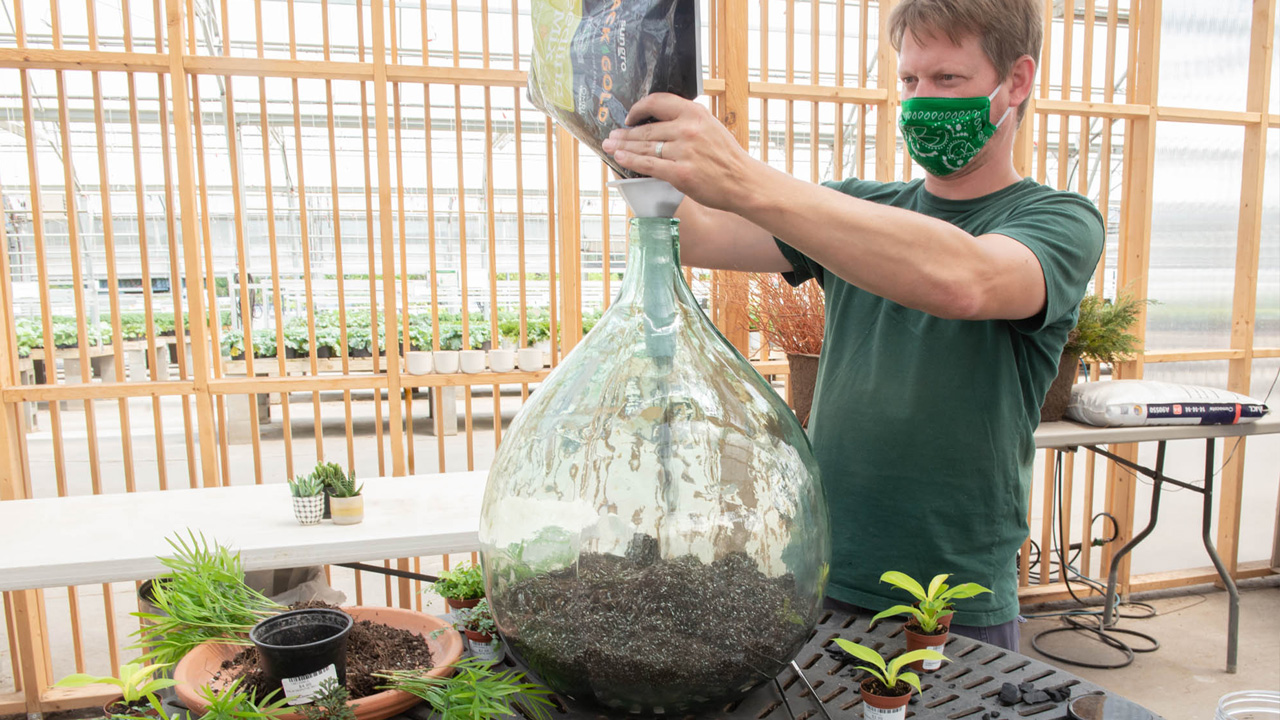
Finally, using the funnel, pour in a deeper layer of the potting mix appropriate for your type of plants – all-purpose potting mix for foliage plants or a specialized mix for succulents and cacti. This layer can be anywhere from a couple inches deep to half of the container, depending on the size of the bottle, the size of the plants, and the look of the design you’d like to achieve. Just be sure there’s enough soil to support the plants’ roots and allow for growth.

Before you start planting, take a look at the plants themselves. Inspect each one and trim away any overgrowing branches or foliage that might not fit through the opening and so could be damaged during the planting process.
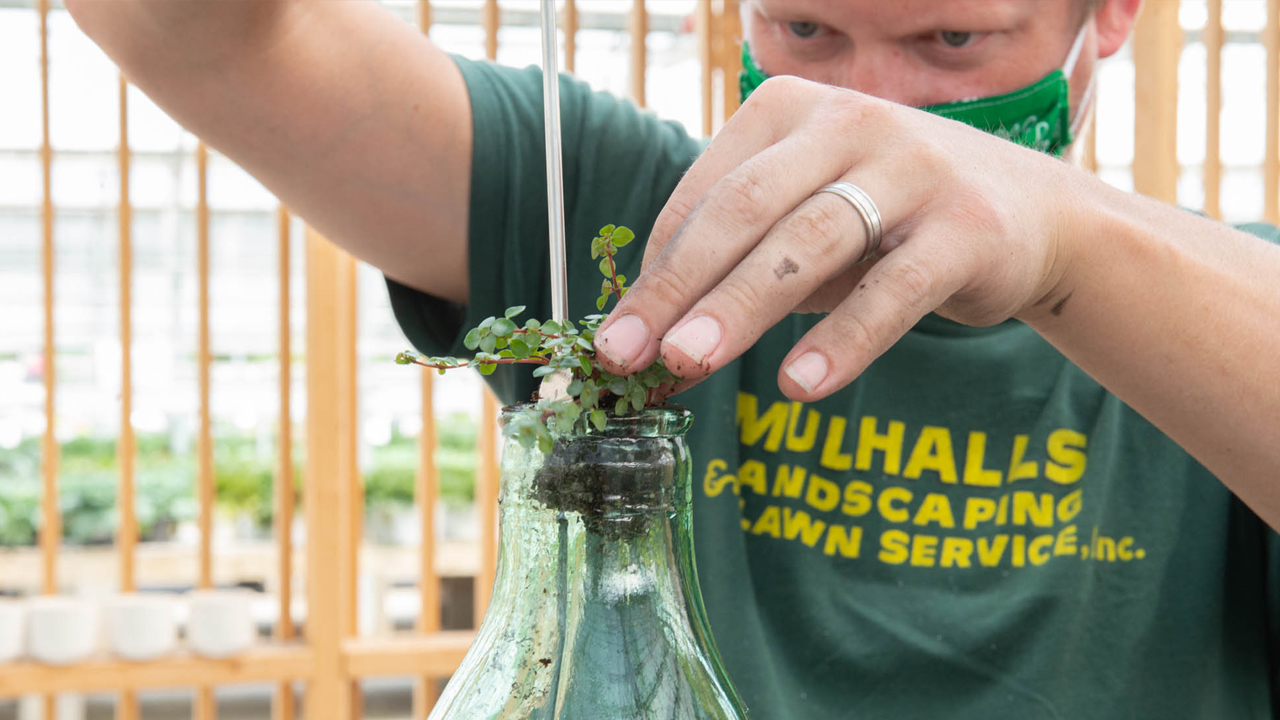

If the bottle opening is wide enough for your hand to fit, this step is just like planting a classic container. But if the neck of the bottle is narrow, planting may take a little creativity, ingenuity, and dexterity. For tools, a mini shovel with a telescoping handle is handy. Or you might tape a small measuring spoon or fork to the end of a slender dowel or plant stake. A second thin dowel and a slender set of tweezers can also be helpful as you’re manipulating the plants and soil inside the bottle. Once the soil is in place, gently create small holes where you plan to set your plants.
Next, take one of your little plants and carefully remove it from its grow pot. Gently loosen the root ball and remove any excess soil that could prevent the plant from fitting in the bottle’s opening.
Then, use your extended shovel, spoon, or fork to carefully guide the plant through the bottle’s opening and down into one of the holes you created in the soil. If necessary, use a second dowel or tool – working both together like a set of chopsticks – to sit the plant in its hole and settle the soil around it. Repeat this process for each of the plants, being sure to allow a little space between each plant and avoid resting foliage up against the side of the bottle.
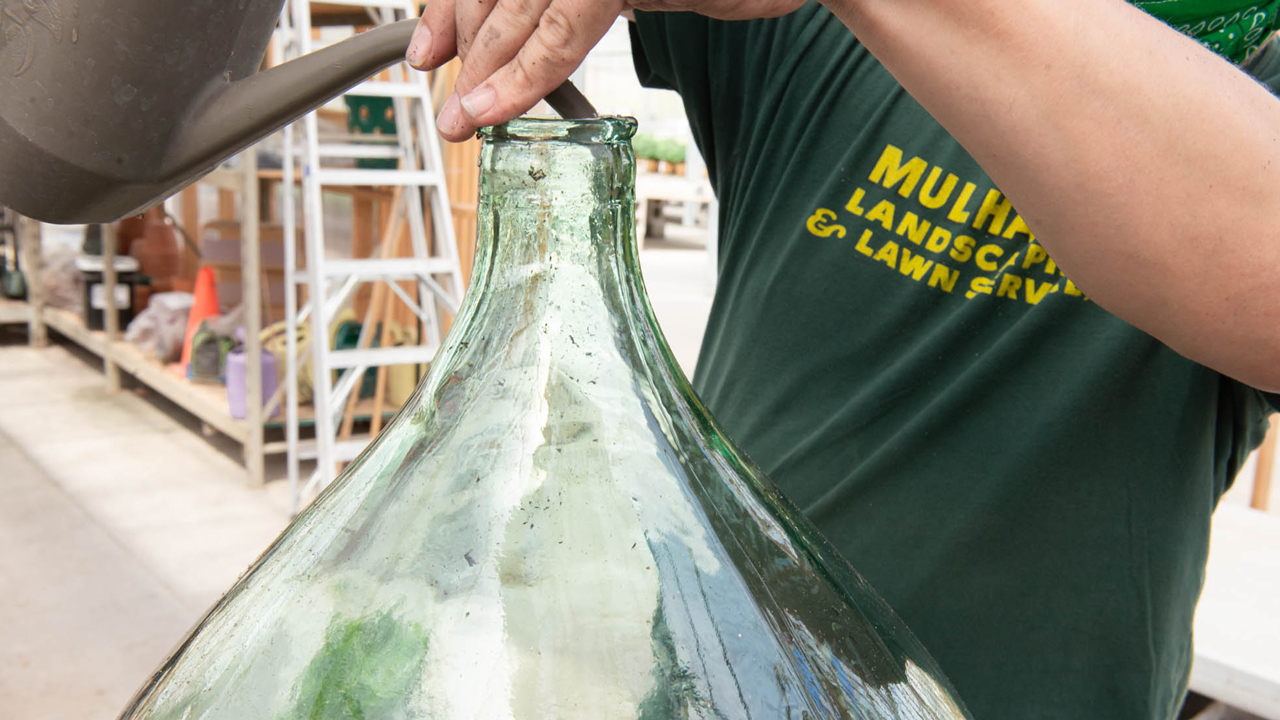
Because there’s no drainage hole, adding water to a bottle garden must be done carefully and with intention. Your goal is to evenly distribute moisture throughout the soil without a lot of excess water draining into the rocks below. A watering can with a narrow spout can be used to direct a slow stream of water against the inside of the bottle, so it runs gently down into the soil. Rotate the bottle as you water so moisture gets to all parts of the soil – this also helps wash down any soil stuck to the sides of the bottle.
Be sure to go slow with this step – you can always add more water if needed, but too much water is difficult to fix. If you do notice a small dry place, give the soil moisture a little time to balance out and then look again. If it’s still dry after several minutes, carefully add a bit more water until all the soil is evenly moistened but never soggy.
Enclosing your bottle garden with a lid or cork creates a little self-functioning ecosystem where water is circulated from the soil, through the plants, and back into the soil again.
Not all bottle gardens have lids, but if yours does, let yours first sit for about a week to let the plants acclimate to their surroundings. After that, you can place the cork or lid in the opening.
Then, set your new garden in a bright spot out of the direct sun and watch it start to grow.
An enclosed and balanced bottle garden may not need water again for several months, but it’s a good idea to keep an eye on it until that state of equilibrium is developed. It’s natural for some droplets of water to condense and run down the insides of the bottle, but if you notice that the entire inside is dripping, then it might be time to remove the lid or cork for a while to let the excess moisture escape.
To prevent disease or fungal growth in your bottle garden, be sure to remove any dying leaves or plants right away. And to keep the inside of the bottle tidy, use a long-handled paintbrush or a piece of paper towel attached to a dowel to wipe it clean.
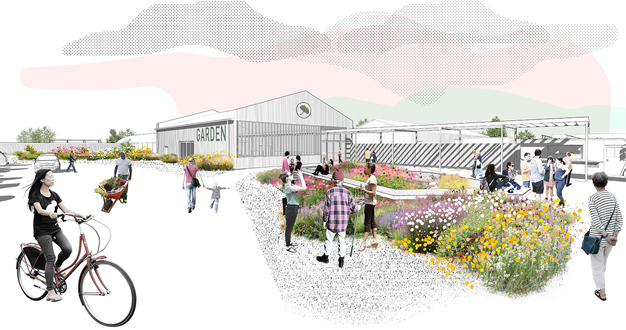
If a bottle garden sounds fun, come see us in the Greenhouse. We’ve got the bottles, plants, soil, and tools to get you started. We even have a few examples for inspiration too. And if you have any questions, just ask – we’re always happy to help.