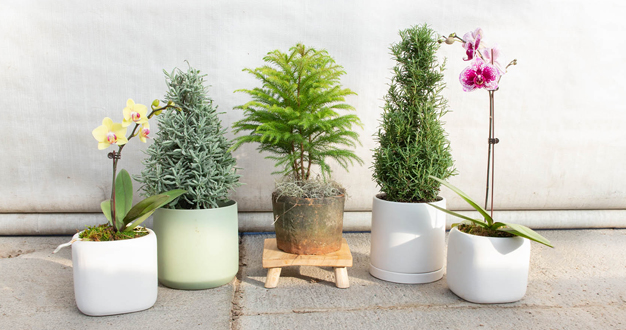
There’s nothing like fresh floral blooms in your home to add extra life, fragrance, and color to your space. And with flowering bulbs like amaryllis and paperwhite, it’s easier than you might think to grow your own botanical display to welcome the holiday season. Here, we share some expert tips for growing these amazing blooms.
Starting Your Amaryllis
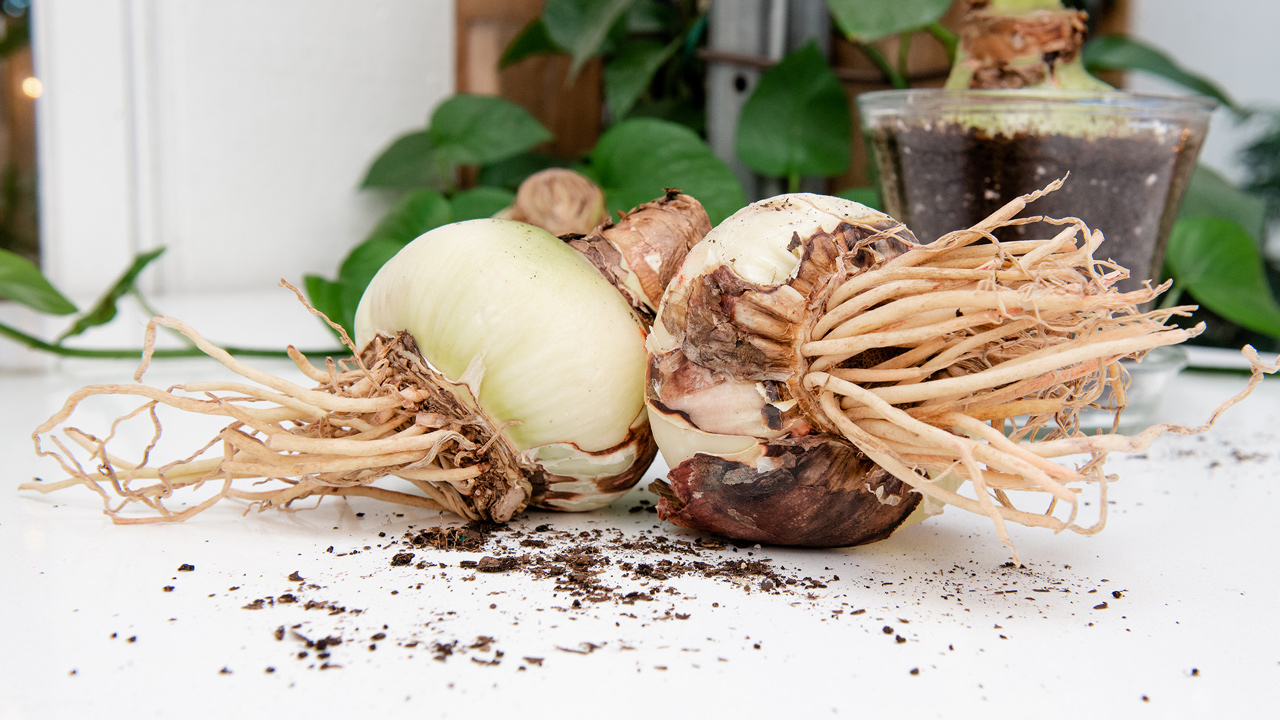
We talked with our friend and amaryllis expert Scott Evans from Nebraska Extension to get his best tips for success with amaryllis. According to Scott, how you plant and grow an amaryllis bulb for indoor display depends on your goals for the bulb – whether you plan to toss it when the blooms fade or try to rebloom the same bulb again next year. In the first case, you can root the bulb in water. In the second case, potting in soil is the way to go. Either method you choose, allow five to eight weeks from the time you plant to see blooms. That means for a Christmas flower, the best time to start your bulb is around the first week of November.
Rooting Amaryllis in Water
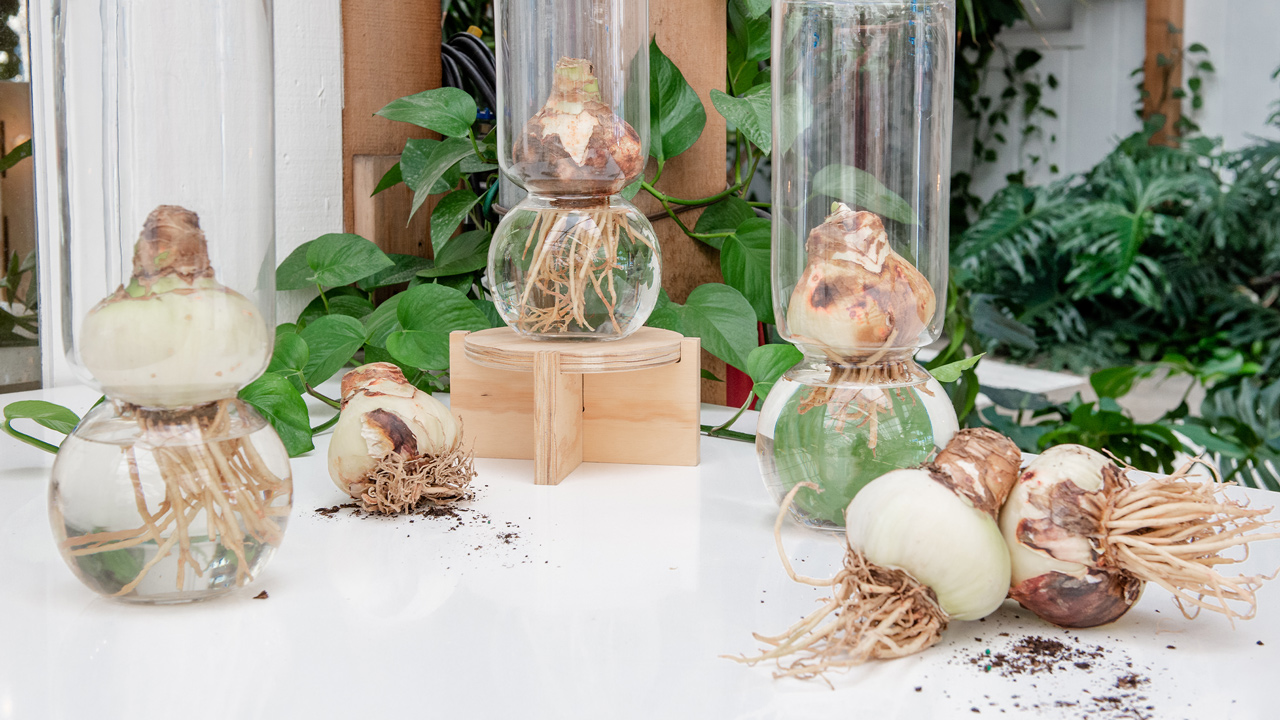
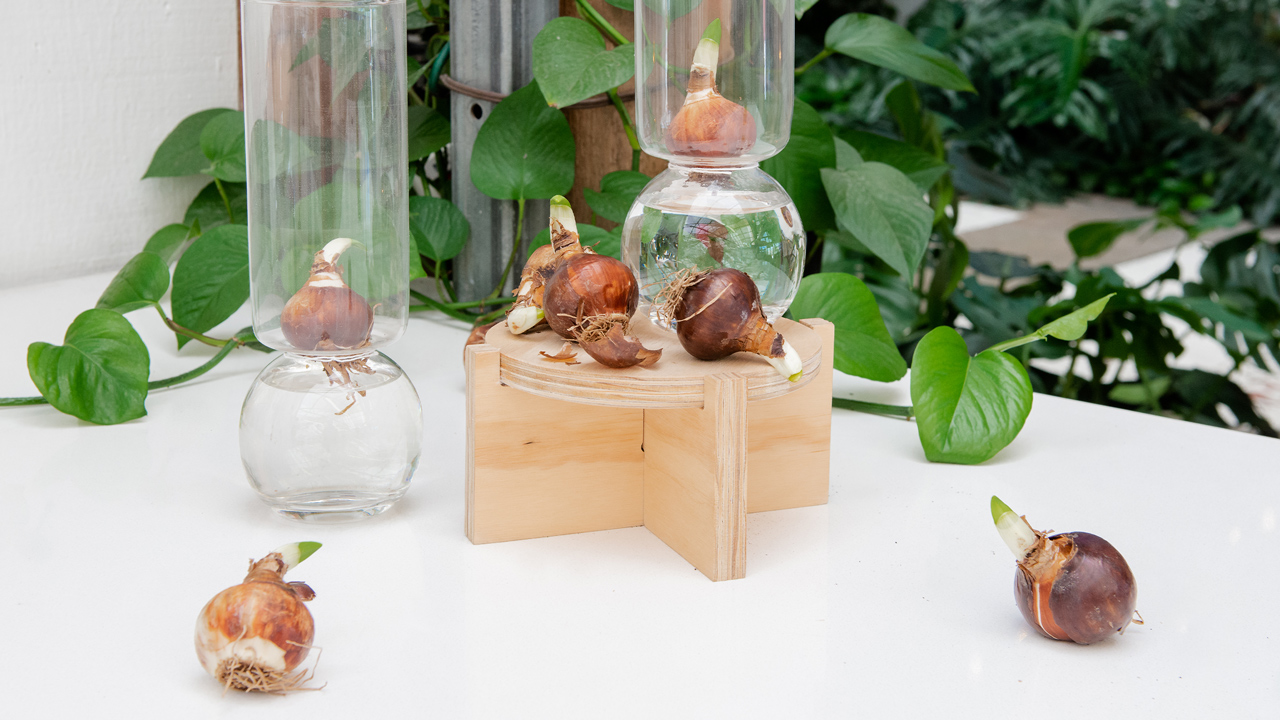
Rooting an amaryllis bulb in a clear glass vase with water is a fascinating way to watch it grow – from the root all the way to the bloom. The easiest way is to start with a vase that’s designed for rooting bulbs – it’ll have a constriction in the middle that holds the bulb up out of the water below. Simply fill the bottom of the vase with water to just under – but not touching – the base of the bulb which you’ll set on top of the constriction in the vase.
You can root an amaryllis in other types of vases too. For a vase without the constriction in it, fill the bottom with pea gravel or decorative stones and set the bulb on top. Again, add water until it’s just below the bottom of the bulb.
Until you see new green growth, set your amaryllis in a location with indirect light. When new growth appears, move your bulb to a bright location with lots of light. Then, when the new buds appear and start to show color, move your plant again to a cooler spot with indirect light – this helps the blooms last longer. Each individual bloom will last a few days, but with others following, your blooms will continue for a few weeks. Because the bulb was rooted in water, it’s less likely to rebloom, so at this point, many people simply toss the bulb and look forward to getting another next year.
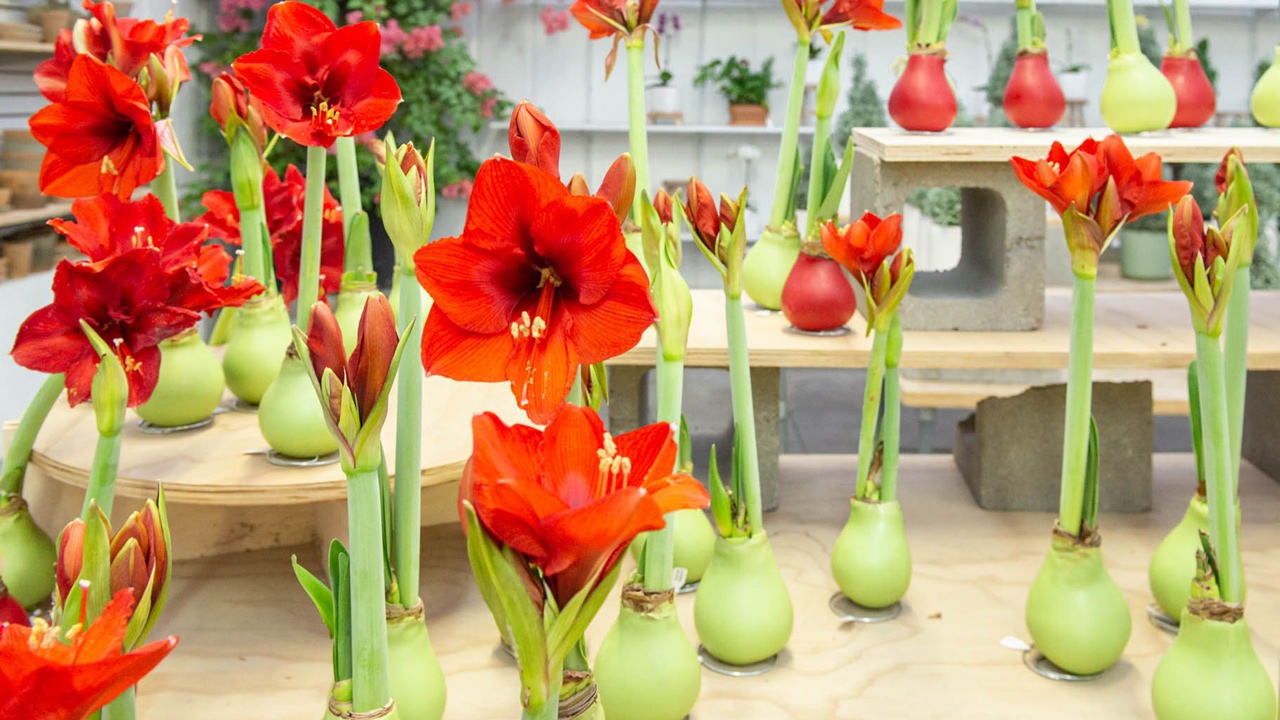
And if you choose one of those intriguing amaryllis bulbs that are dipped in colorful wax, the care is even easier. Just set the wax-dipped bulb in a place with bright, indirect light and watch it take off – all the water and nutrients the bulb needs are there. But like a bulb grown in water, wax-dipped bulbs will bloom for just one season.
To Rebloom an Amaryllis Bulb
With the right approach, amaryllis bulbs can be grown for several years – Scott has one that’s rebloomed for eight years in a row. He says the trick is to plant the bulb in soil to start, give it plenty of light, and plant it outside in the summer.
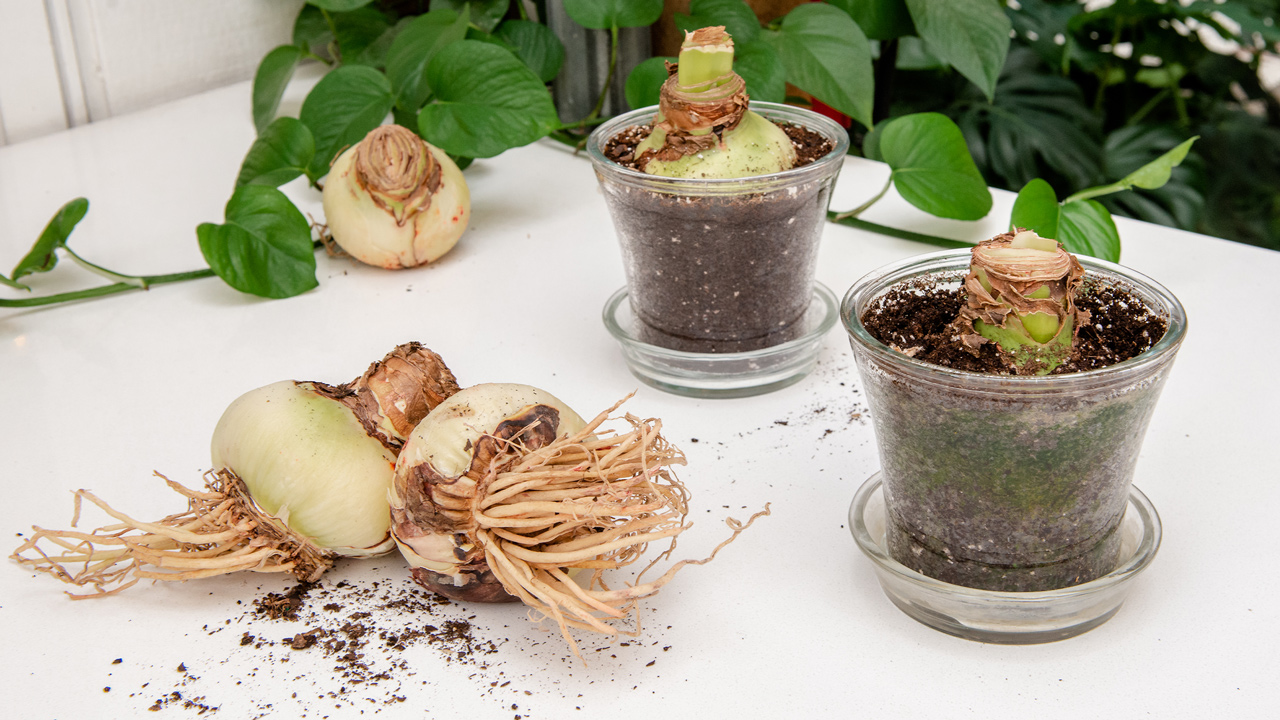
To start, choose a container that’s about two inches wider than the bulb and deep enough to let roots grow – a six-inch pot is usually enough. Make sure the pot has good drainage too. Fill the bottom with a good quality, general purpose potting mix and set the bulb on the soil with its pointy end up. Then fill in with more soil around the bulb, but only halfway up the side of the bulb – burying it any deeper can result in rot. Water the potting mix thoroughly, let it drain well, and set the bulb in indirect light. Keep the soil on the dry side and watch for new growth. When leaves appear, move the pot to a sunny location and water when the soil is dry to the touch just on top. And when the buds color up, move it back to indirect light to extend the bloom time.
After a while, your amaryllis will stop blooming, but you’ll still have a beautiful strappy houseplant to enjoy. Scott says to ensure your bulb has enough energy to rebloom again next year, give the plant lots of direct light while it’s inside the house – a south or west window is perfect. Water when the soil feels dry on top and as long as the plant is actively growing, you can give it a fertilizer with nitrogen too.
When the danger of frost has passed in May, transplant your amaryllis to a spot with full sun in your landscape or garden bed. The first foliage will probably wither, but new leaves will appear again later. Water as needed throughout the summer until right before the first frost. At that point, dig up the bulb, clean it off a little, and store it in a paper sack in a cool, dry place until you’re ready to pot it up again. But be sure to peek at it once in a while – Scott has had an amaryllis bulb grow foliage and even blooms while being left neglected inside a bag.
Planting Paperwhites
Lots of petite, snowy white blooms make paperwhites a holiday favorite for indoor planting too. And in some ways, they’re even easier than amaryllis because no matter what you do, paperwhites are “one and done” bulbs – no chance of reblooming. So rooting them in water with pretty decorative pebbles is a simple yet stunning way to display them.
To start, choose your container. Like with amaryllis, clear glass containers provide an interesting view of the root growth and makes watering easier to manage. Place pea gravel or decorative pebbles in the container up to about one inch below the rim. Then set your paperwhite bulbs on top, pointy end up. A half-dozen bulbs create a nice display in a six-inch pot – fewer for a smaller pot, more for a larger one. Add gravel or pebbles around the bulbs to hold them in place, and fill the container with water to just under the bulb – but not touching it. Then, place the container in a cool, dark place for about three weeks until growth begins and the shoots are about two inches tall. At that point, move the container to a bright space and watch the shoots continue to grow. In total, you should expect your paperwhite flowers to appear about a month to six weeks after planting. To prolong bloom time, move the plant to a cooler spot with indirect light – and keep the water level just below the bulb.
Winter Flowers are Possible
Freezing weather can’t stop flower fans from enjoying beautiful blooms. Just visit the Greenhouse – we have everything you need to grow amaryllis and paperwhites including bare bulbs and clear vases, wax-covered bulbs that don’t need pots, and bulb-growing kits too. Whether it’s for you or for a gift, if you have questions, just ask. We’re always happy to get blooms going wherever we can.


