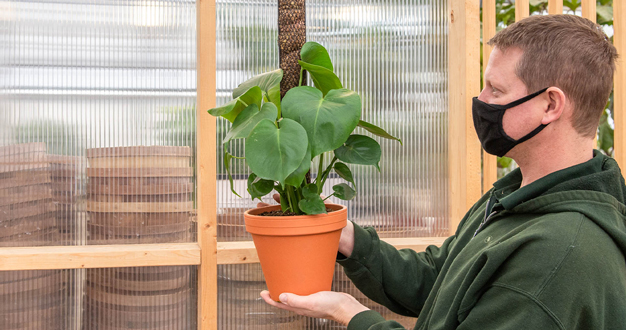
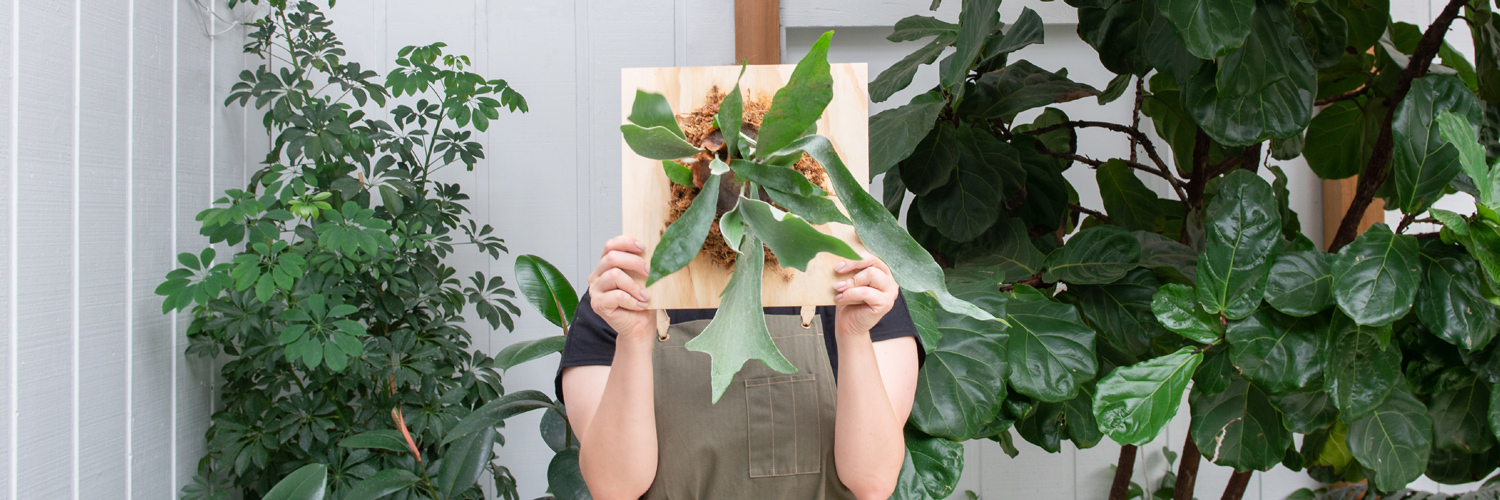
As a plant parent, you may be looking for more distinctive yet practical ways to display your growing collection. A wood-mounted staghorn fern makes a beautiful wall hanging, and creating one isn’t difficult at all. Check out our easy step-by-step guide below!
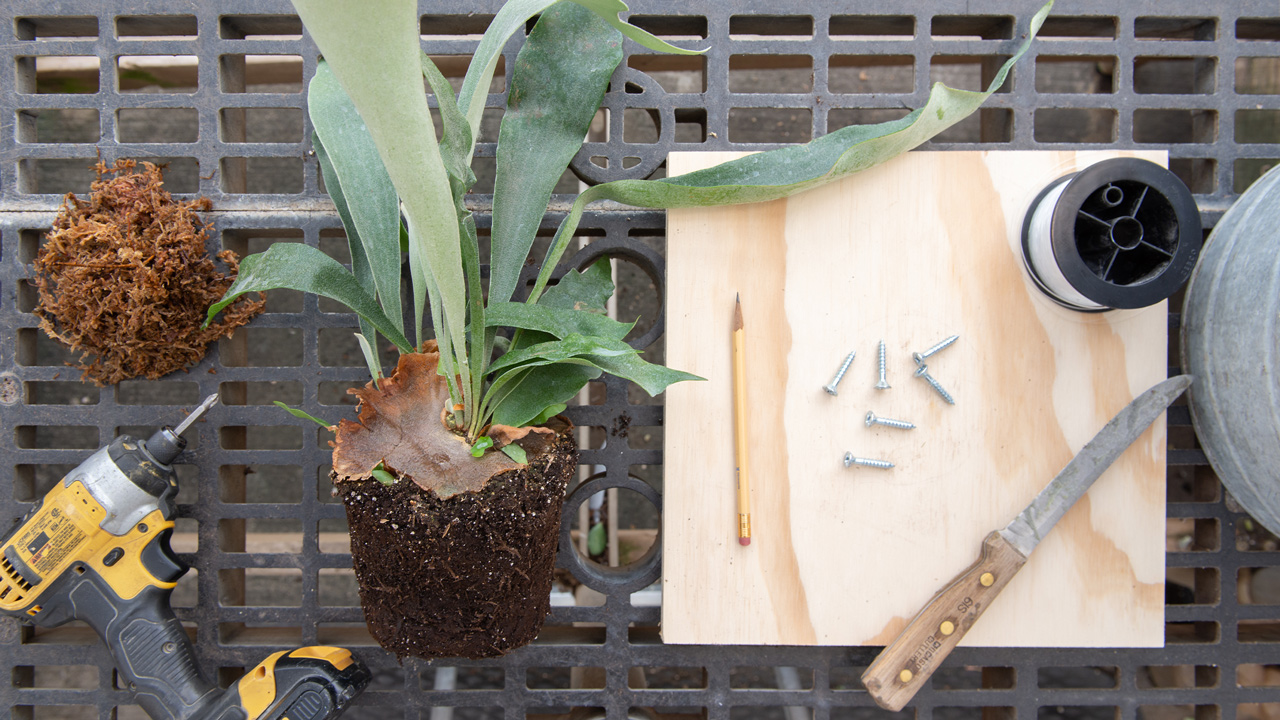
To transition your potted staghorn to a hanging mount, you’ll need a few materials to start:
If you’re using a symmetrical wood mount like a new board, the first thing to do is attach a hanger to the back of the piece. You can use premade hardware used for hanging pictures, or you can use a length of strong twine attached with two screws. If the wood mount is irregular in shape – like a piece of driftwood – it might be better to save this step until after the plant is attached. Then you’ll have a better idea of where to attach the hanger so the entire piece balances and displays the way you want.
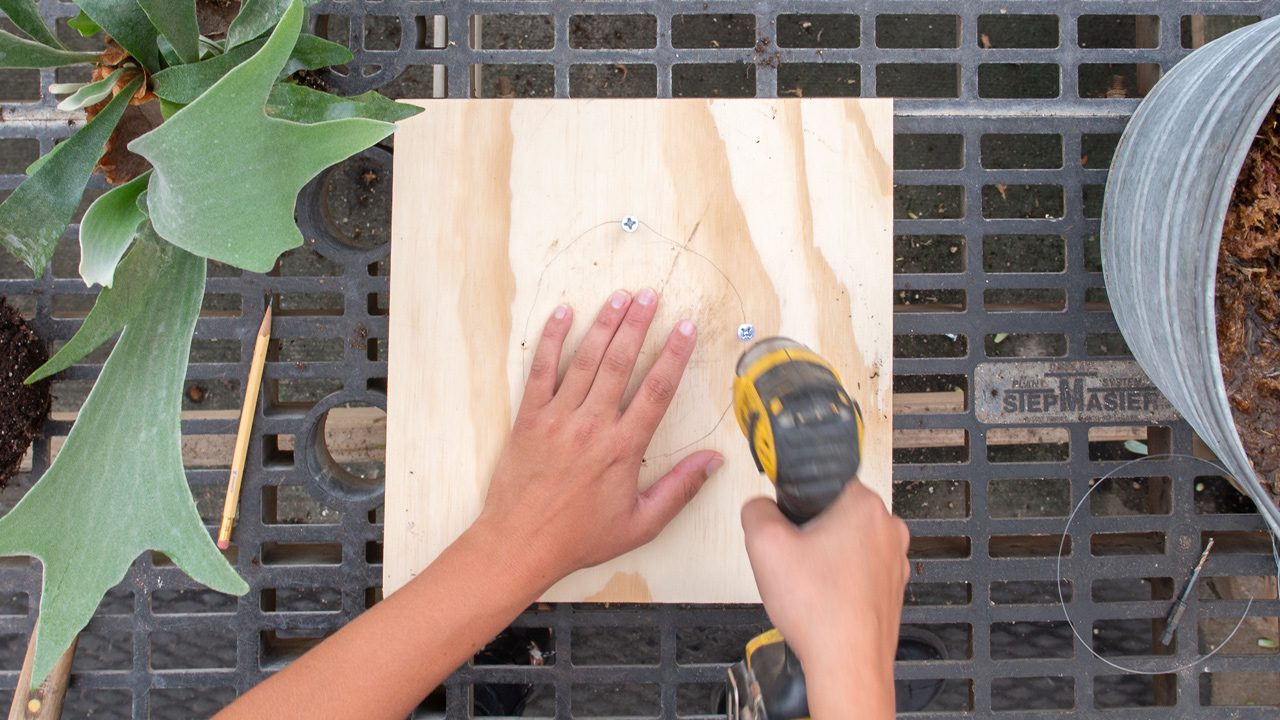
Next, lay your wooden mount flat on a table and draw a circle about the size of the staghorn’s rootball or slightly larger. As it grows, your fern will tend to reach upward, so if you like, you can position the circle toward the lower end of a rectangular or square board. If you’re mounting on something uneven, you may have to experiment with how you want the piece to hang on a wall and then get creative as you determine where your fern fits best.
Then, put your screws or nails into the board, evenly spaced, around the edge of the circle you drew, letting them stick up a half-inch or so above the board.
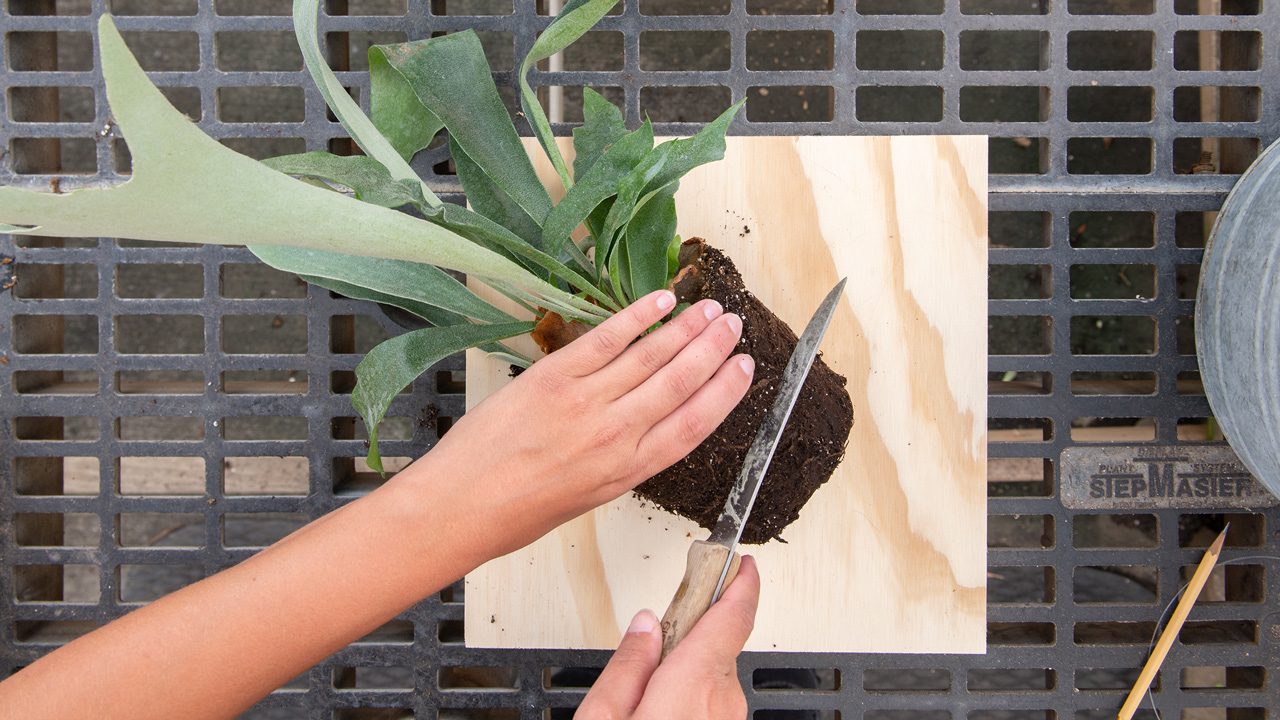
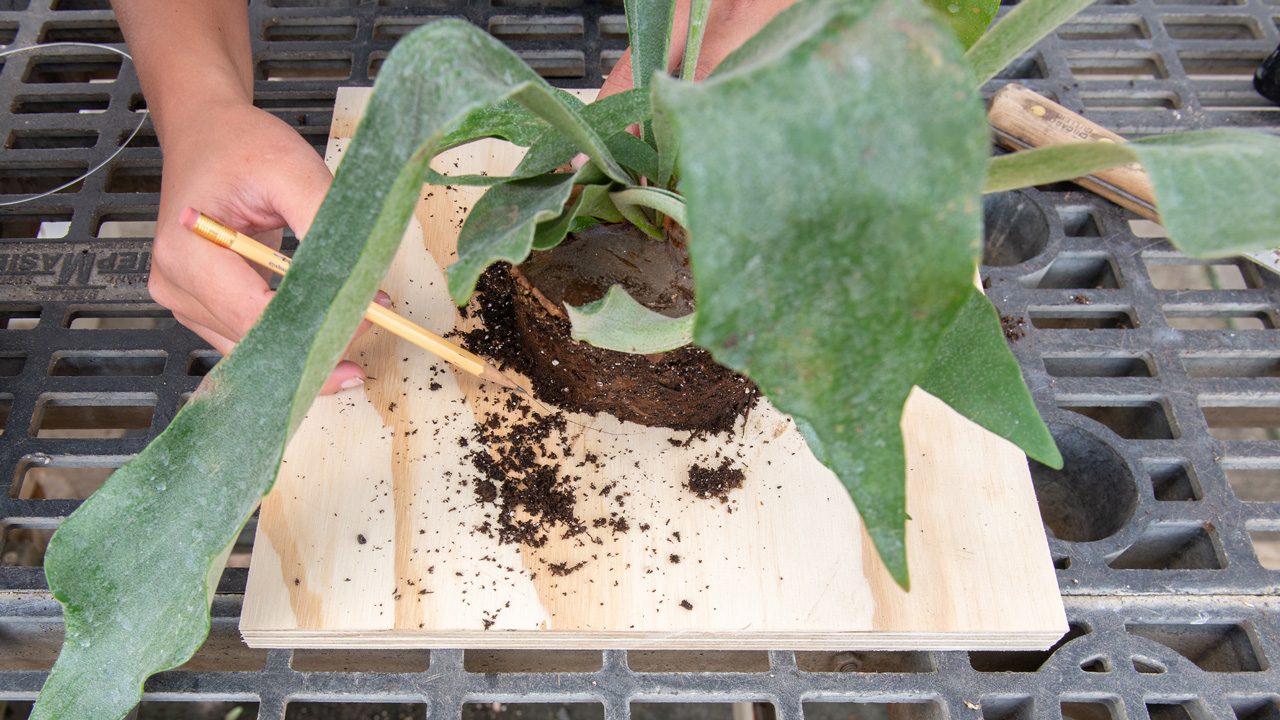
Now it’s time to tease the rootball apart, removing soil until you have about one to two inches of soil left near the base of the plant – using a knife to cut off the bottom portion of soil can be helpful. For root-bound ferns, teasing apart the roots can be a challenge, but don’t be afraid to tear at the root ball a bit. The goal is to create a relatively flat root system that can set against the mount.
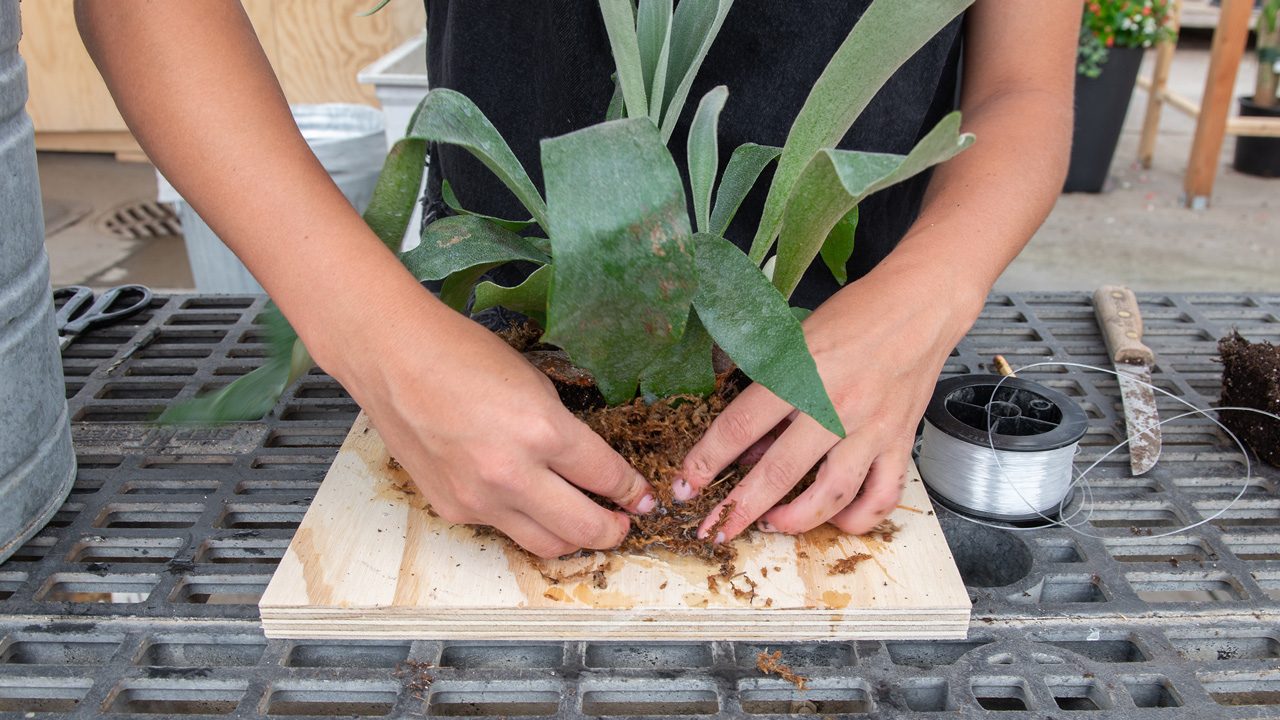
Place a handful or two of fresh potting soil in the center of the circle of nails, then set the newly teased rootball on top of the potting soil. Orient the plant so the green antler fronds are growing upward – the most natural-looking position. Finally, use the moistened sphagnum moss to cover the soil and root system, leaving the flat basal fronds uncovered. Try to keep the entire rootball and its moss covering within the ring of nails.
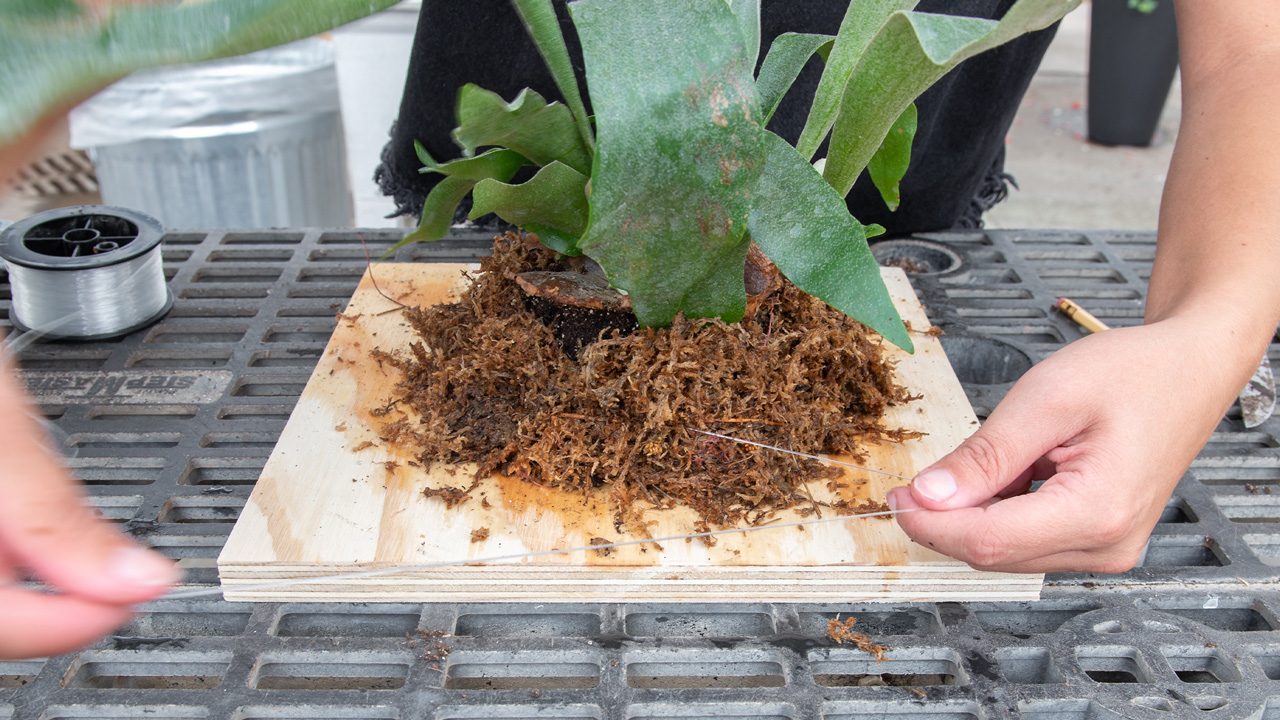
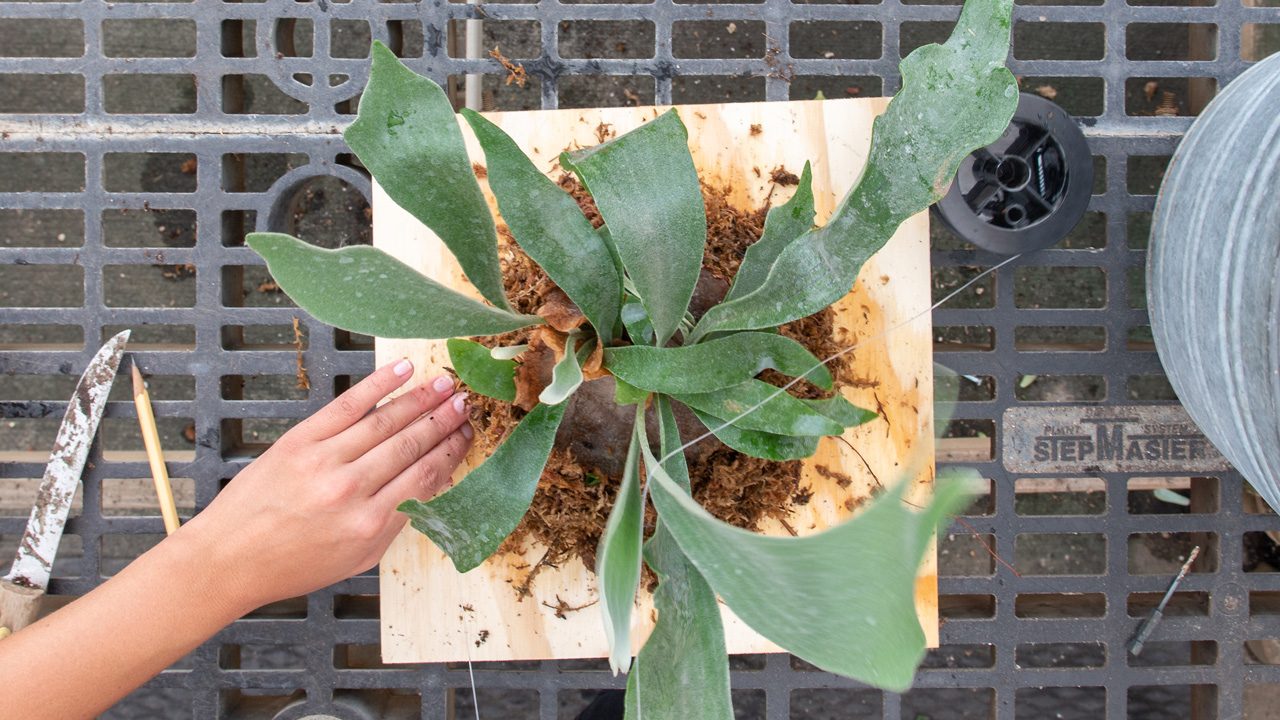
Start by tying the fishing line to one of the screws. Cross the line over the plant, weaving in and out of the fronds if you need to. Make sure the line is taut and holding the plant securely, then wrap it a few times around a screw on the opposite side from where you started. Repeat this back-and-forth until all the screws are used – possibly more than once – and you feel like the plant is held in place.
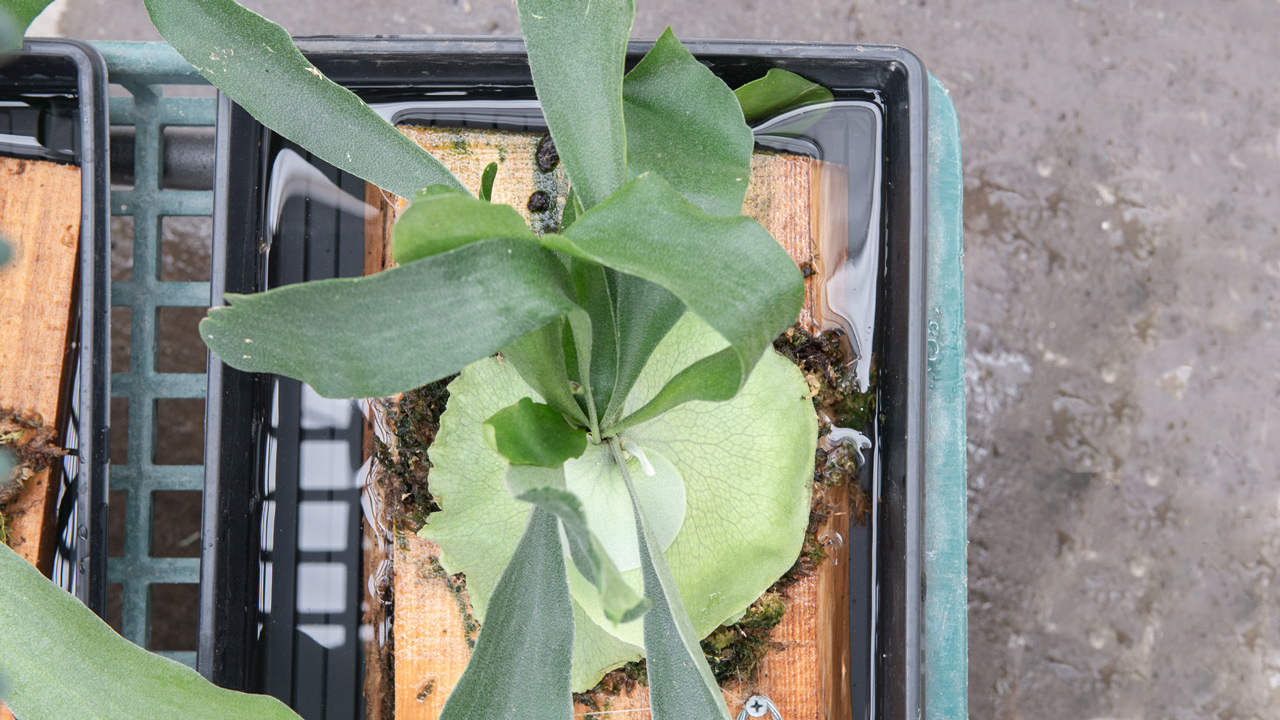
Staghorn ferns thrive with bright indirect light, lots of humidity, and regular moisture that drains quickly away from the roots. During the warm growing season, water your mounted staghorn once a week by giving it a shower or soaking the plant in a tub – board and all – until the rootball is saturated. Let it drain completely before rehanging. If the plant is indoors, it might appreciate a little misting between waterings too. Younger plants grow quickly with a monthly feeding using a balanced, water soluble fertilizer. As the plant matures, you can cut back feeding to once or twice a year.
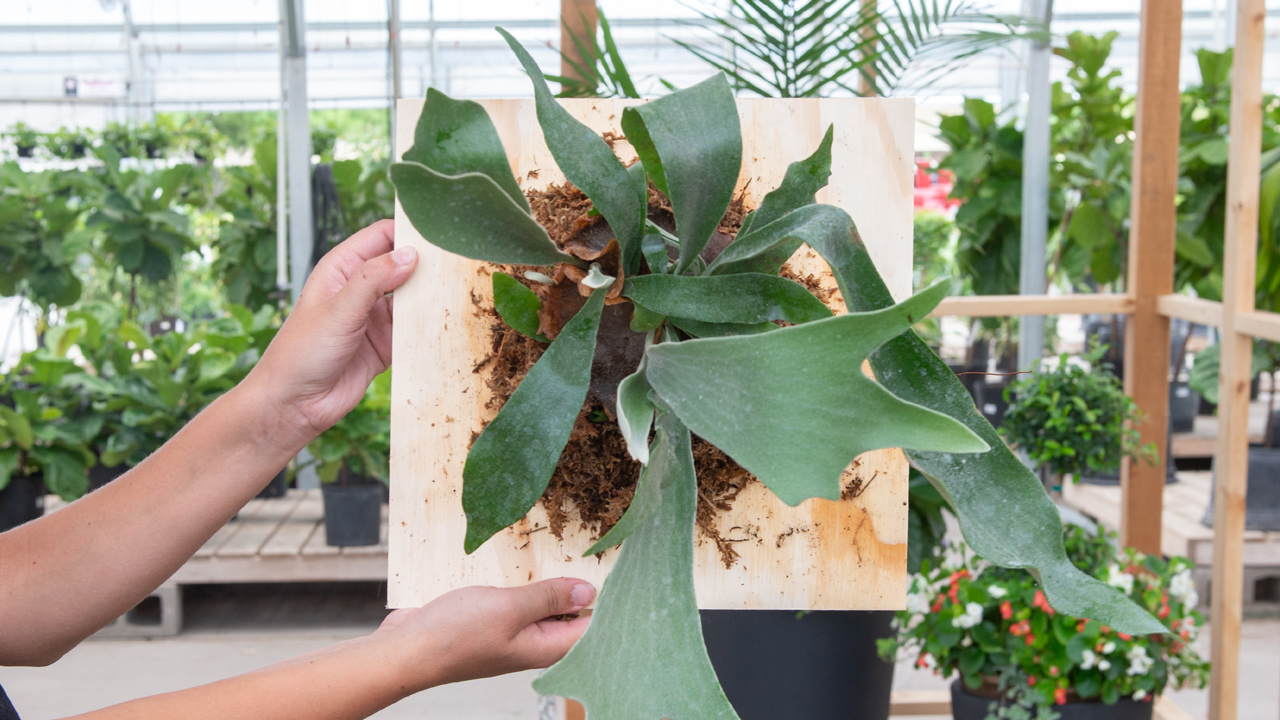
For the hands-on plant parent, mounting a staghorn fern can be a fun way to interact with a plant and create a piece of living art to enjoy on the patio or in a well-lit living room. If you have any questions about creating or caring for your own staghorn wall-mount, just stop in and talk with our team. We’re always here to help.