
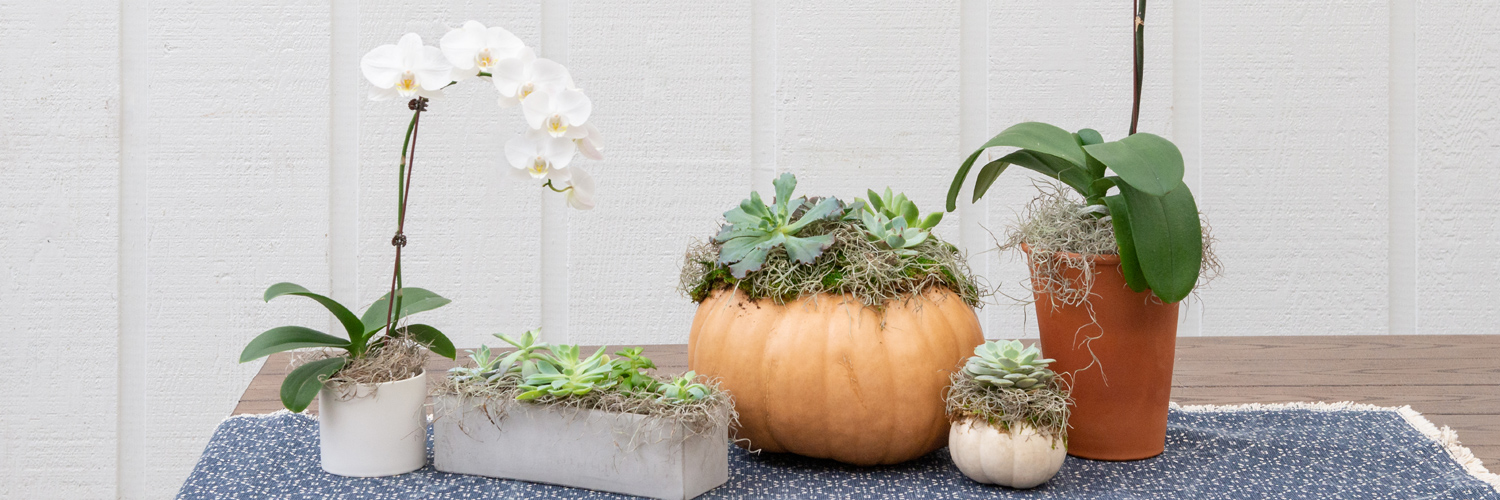
Whether you’re looking for a thoughtful gift or an easy way to make your home more inviting for guests, living centerpieces are always a beautiful option. Our Container Design team has been busy creating a new collection of living arrangements for the new season. But if seeing them inspires you to create one of your own, we’d love to share with you how we make them. Here we cover the basic steps to create each of four living arrangements – plus a few tips to keep them looking their best.

A phalaenopsis orchid with such extraordinary height and grace deserves a container that enhances that statuesque profile. We chose this simple Italian terra cotta pot, but your favorite slender pot would work too. To start, choose a phalaenopsis with several open blooms and a few developing buds too – orchids bloom for weeks at a time, but new buds will extend the display for even longer. Because orchids prefer that their roots remain undisturbed during their bloom time, staging the original nursery pot inside the terra cotta is the best strategy for this arrangement. And it’s easy too.
First, add some support in the bottom of the terra cotta pot to prop up the orchid in its grow-pot at the right height. We like to cover the drain hole with a bit of netting, then add a few inches of potting soil, but you could also use a handful of packing peanuts or a piece of floral design foam as a support too – just be sure to leave the drain hole clear. To finish the arrangement, fluff a small amount of Spanish moss around the base of the plant, under the foliage, and let a few tendrils naturally spill over the sides here and there.
Orchids like lots of bright, but indirect light, so find a spot a few feet away from a bright window to set your new arrangement. Every few days, move the Spanish moss aside and check the potting medium. When it feels dry, water the potting medium thoroughly over the sink, let it drain completely, and re-fluff the moss.
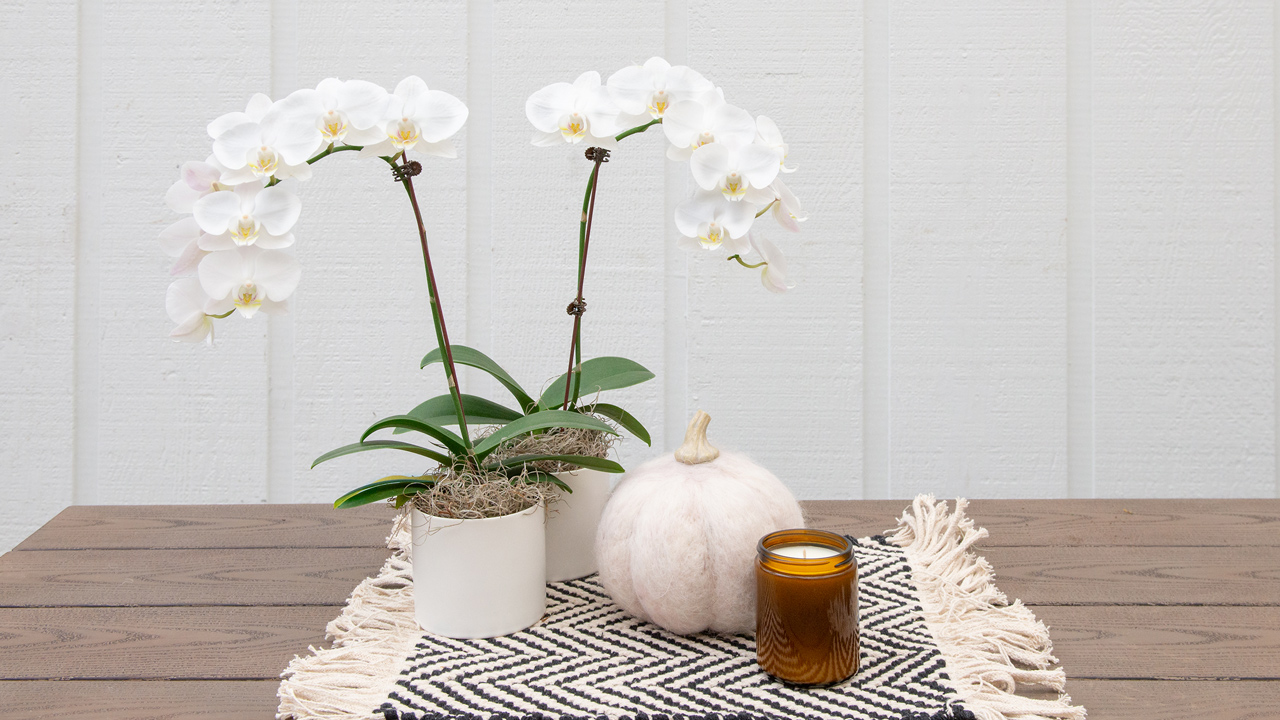
This elegant arrangement features another pristine phalaenopsis orchid, but shorter this time – perfect for a small space like an office desk or end table. A cylindrical ceramic container matching the white blooms creates a simple and soothing combination in green and white. Again, it’s a good idea to stage a blooming orchid, rather than disturb the roots while repotting. In this case, the pot we chose is a perfect fit for the grow-pot, so the added support isn’t needed. At this point, you can just finish off your arrangement with a little Spanish moss, and it’s complete.
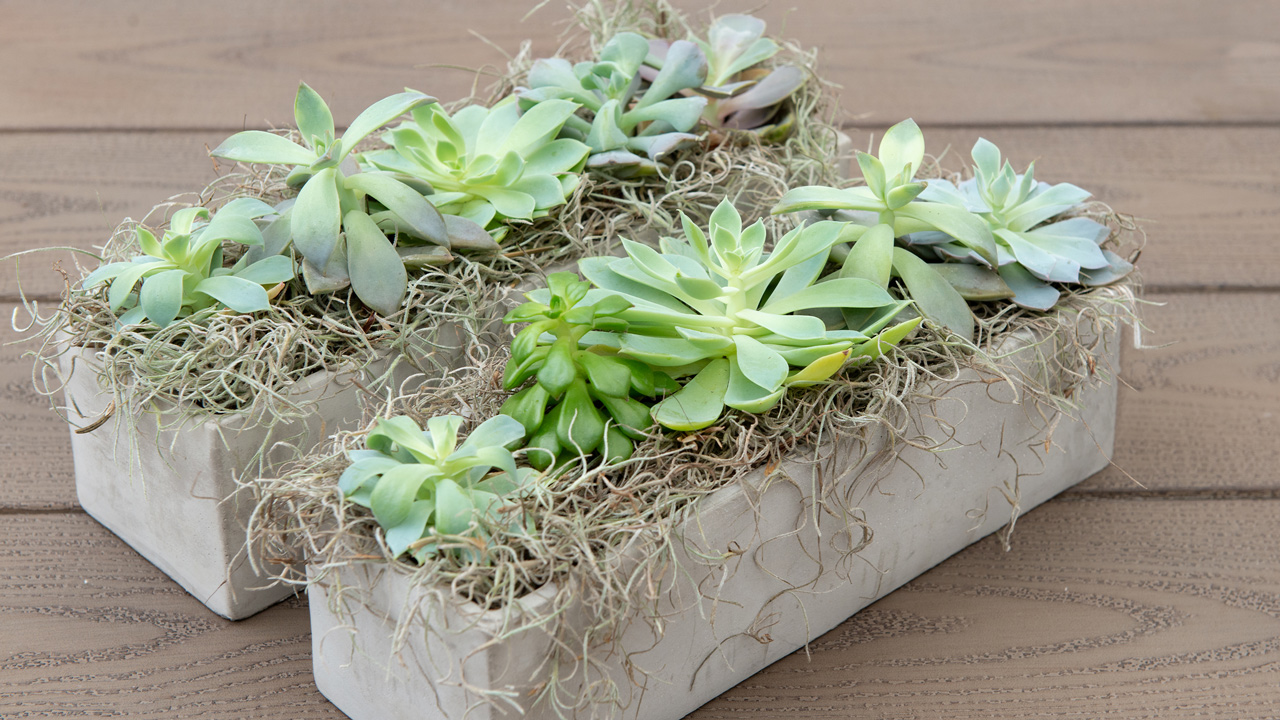
For our next living arrangement, we chose a rectangular concrete planter – the simple lines, dove-gray color, and soft texture go perfectly with an ordered row of silvery blue-green echeveria.
With succulents, you can choose from two different potting methods to create your arrangement. In one method, you can stage the succulents in their grow pots, like with the orchids above. Just set three of your favorites into the container – on top of a layer of soil if they need a lift – and disguise the construction with Spanish moss.
Or if you’d rather transplant the succulents directly into the planter, use a good quality cactus and succulent potting mix. We use Black Gold Cactus Mix in ours, but Crump’s Cactus and Succulent mix is a good choice too. Gently remove the plants from their grow pots and transfer to the new planter, making sure not to bury them too deeply in the new potting mix. Then cover the soil with Spanish moss for a fall-inspired detail.
Before giving them a drink, make sure the soil is fairly dry, then water thoroughly until water runs from the drain hole at the bottom of the concrete container. If you’ve staged a number of plants in a row, be sure that each plant gets watered individually. You can also watch the plant for signs that it needs a drink – like slight puckering in the foliage – before giving any water. And be sure your arrangement gets plenty of bright – even some direct – light too.
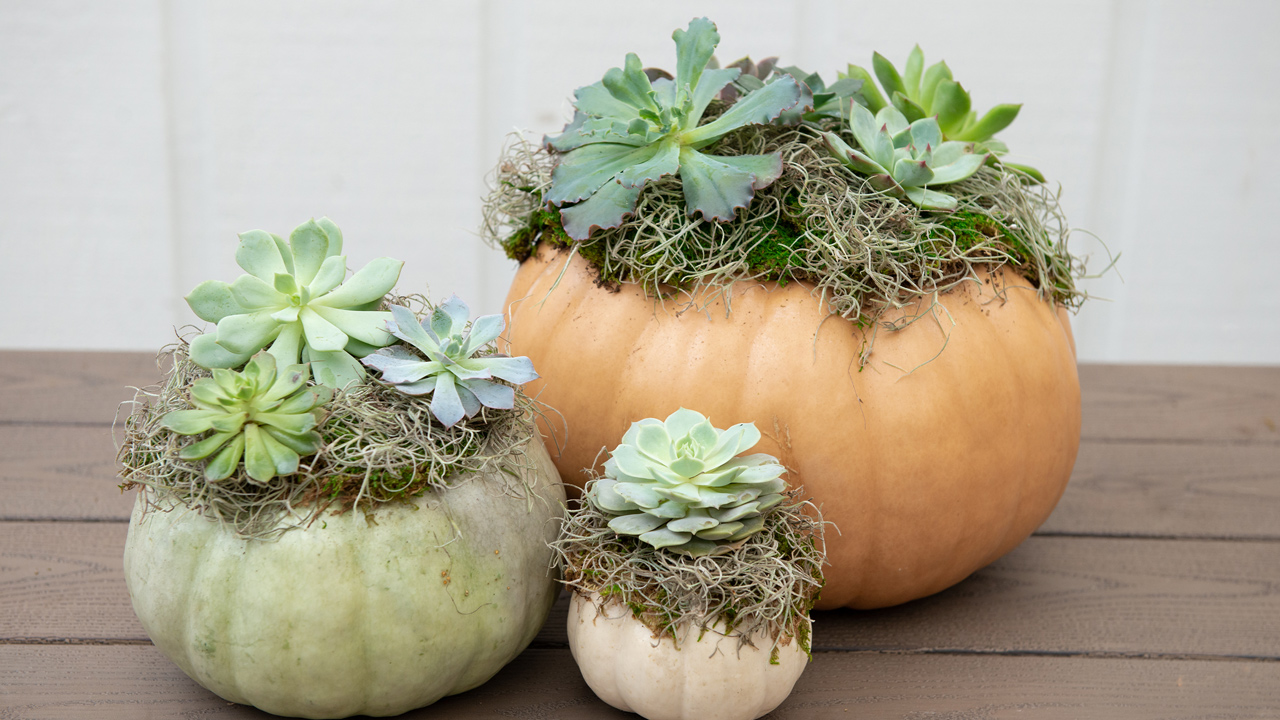
As we head into the fall season, pumpkins and gourds make a beautiful base for harvest arrangements too. With a little moss and glue, you can combine living succulents with a colorful pumpkin to create an intriguing harvest arrangement that doesn’t require carving into the pumpkin to create a pot.
Along with a colorful pumpkin or gourd – one that’s firm and free of blemishes or cuts – and a few of your favorite fleshy succulents, you’ll also need the following supplies: a piece of green sheet moss, a little Spanish moss, spray glue, clear tacky glue, and a clean pair of clippers.
To get started, use the spray glue to attach a piece of green sheet moss to the top. Using clean clippers, snip the stem of the succulent a bit below the lowest leaf. Then add a dab of clear tacky glue to the bottom of the lower leaves and position the succulent near the stem of the pumpkin or gourd. Avoid using hot glue for this step because it’ll damage the pumpkin and cause it to deteriorate. Continue clipping and gluing each succulent to the top of the pumpkin until you have the arrangement you like. Then tuck in a few tendrils of Spanish moss to fill in spaces and cover the remaining green moss.
Set your pumpkin-succulent creation in a spot with bright, indirect light. After a couple weeks, mist the succulents with a spray bottle, but avoid oversaturating the moss. In a couple more weeks, mist again. This combination will remain beautiful and fresh for several weeks through the season. When you’re done with the arrangement, you can use the leaves of your succulent to propagate new plants. Or you might even find that your succulent cuttings have already started growing new roots!
If this little peek into our container design process inspires you to create your own living arrangements, stop by the Greenhouse to find everything you need. In addition to the containers we used for our own collection, you’ll find others in an array of sizes, shapes, and colors. And all the plants too. Or for a completed design, ready to take home or gift to a friend, we can help with that too!
