If it seems like there’s some kind of secret formula that professionals use to create their stunning decorated Christmas trees, we’re happy to say, there’s not. Our designers follow a surprisingly simple step-by-step layering process to decorate the trees throughout our Christmas Shop – and you can do it too. Here, we share that process in six easy steps. So whether your tree has a carefully curated theme or it’s an eclectic mix of family treasures, you can create a cohesive design with interesting diversity that will wow everyone who sees it.
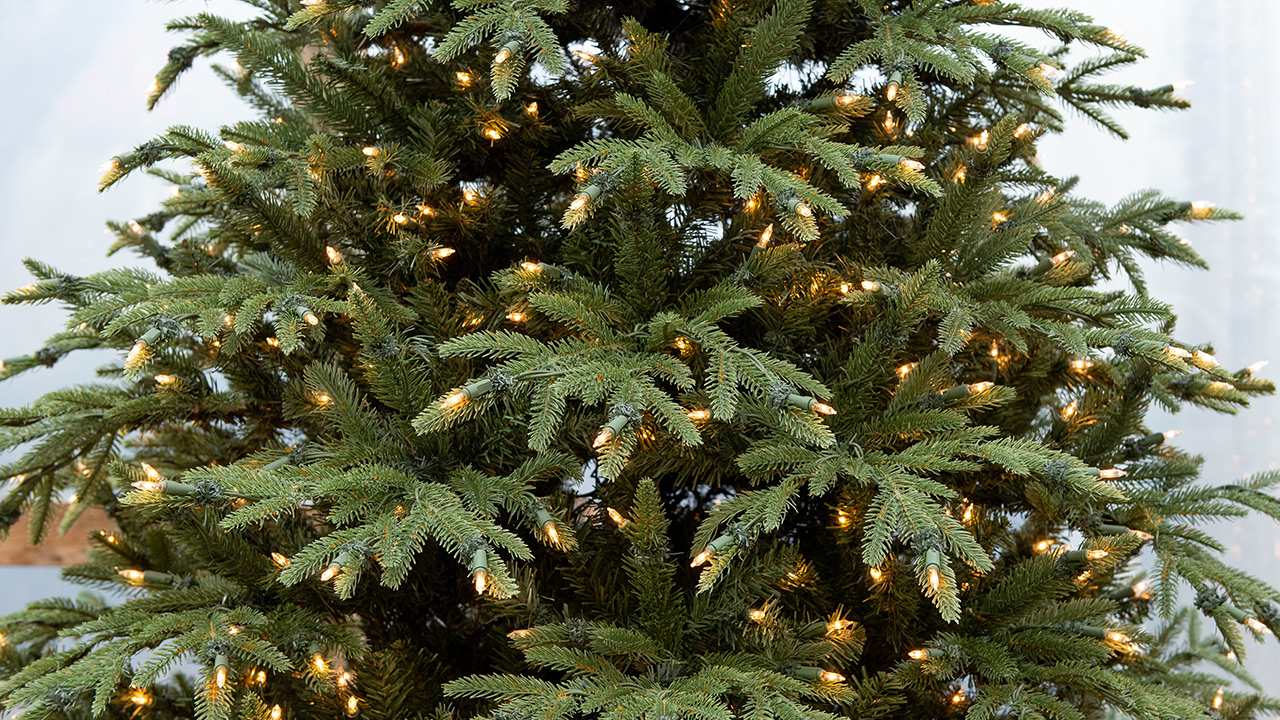
Lights give a Christmas tree its characteristic warmth and glow. Of course, if your tree is fresh-cut, you’ll need to string all the lights yourself. But even with a pre-lit lifelike tree, you may want to add additional strands of lights too – to increase the brightness, change the color, or add special effects. Either way, it’s much easier on you and your ornaments to string lights through the branches before anything else goes on the tree.
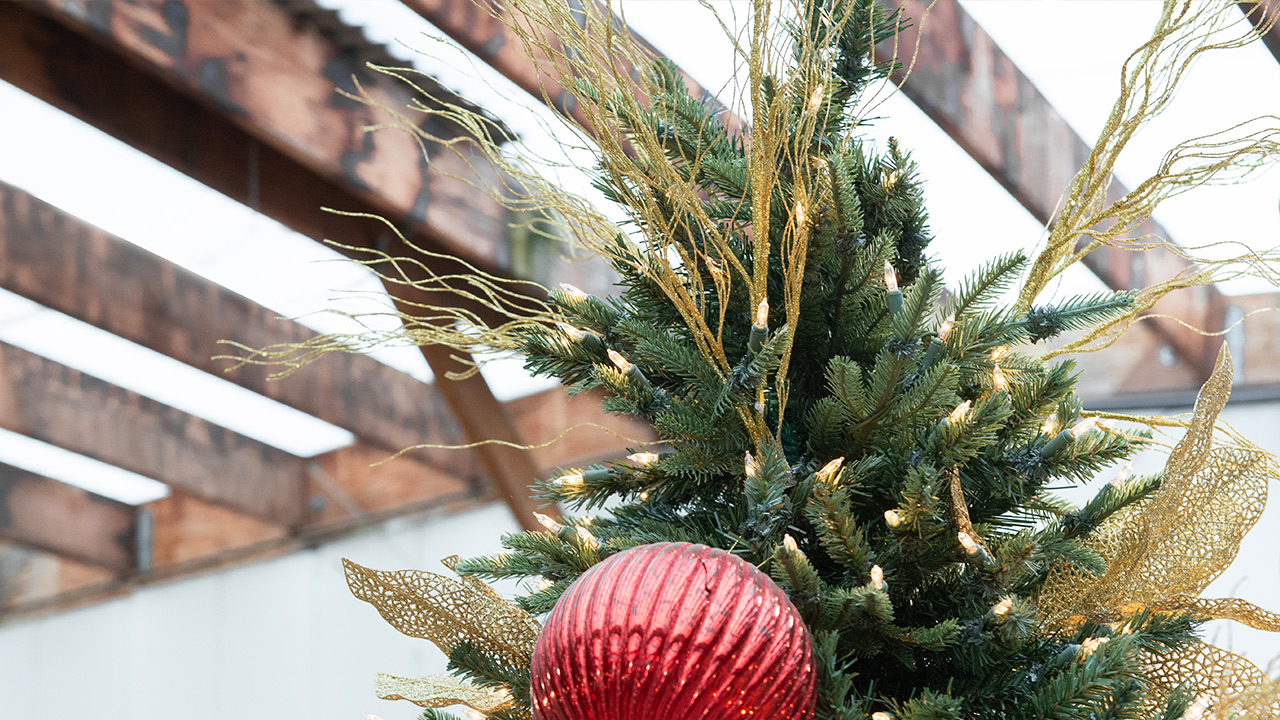
If your tree topper is a classic angel or star, you might save it for the grand finale after all the other decorations are in place. But if lifelike floral stems, berry branches, evergreen boughs, and twigs are a part of the design, we like to start by placing a few stems of each at the top, extending upward and outward – like a crown. This type of tree topper adds height and volume, drawing the eye up to the top of the tree.

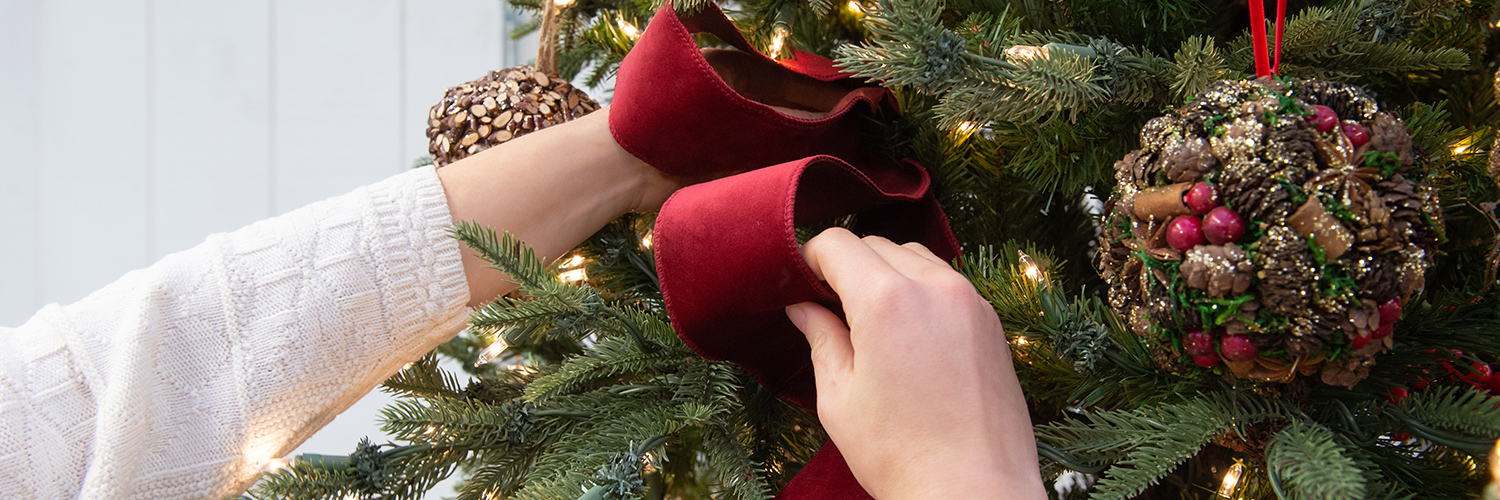
A wide, colorful ribbon has a big impact on the overall design, adding movement and texture as it weaves between the branches. To get this flowing effect, start with a 10-yard bolt of your favorite ribbon, and cut it into three or four sections – they don’t have to be exactly equal. Twist the end of one section into a small loop, leaving the rest of the piece to hang down diagonally. Starting near the top of the tree and a little to one side, tuck the looped end of the ribbon inside the tree, securing it with the ribbon’s wire or one of the smaller, wired branches for a lifelike tree. Then, shape the rest of the ribbon to create some natural volume. You can finish off the end of the ribbon by rolling the ends or tucking it out of sight. Place the other pieces of ribbon in the same way, staggering them down the tree.
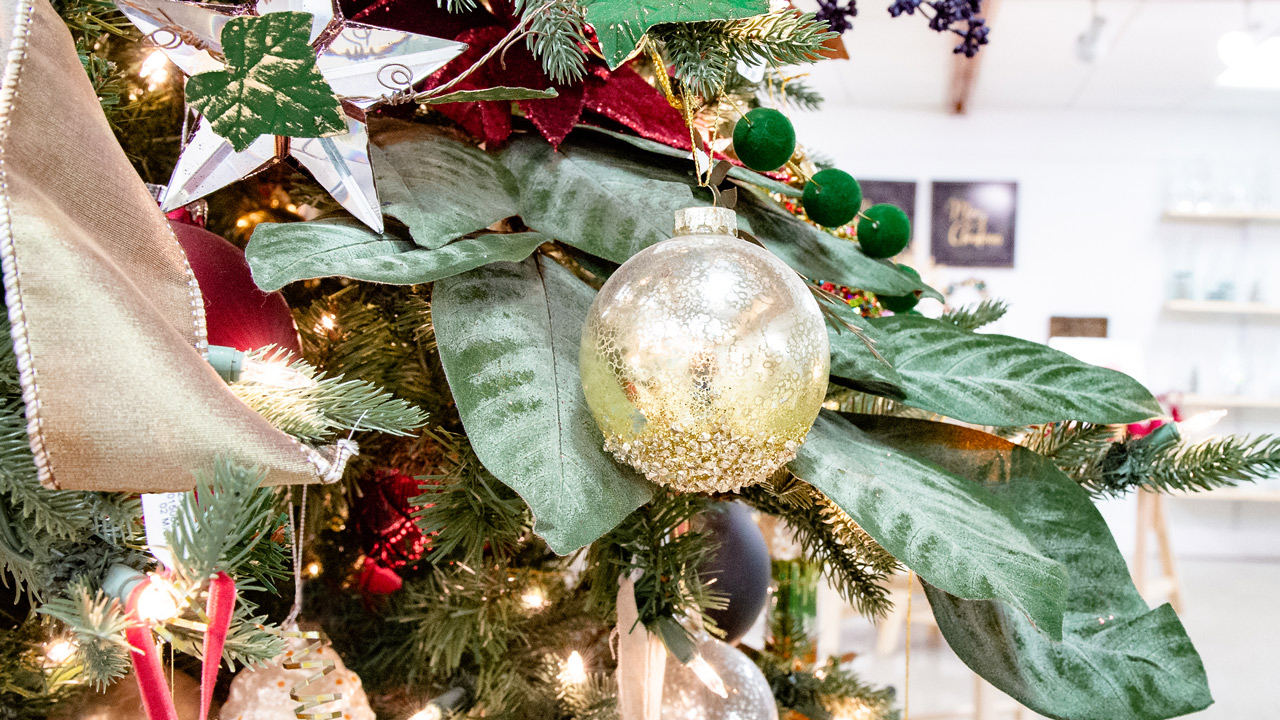
Decorative stems – such as lifelike evergreens, icy branches, berries, or florals – add texture and depth to the tree and help establish your theme throughout the design. For this layer, choose one or more styles of decorative stems to place evenly around the tree – one style at a time. To add fullness and new detail to the tree’s greenery, you might first start with stems of frosted pine needles or evergreens with pinecones.
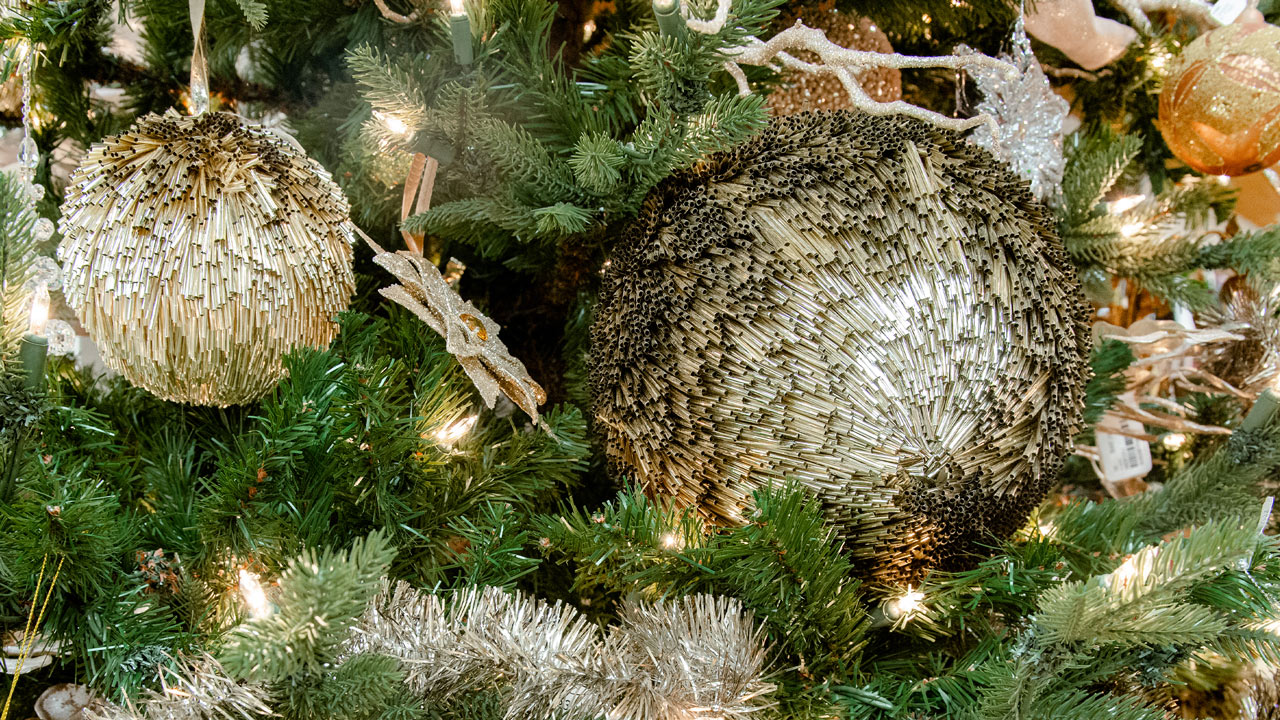
For another layer of dimension, we like to incorporate large ball ornaments toward the interior of the tree. These can be simple, solid colors to reinforce your design theme, or you can use embellished pieces for a more ornate design. As you place these largest ornaments evenly around the tree, tuck them further into the branches – this provides a nice backdrop for all the ornaments that come after.
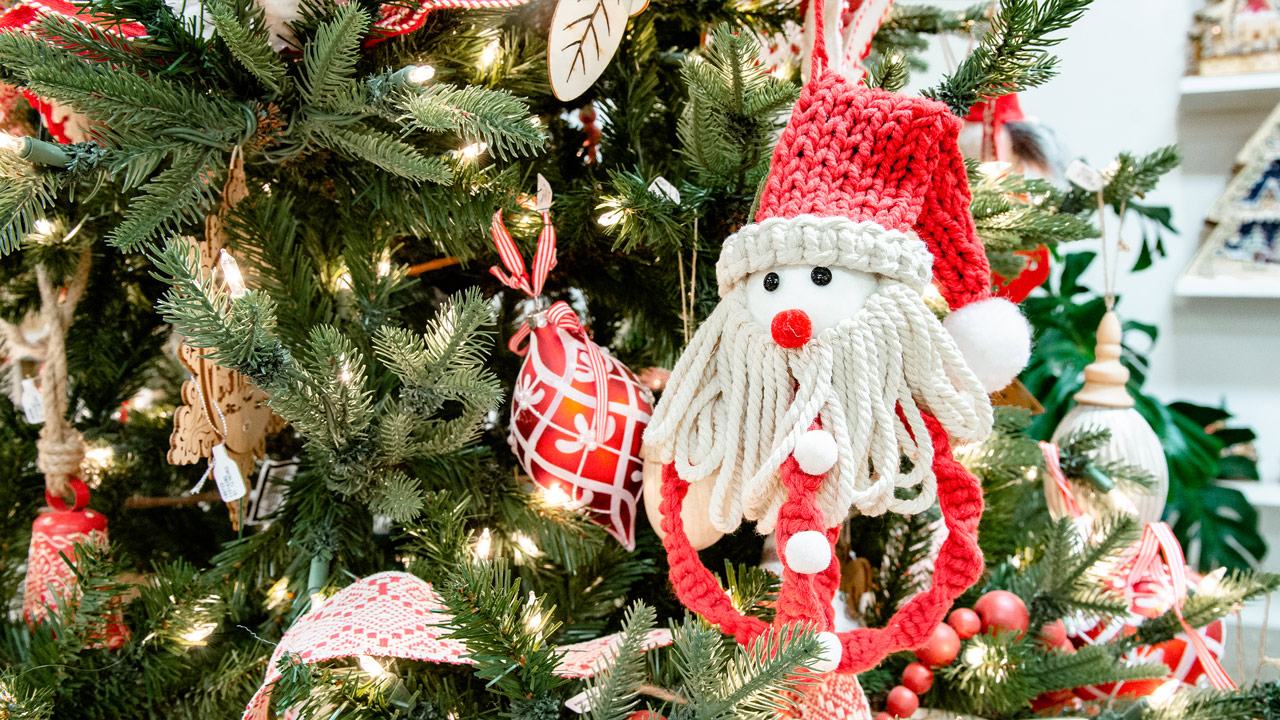
At this point, the layers of light, color, and texture you’ve added to your tree create the perfect stage to feature all your treasured ornaments – the most traditional and often sentimental decorations. Saving these for the last step allows your ornaments to stand out front as the stars of the show – and protects them from damage during the decorating process too.
Following the largest ball ornaments, add your medium-sized ornaments next. Finally, hang your smallest ornaments, your family heirlooms, and your most fragile pieces toward the front of each branch where they’ll get the spotlight they deserve. And don’t worry if every one of your ornaments doesn’t follow the theme – as is the case with so many of our treasured family collections. The other design elements you’ve carefully repeated throughout the tree will be enough to tie the entire design together.
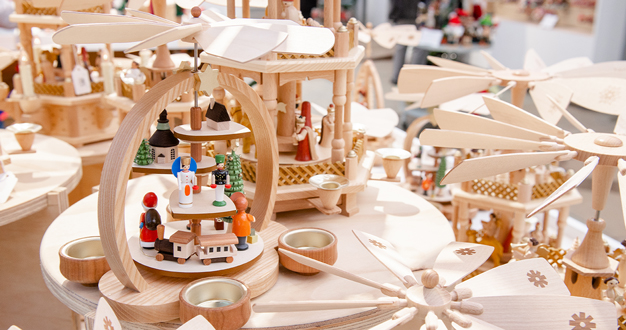
If you need more tree-decorating inspiration, come visit our Christmas Shop! We have over a dozen themed and decorated trees to inspire your holiday decorating, and our team is always glad to share ideas as well.